
📑 Table of Contents ▶
- Making Oreo Cake Balls: Easy Steps to Bliss
- Fundamentals
- Preparation/setup
- Directions
- Crafting Those Oreo Cake Balls to Perfection
- Technique
- Tips/tricks
- Perfecting Oreo Cake Balls: Mastering the Craft
- Perfecting results
- Troubleshooting/variations
- Presenting and Storing Your Oreo Cake Balls
- Serving/presentation
- Pairings/storage
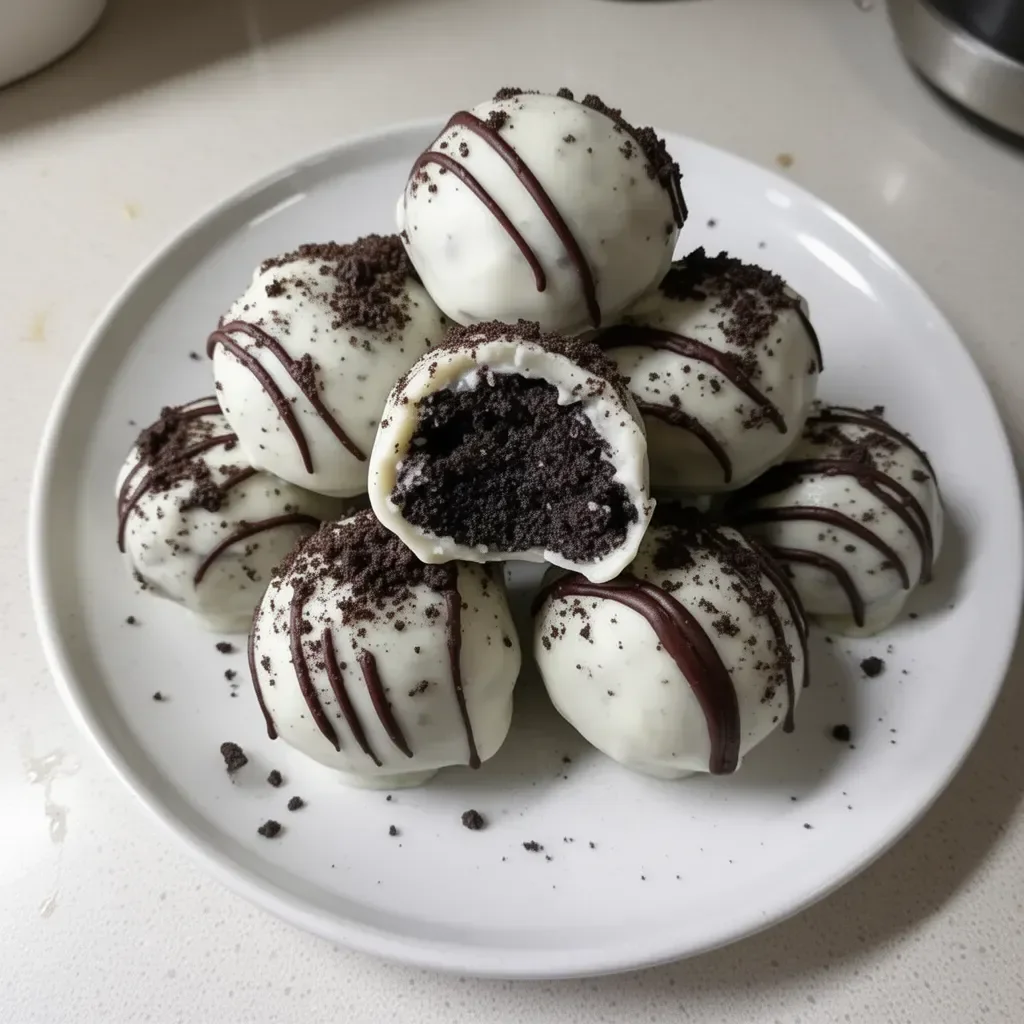
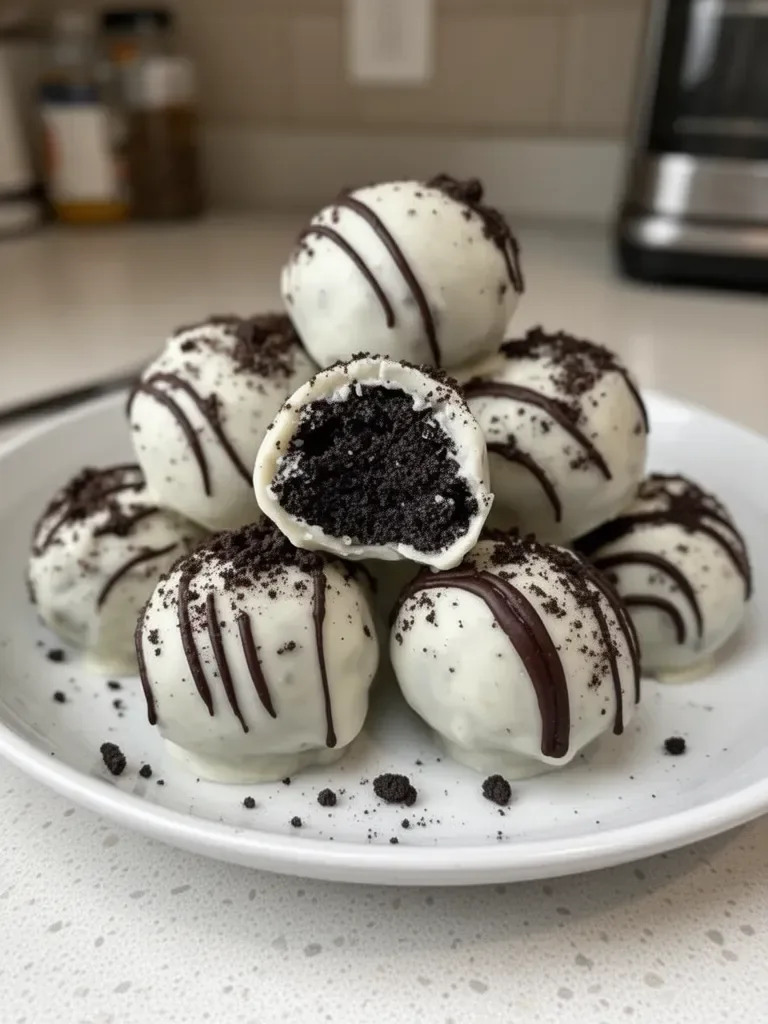
Oreo Cake Balls – Easy No-Bake Dessert
Oreo cake balls always remind me of those spontaneous moments in the kitchen when I just want something sweet without a lot of fuss. A few years ago, I discovered these little delights while preparing for a casual game night with friends. Everyone seemed to love Oreos, and I wanted to create a fun dessert that would be easy to make while keeping the group entertained.
The process was simple yet rewarding. As I combined crushed Oreos with cream cheese, the rich, sweet aroma filled the kitchen, sparking mouthwatering excitement. Each time I rolled the mixture into perfect little balls, I couldn’t help but sneak a taste. Once they were coated in melting white chocolate, they transformed into elegant treats that looked as good as they tasted. What’s better than indulging in something that also brings back sweet memories? Using just a handful of ingredients, anyone can recreate this fun, no-bake dessert.
These Oreo cake balls quickly became a staple at gatherings, delighting friends and family. Whether for a birthday party or a cozy movie night, they were always a hit. The appeal lies not just in their flavor, but also in how effortless they are to make. You too can enjoy this easy dessert that captures the essence of Oreos with a creamy twist.
Making Oreo Cake Balls: Easy Steps to Bliss
Fundamentals
Oreo cake balls consist mainly of two delightful components: Oreos and cream cheese. The combination creates a rich filling that serves as the heart of these decadent treats. The beauty of this dessert lies in its simplicity. There’s no baking involved, allowing you to whip up a batch in no time.
These cake balls are versatile too. You can use any flavor of Oreos to shake things up. Whether it’s classic, birthday cake, or seasonal flavors, the possibilities are endless. The white candy melts add a smooth, gorgeous finish that’s aesthetically pleasing and delicious.
Preparation/setup
Gather your ingredients before diving into the fun. Prepare a clean workspace, ensuring you have all the tools required. A food processor or zip-top bag will be handy for transforming Oreos into fine crumbs. Make sure you have lined a baking sheet with parchment paper; this guarantees an easy release of the coated cake balls once they firm up in the fridge.
Ingredients
To create these scrumptious Oreo cake balls, you’ll need:
- 24 Oreos
- 4 oz softened cream cheese
- 10 oz white candy melts (preferably Ghirardelli brand)
- 2 tbsp heavy cream (if needed, to thin out the candy melts)
Directions
- Process the 24 Oreos into fine crumbs using a food processor or crush them in a zip-top bag with a rolling pin until finely ground.
- In a mixing bowl, combine the Oreo crumbs with 4 oz of softened cream cheese. Mix until you achieve a cohesive, dough-like consistency.
- Roll the mixture into uniform balls, approximately 1-inch in diameter.
- Place the rolled balls onto a baking sheet lined with parchment paper.
- Chill the balls in the refrigerator for at least 30 minutes until they become firm.
- Melt the 10 oz of white candy melts in a microwave-safe bowl. Heat in 30-second intervals, stirring thoroughly after each interval, ensuring smoothness.
- If the candy melts seem too thick, gradually add up to 2 tbsp of heavy cream, stirring well after each addition until smooth.
- Dip each chilled Oreo ball into the melted candy melts using a fork or toothpick, ensuring full coating. Allow excess coating to drip back into the bowl.
- Place the dipped cake ball back onto the parchment-lined baking sheet.
- If the candy melts thicken during dipping, re-melt in 15-second intervals while stirring.
- Once all cake balls are coated, place the baking sheet back into the refrigerator for 15-20 minutes to allow the coating to set completely.
Crafting Those Oreo Cake Balls to Perfection
Technique
The beauty of making Oreo cake balls lies in the technique. When rolling the mixture into balls, keep uniformity in size for even coating and a delightful presentation. A one-inch diameter ensures the right bite for savoring.
Using a microwave to melt the white candy melts provides a smooth, glossy finish. Ensure you do not overheat. Stirring thoroughly helps maintain even heat, making the coating easier to work with.
Tips/tricks
- For an extra fun twist, consider adding crushed peppermint or sprinkles to your melted candy coating before it hardens. This adds an exciting visual element and a burst of additional flavor.
- Always chill the cake balls for optimal firmness before dipping. This step prevents them from falling apart while being coated.
- If you want to achieve a swirled effect, alternate between using two colors of candy melts for a vibrant look.
Perfecting Oreo Cake Balls: Mastering the Craft
Perfecting results
Getting the consistency just right for your Oreo cake balls requires practice. The dough-like mixture should hold together without being sticky. If it seems too crumbly, adding a touch more cream cheese can help solve this issue.
Monitor the melting process for the candy coating. Achieving the right temperature ensures a smooth finish that adheres perfectly to the chocolate balls.
Troubleshooting/variations
Should the candy melts thicken during dipping, take a moment to re-melt them gradually. Avoid overheating to keep the texture manageable.
Experiment with different flavors such as citrus zest or spices mixed in with the cream cheese to broaden the taste profile. Seasonal and festive Oreos make this dessert suitable all year long, from pumpkin spice in autumn to peppermint in winter.
Presenting and Storing Your Oreo Cake Balls
Serving/presentation
Oreo cake balls are visually delightful, often served as an eye-catching centerpiece during celebrations. For an elegant touch, arrange them on a decorative plate or a tiered stand.
Drizzling additional melted candy melts over the top while the coating remains slightly soft creates a charming layer of decoration. Sprinkles or colored sugar can add a festive flair to your treats to match any occasion.
Pairings/storage
These Oreo cake balls make perfect bite-sized treats that can complement various desserts. Pair with fresh fruit for a delightful contrast in flavor.
To keep them fresh, store your cake balls in an airtight container in the refrigerator. They will maintain their deliciousness for up to a week, allowing you time to indulge at your leisure.
Oreo cake balls deliver a fun and scrumptious take on a beloved treat. Creating these no-bake delights allows for a unique dessert experience that’s simple yet satisfying. The process becomes even more enjoyable when shared with friends and family, making these cake balls a go-to for any occasion. Transforming Oreos and cream cheese into a rich, mouthwatering delight ensures each bite remains memorable. Enjoy the thrill of making these treats, knowing that they combine flavor, fun, and easy preparation all in one delightful bite.
Print
Oreo Cake Balls
- Prep Time: 15 minutes
- Cook Time: 30 minutes
- Total Time: 45 minutes
- Yield: 12 servings
- Category: Dessert
- Method: No-Bake
- Cuisine: American
- Diet: Vegetarian
Description
Easy no-bake Oreo cake balls made with crushed Oreos and cream cheese, coated in white chocolate.
Ingredients
- 24 Oreos
- 4 oz softened cream cheese
- 10 oz white candy melts (preferably Ghirardelli brand)
- 2 tbsp heavy cream (if needed, to thin out the candy melts)
Instructions
- Process the 24 Oreos into fine crumbs using a food processor or crush them in a zip-top bag with a rolling pin until finely ground.
- In a mixing bowl, combine the Oreo crumbs with 4 oz of softened cream cheese. Mix until you achieve a cohesive, dough-like consistency.
- Roll the mixture into uniform balls, approximately 1-inch in diameter.
- Place the rolled balls onto a baking sheet lined with parchment paper.
- Chill the balls in the refrigerator for at least 30 minutes until they become firm.
- Melt the 10 oz of white candy melts in a microwave-safe bowl. Heat in 30-second intervals, stirring thoroughly after each interval, ensuring smoothness.
- If the candy melts seem too thick, gradually add up to 2 tbsp of heavy cream, stirring well after each addition until smooth.
- Dip each chilled Oreo ball into the melted candy melts using a fork or toothpick, ensuring full coating. Allow excess coating to drip back into the bowl.
- Place the dipped cake ball back onto the parchment-lined baking sheet.
- If the candy melts thicken during dipping, re-melt in 15-second intervals while stirring.
- Once all cake balls are coated, place the baking sheet back into the refrigerator for 15-20 minutes to allow the coating to set completely.
Notes
For an extra fun twist, consider adding crushed peppermint or sprinkles to your melted candy coating before it hardens.