
📑 Table of Contents ▶
- Peanut Butter Lunch Lady Bars: Fundamentals
- Preparation/setup
- Directions
- Peanut Butter Lunch Lady Bars: Technique
- Technique
- Tips/tricks
- Peanut Butter Lunch Lady Bars: Perfecting results
- Perfecting results
- Troubleshooting/variations
- Peanut Butter Lunch Lady Bars: Serving/presentation
- Serving/presentation
- Pairings/storage
- Conclusion
Peanut Butter Lunch Lady Bars
Growing up, the aroma of freshly baked peanut butter treats wafting through my home instantly brought comfort and joy. My childhood was filled with memories of school bake sales, where these delicious Peanut Butter Lunch Lady Bars were the star. Each bite delivered a perfect blend of creamy peanut butter and soft, chewy oats, making them everyone’s favorite.
Every time I whip up a batch, it takes me back to those carefree days and the nostalgic warmth of my mom’s kitchen. The way she would pour the batter into the pan, spreading it perfectly, felt like magic. As soon as they came out of the oven, we would eagerly wait, itching to snag a piece while they were still warm.
These Peanut Butter Lunch Lady Bars are incredibly simple to make and have a rich, satisfying flavor. Filled with wholesome ingredients like oats and peanut butter, they serve as a delightful snack or a quick dessert for any gathering. Packed with nostalgia and flavor, let’s dive into the fundamentals of crafting these beloved bars.
Peanut Butter Lunch Lady Bars: Fundamentals
Preparation/setup
Preheating your oven to 350°F (175°C) marks the first step on this delicious adventure. Greasing a 10×15-inch jelly roll pan or lining it with parchment paper ensures that the bars come out clean and easily. This preparation phase sets the stage for what’s to come.
In order to achieve the best results, gather all your ingredients before starting. This makes the entire process smoother and more enjoyable. Have your unsalted butter, creamy peanut butter, sugars, eggs, flour, baking soda, salt, quick oats, and frosting components at the ready. When everything is organized, the simple act of baking transforms into a delightful experience.
Ingredients
For the bars:
- 1 cup (2 sticks) unsalted butter, softened
- 1 cup creamy peanut butter
- 1 cup granulated sugar
- 1 cup packed light brown sugar
- 2 large eggs
- 1 teaspoon pure vanilla extract
- 2 cups all-purpose flour
- 1 teaspoon baking soda
- ½ teaspoon salt
- 2 cups quick oats
For the frosting:
- ½ cup creamy peanut butter
- 4 tablespoons unsalted butter, softened
- 2 teaspoons vanilla extract
- 3–4 tablespoons milk (as needed)
- 2 cups powdered sugar
Directions
With your ingredients gathered and your pan prepared, it’s time to mix the base. Start by creaming together the softened butter, peanut butter, granulated sugar, and brown sugar in a large bowl. Mix until the concoction is smooth and fluffy. Gradually incorporate the eggs, mixing well after each addition, followed by stirring in the vanilla.
Next, in a separate bowl, whisk together the flour, baking soda, and salt. Gradually add this dry mixture to the wet ingredients, stirring until just combined. Finally, fold in the quick oats, giving you that signature chewy texture.
Spread the batter evenly in the prepared pan, then bake for 20–22 minutes until the edges are golden brown and a toothpick inserted into the center comes out clean. Remember not to overbake; the bars should remain moist and tender. Once baked, remove them from the oven and allow them to cool completely in the pan.
Peanut Butter Lunch Lady Bars: Technique
Technique
Crafting Peanut Butter Lunch Lady Bars involves a balance of technique and timing. The key to achieving that perfect bar lies in the creaming process. Cream the butter and peanut butter until it becomes a smooth mixture with a light texture. This aerates the batter and leads to a soft, melt-in-your-mouth final product.
When adding the dry ingredients, be careful not to overmix. Stir just until combined to maintain the texture. Oats should fold in last to ensure they’re evenly distributed without disturbing the consistency of the bars.
Tips/tricks
A few handy tips can make your baking experience even more enjoyable. First, ensure your butter is at the right temperature; softened but not melted is essential for proper creaming. If you forget to take it out in advance, cut it into smaller pieces to speed up the softening process.
Want a twist on these classic bars? Mix in chocolate chips, chopped nuts, or even dried fruit for added texture and flavor. Experiment with different combinations, and find your favorite variations.
Peanut Butter Lunch Lady Bars: Perfecting results
Perfecting results
The journey to perfect Peanut Butter Lunch Lady Bars involves a few crucial elements. First and foremost is not overbaking. Keep a close watch towards the end of the baking time; the bars will continue to cook slightly as they cool in the pan.
Cooling completely is also vital. Frosting warm bars can lead to a gooey, drippy mess. By letting them cool, you achieve a more solid base for the frosting, making it easy to spread and slice into charming squares.
Troubleshooting/variations
Baking can sometimes present challenges. If your bars turn out too crumbly, it may be that there wasn’t enough moisture in the mixture. Keep an eye on the butter and peanut butter proportions. Adjusting slightly can yield a better texture.
If they are too dry, the oven may have run hot. Every oven varies, so consider checking your bars a few minutes earlier during the bake next time. Adjusting your baking time can significantly affect the outcome.
For those looking to create variations, consider substituting half of the creamy peanut butter with another nut butter. Almond butter or cashew butter can offer delightful flavors while keeping the essential taste of the bars intact.
Peanut Butter Lunch Lady Bars: Serving/presentation
Serving/presentation
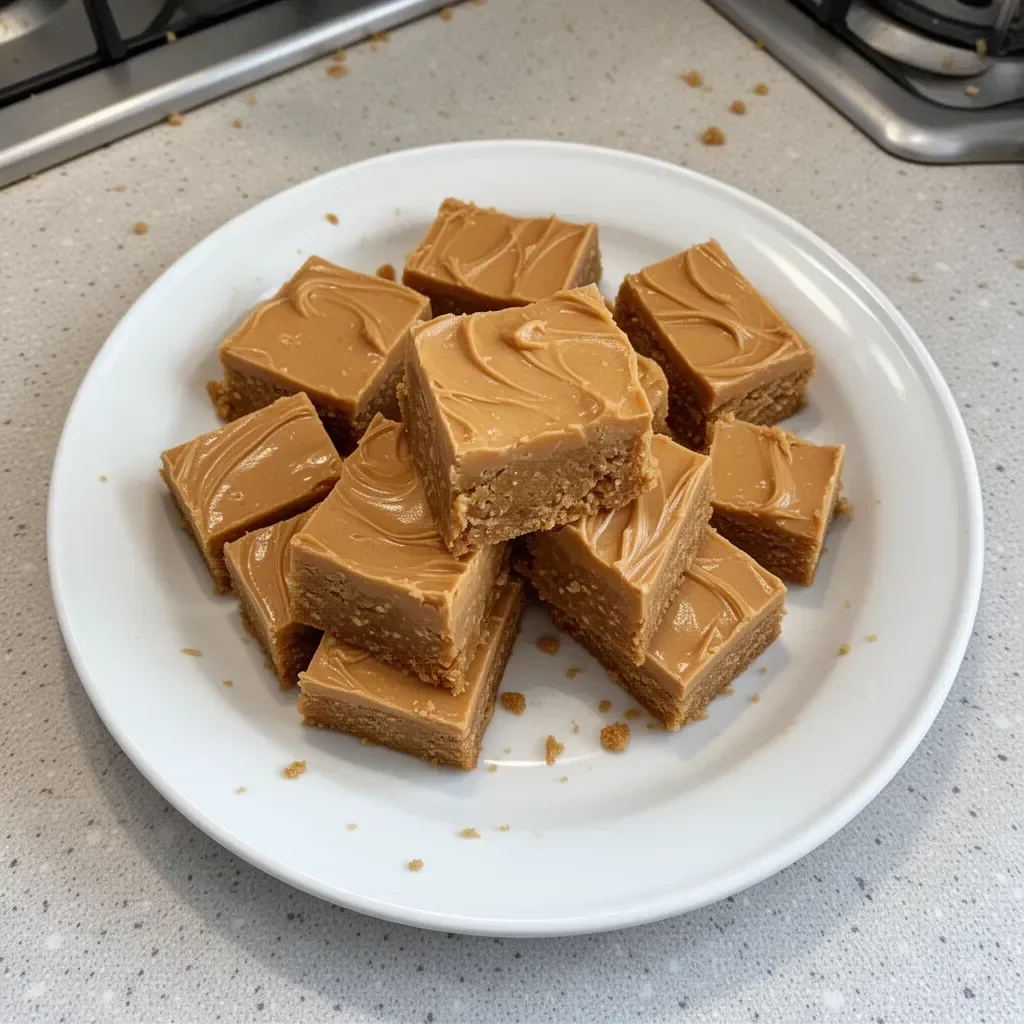
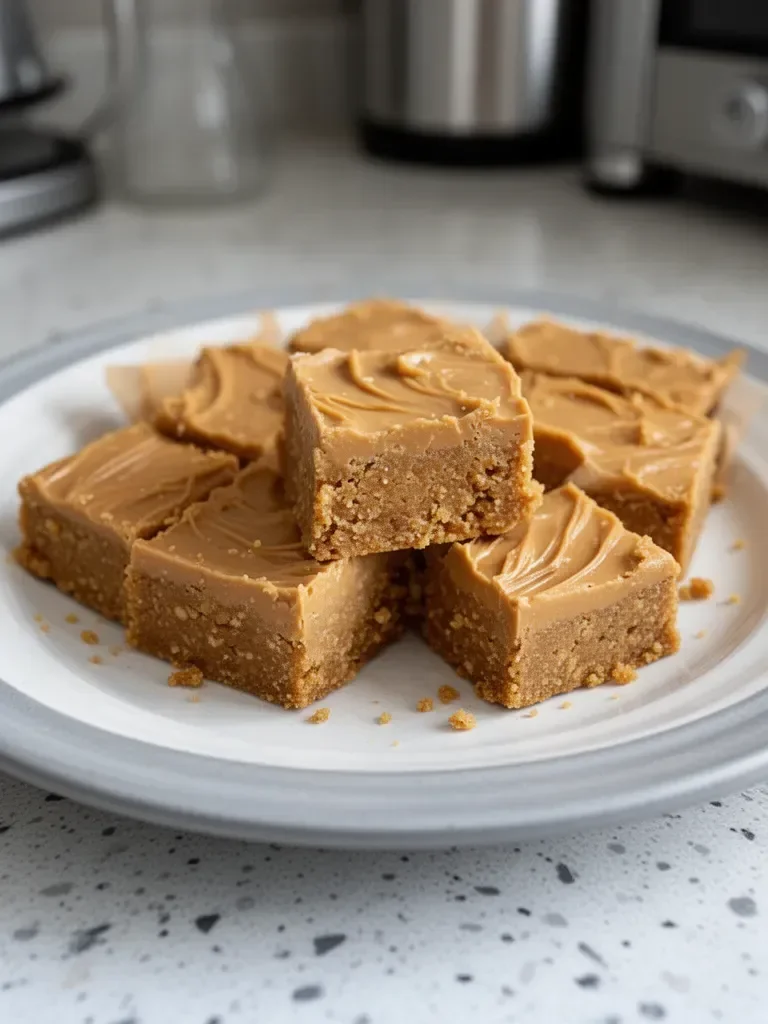
Presenting your Peanut Butter Lunch Lady Bars can be just as fun as making them. Once cooled and frosted, cut them into squares or rectangles for serving. A dusting of powdered sugar on top adds a visually appealing touch and balances the flavors.
For a festive gathering, consider placing these bars on a decorative platter, surrounded by fresh fruit or even a scoop of vanilla ice cream.
Pairings/storage
These Peanut Butter Lunch Lady Bars pair wonderfully with a cold glass of milk or a warm cup of coffee. Enjoy them as an after-school snack or a midday treat; their versatility makes them an ideal choice for any time of day.
When it comes to storage, keep the bars in an airtight container at room temperature for up to a week. They also freeze well, so consider freezing individual squares. When you’re in need of a quick snack, simply pull one out and let it thaw for a sweet treat that brings back those delightful childhood memories.
Conclusion
The joy of Peanut Butter Lunch Lady Bars runs deep, from the nostalgic aroma of baking to the delightful flavors in every bite. Each step of the process, from mixing to frosting, brings anticipation and excitement.
With a few simple ingredients and easy techniques, anyone can create these delicious bars. Whether you enjoy them with friends or savor them on a quiet afternoon, they bring a sense of comfort and happiness. These bars are more than just a recipe; they are a celebration of delightful memories baked into each irresistibly chewy square.
Print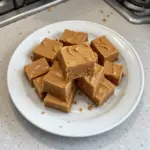
Peanut Butter Lunch Lady Bars
- Prep Time: 15 minutes
- Cook Time: 22 minutes
- Total Time: 37 minutes
- Yield: 24 servings
- Category: Dessert
- Method: Baking
- Cuisine: American
- Diet: Vegetarian
Description
Delicious and nostalgic Peanut Butter Lunch Lady Bars with a perfect blend of creamy peanut butter and chewy oats, ideal for snacks or desserts.
Ingredients
- 1 cup (2 sticks) unsalted butter, softened
- 1 cup creamy peanut butter
- 1 cup granulated sugar
- 1 cup packed light brown sugar
- 2 large eggs
- 1 teaspoon pure vanilla extract
- 2 cups all-purpose flour
- 1 teaspoon baking soda
- ½ teaspoon salt
- 2 cups quick oats
- For the frosting:
- ½ cup creamy peanut butter
- 4 tablespoons unsalted butter, softened
- 2 teaspoons vanilla extract
- 3–4 tablespoons milk (as needed)
- 2 cups powdered sugar
Instructions
- Preheat your oven to 350°F (175°C).
- Grease a 10×15-inch jelly roll pan or line it with parchment paper.
- Cream together the softened butter, peanut butter, granulated sugar, and brown sugar until smooth and fluffy.
- Incorporate the eggs one at a time, mixing well after each addition.
- Stir in the vanilla extract.
- Whisk together the flour, baking soda, and salt in a separate bowl.
- Add the dry mixture gradually to the wet ingredients, stirring until just combined.
- Fold in the quick oats.
- Spread the batter evenly in the prepared pan.
- Bake for 20–22 minutes until golden brown and a toothpick inserted into the center comes out clean.
- Remove from the oven and cool completely in the pan.
- Frost with the peanut butter frosting once cooled.
Notes
Ensure butter is softened but not melted for the best texture when creaming. Consider adding chocolate chips or nuts for variations.