
📑 Table of Contents ▶
- Easter Egg Oreo Balls: The Essentials
- Fundamentals
- Preparation/setup
- Directions
- Tips for Perfecting Your Easter Egg Oreo Balls
- Technique
- Tips/tricks
- Perfecting Your Easter Egg Oreo Balls
- Perfecting results
- Troubleshooting/variations
- Serving and Storing Your Easter Egg Oreo Balls
- Serving/presentation
- Pairings/storage
- Conclusion
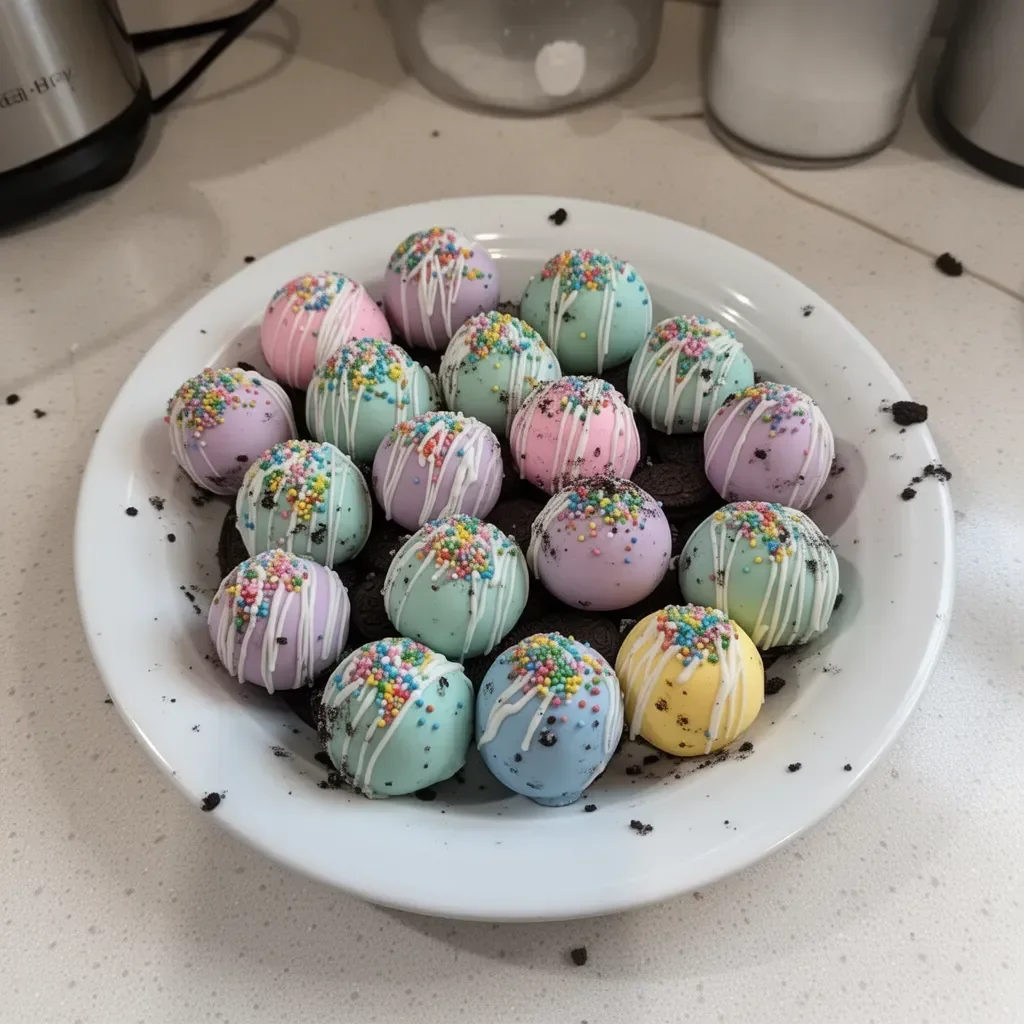
Easter Egg Oreo Balls
The excitement of spring always calls for a delightful treat that everyone can enjoy. Easter egg Oreo balls bring back fond memories of vibrant family gatherings. Each bite effortlessly combines the classic cookies we all love with a rich, creamy filling. The combination of Oreo cookies and cream cheese is always a winner, making these treats perfect for any festive occasion.
Creating Easter egg Oreo balls feels like a fun culinary adventure. I recall preparing them with my siblings, laughing as we rolled the mixture into egg shapes. The final step of decorating them with colorful sprinkles transformed our treats into festive masterpieces. Making these Easter egg Oreo balls is not just about the taste; it brings joy and creativity into the kitchen.
With just a few simple ingredients, you’ll discover that these treats are not only easy to make but are also a delightful way to celebrate the holiday. As we dive into this recipe, you’ll learn the steps involved and how to make these charming candies the center of attention on your dessert table. Easter egg Oreo balls will undoubtedly capture the hearts of your family and friends.
Easter Egg Oreo Balls: The Essentials
Fundamentals
Understanding the fundamentals of making Easter egg Oreo balls is crucial for success. This no-bake treat features a few main ingredients that blend together beautifully. The delightful flavors stem primarily from Oreo cookies and softened cream cheese. Together, they create a creamy center that pairs perfectly with the crunch of chocolate almond bark or melting chocolate.
The beauty of these Easter egg Oreo balls lies in their versatility. You can personalize them by choosing different colored sprinkles or decorations based on the occasion. This recipe is perfect for gatherings and parties, allowing your creativity to shine.
Preparation/setup
To get started, gather all the ingredients. You will need one package of Oreo cookies, eight ounces of softened cream cheese, and one package (12 ounces) of chocolate almond bark or melting chocolate. Don’t forget your choice of sprinkles or colored candy for decoration!
Prepare your workspace by clearing a counter or table where you can mix and shape the ingredients. Line a baking sheet with parchment paper; this will make the transfer of the chocolate-covered balls easier and cleaner.
Ingredients
- 1 package Oreo cookies
- 8 oz cream cheese, softened
- 1 package (12 oz) chocolate almond bark or melting chocolate
- Sprinkles or colored candy for decoration
Directions
- Crush the Oreo cookies into fine crumbs. You can use a food processor or place them in a resealable bag and crush them using a rolling pin.
- Mix the crushed Oreo cookies with the softened cream cheese until well combined. The mixture should be thick and easy to handle.
- Roll the mixture into egg-shaped balls and place them on a baking sheet.
- Freeze the balls for about 30 minutes. This step helps them firm up for easier dipping.
- Melt the chocolate almond bark according to package instructions. Make sure it’s smooth and fully melted.
- Dip each frozen ball into the melted chocolate. Let the excess chocolate drip off before placing them back on the baking sheet.
- Decorate the chocolate-covered balls with sprinkles or colored candy as desired.
- Refrigerate until the chocolate is set. This allows the chocolate to harden properly.
Tips for Perfecting Your Easter Egg Oreo Balls
Technique
The technique for crafting Easter egg Oreo balls requires a bit of patience and practice. Make sure to freeze the balls as instructed; this step guarantees easy handling when it comes time to dip them in melted chocolate. Well-firmed balls result in cleaner chocolate coatings and a more appealing final product.
When melting the chocolate, keep an eye on it. Chocolate can easily burn, so stir it frequently and use low heat settings. If you notice the chocolate thickening, you might consider adding a small amount of shortening or coconut oil. This adjustment can provide a smoother dip.
Tips/tricks
Adding a few tricks to your process can make a world of difference. For instance, when rolling the Oreo mixture into balls, wet your hands slightly. This prevents the mixture from sticking to your hands and allows for easier shaping.
When it comes to decorating, sprinkle some toppings immediately after dipping the balls into chocolate. The chocolate serves as glue, helping the decorations adhere perfectly. Consider using a variety of sprinkles to add color and excitement.
Perfecting Your Easter Egg Oreo Balls
Perfecting results
To achieve the best results with your Easter egg Oreo balls, practice consistency with the size of the balls you roll. Uniform sizes ensure even dipping and a more professional appearance.
Adjust your freezing time based on the temperature of your freezer. If the balls feel too soft after the suggested freezing time, give them an additional 10-15 minutes to firm up. Properly chilled balls make for a smoother coating process.
Troubleshooting/variations
If you encounter any issues during the process, don’t fret. If the chocolate coating is clumping or doesn’t seem to stick, re-melt the chocolate and try again.
If you’d like to mix things up, consider adding flavor variations to the cream cheese mixture. A touch of vanilla or almond extract can enhance the overall taste. Alternatively, incorporate flavored melting chocolates to change the chocolate coating altogether.
Serving and Storing Your Easter Egg Oreo Balls
Serving/presentation
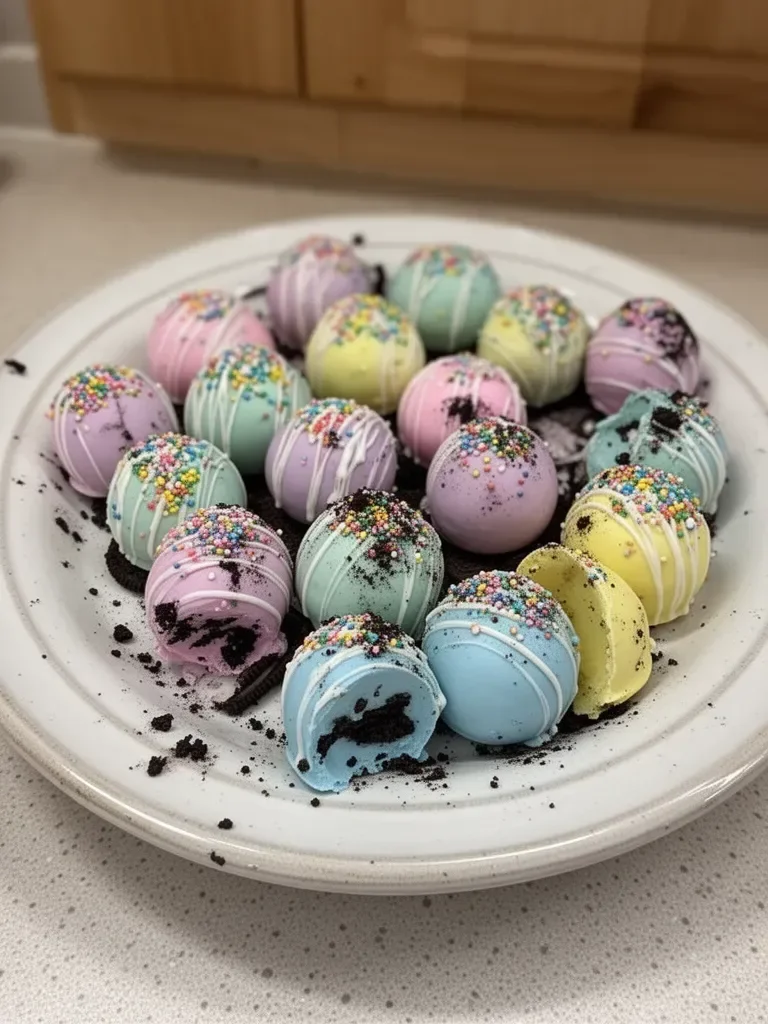
When it’s time to showcase your Easter egg Oreo balls, presentation matters. Arrange them on a colorful platter or fill Easter baskets for a festive touch. You can also use decorative cupcake liners to hold each ball individually, making them attractive and easy to grab.
To elevate the visual appeal, consider adding fun edible glitter or themed decorations. Everyone loves a dessert that’s as pleasing to the eye as it is to the palate.
Pairings/storage
Easter egg Oreo balls pair well with various beverages and snacks. These treats add a sweet surprise to an Easter brunch spread. Their rich flavor matches wonderfully with fruity desserts or even a light salad. Serve them alongside fresh fruit for a delightful contrast.
Storing your Easter egg Oreo balls is simple. Keep them in an airtight container in the refrigerator for up to a week. If you wish to extend their shelf life, consider freezing them. Be sure to separate layers with parchment paper if you choose this storage method, ensuring they don’t stick together.
Conclusion
Sharing delicious treats like Easter egg Oreo balls creates cherished moments. The excitement of making these fun, no-bake confections goes beyond the flavors. It’s about gathering with loved ones and celebrating the holiday spirit.
With just a few ingredients, you craft a festive delight that brightens any occasion. The joy of these sweet creations extends well beyond just Easter, making them a favorite treat year-round. Enjoy every bite and every smile these little delights bring.
Print
Easter Egg Oreo Balls
- Prep Time: 15 minutes
- Cook Time: 30 minutes
- Total Time: 45 minutes
- Yield: 24 servings
- Category: Dessert
- Method: No-Bake
- Cuisine: American
- Diet: Vegetarian
Description
Delightful no-bake treats combining Oreo cookies and creamy filling, perfect for festive occasions.
Ingredients
- 1 package Oreo cookies
- 8 oz cream cheese, softened
- 1 package (12 oz) chocolate almond bark or melting chocolate
- Sprinkles or colored candy for decoration
Instructions
- Crush the Oreo cookies into fine crumbs using a food processor or a rolling pin in a resealable bag.
- Mix the crushed Oreo cookies with softened cream cheese until well combined.
- Roll the mixture into egg-shaped balls and place them on a baking sheet.
- Freeze the balls for about 30 minutes to firm up.
- Melt the chocolate almond bark according to package instructions until smooth.
- Dip each frozen ball into the melted chocolate and let excess drip off.
- Decorate with sprinkles or colored candy as desired.
- Refrigerate until the chocolate is set.
Notes
For easier handling, slightly wet your hands while rolling the mixture. Use variety in sprinkles to add visual appeal.