

📑 Table of Contents ▶
- The Key to Perfect Mini Birthday Cheesecakes
- Fundamentals
- Preparation Setup
- Directions
- Crafting Flawless Mini Birthday Cheesecakes
- Technique
- Tips and Tricks
- Perfecting Your Mini Birthday Cheesecakes
- Achieving the Ideal Results
- Troubleshooting and Variations
- Serving and Presenting Mini Birthday Cheesecakes
- Presentation
- Pairings and Storage
- Conclusion
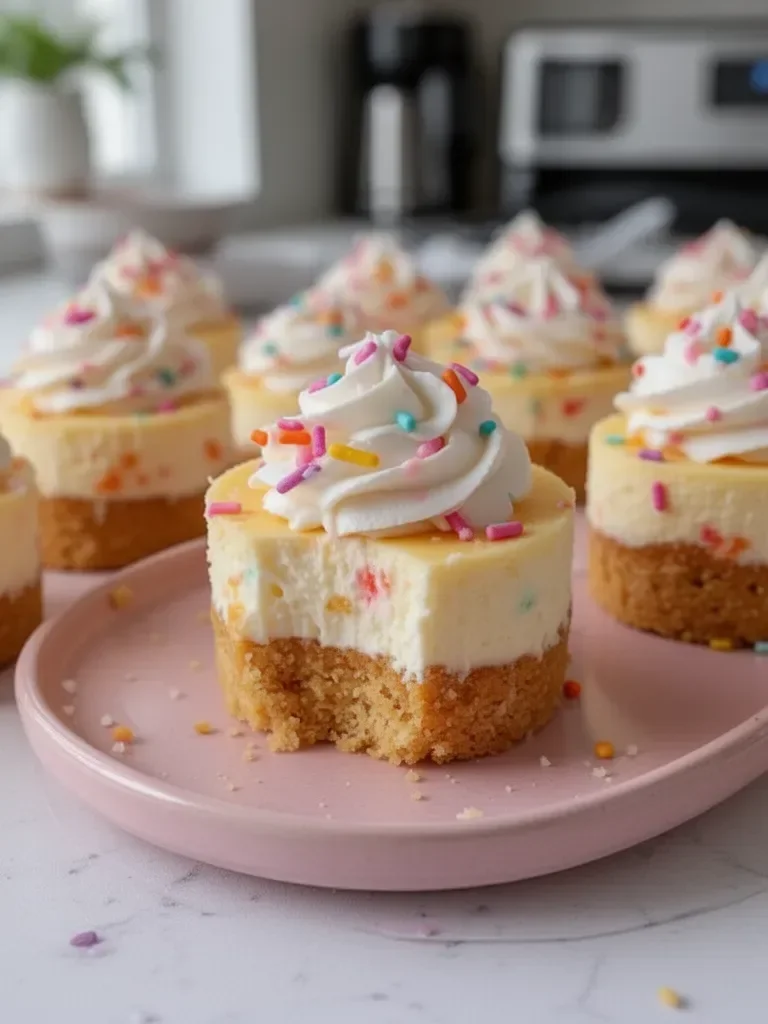
Best Mini Birthday Cheesecakes
Growing up, birthday celebrations centered around a cake. But when the option for mini cheesecakes arose, everything changed. Mini birthday cheesecakes offer a delightful twist that transforms even the simplest gatherings into something special. With their creamy texture and rich flavors, they capture the essence of a traditional cheesecake in a bite-sized treat.
The joy of crafting these mini delights lies in the process itself. Each layer holds a piece of nostalgia, as I remember standing with friends, mixing and preparing the ingredients with excitement. The look of delight on everyone’s faces when tasting the first cheesecake is a memory that lingers.
These mini birthday cheesecakes are perfect for any celebration. Their individualized portions allow everyone to indulge without committing to a giant slice. They serve as an ideal sweet treat, whether for a child’s party or a grown-up gathering.
Now, let’s dive into how to make the best mini birthday cheesecakes that will have everyone asking for seconds!
The Key to Perfect Mini Birthday Cheesecakes
Fundamentals
Mastering the art of mini birthday cheesecakes starts with understanding the basics. The foundation of any great cheesecake relies on a crumbly crust that contrasts beautifully with its creamy filling. For this recipe, a simple mixture of graham cracker crumbs, sugar, and melted butter creates the perfect base.
Next, the cream cheese part is vital. Softened cream cheese blends seamlessly with sugar and vanilla, creating a rich mixture. Eggs and sour cream contribute to the cheesecake’s structure and creaminess. This balance of flavors and textures makes mini birthday cheesecakes a hit at any gathering.
Preparation Setup
Preparation begins with the oven. Preheat it to 325°F (163°C). This temperature ensures even baking, yielding perfectly set mini cheesecakes.
Selecting the right baking vessel is also essential. A mini cheesecake pan or muffin tin lined with paper liners allows for easy removal. Once the crust is formed and pressed into the bottom, the next step is mixing the cream cheese filling.
Ingredients
To create these delectable treats, you will need:
- 1 cup graham cracker crumbs
- 1/4 cup granulated sugar (for crust)
- 1/2 cup unsalted butter, melted
- 16 oz cream cheese, softened
- 1/2 cup granulated sugar (for filling)
- 1 teaspoon vanilla extract
- 2 large eggs
- 1/4 cup sour cream
- Assorted toppings (fruits, sprinkles, chocolate, etc.)
Directions
- Preheat the oven to 325°F (163°C).
- In a bowl, combine graham cracker crumbs, 1/4 cup sugar, and melted butter. Mix well.
- Press the mixture into the bottom of a mini cheesecake pan or muffin tin lined with paper liners.
- In a large bowl, beat the cream cheese, 1/2 cup sugar, and vanilla until smooth.
- Add the eggs one at a time, mixing well after each addition.
- Stir in sour cream until well combined.
- Pour the cream cheese mixture over the crust in the pan.
- Bake for 18-20 minutes or until the center is set.
- Let cool, then refrigerate for at least 2 hours.
- Top with your choice of fruits, sprinkles, or chocolate before serving.
Crafting Flawless Mini Birthday Cheesecakes
Technique
Each step enhances the simplicity and joy of crafting these treats. Mixing the crust requires a bit of elbow grease to ensure an even texture. Pressing it firmly ensures it holds together when forming the mini cheesecakes. Keep it tightly compact for the best end result.
Maximizing the creaminess of the filling is equally important. Ensure the cream cheese is at room temperature before mixing. This avoids lumps and results in a slick, creamy filling. Gradually adding eggs, mixing well after each, helps maintain the texture.
Tips and Tricks
Layer flavors by adding ingredients like lemon zest or chocolate chips to the cream cheese mixture. These variations can enhance the overall taste. For extra flair, consider using flavored extracts or infused creams.
Keep an eye on the baking time. Overbaking can lead to cracks in your mini cheesecakes, so remain vigilant. A slight jiggle in the center signifies that it’s set but not overbaked.
Perfecting Your Mini Birthday Cheesecakes
Achieving the Ideal Results
To elevate your mini cheesecakes, consider the cooling time. They need a couple of hours in the fridge for flavors to meld perfectly. This waiting period allows them to achieve the ideal texture while enabling the flavors to intensify.
Experimenting with toppings transforms these cheesecakes into edible art. Fresh berries add a pop of color. Meanwhile, sprinkles bring a festive element suitable for birthdays. Whatever the choice, the toppings can elevate the presentation immensely.
Troubleshooting and Variations
If cracks appear, don’t worry. Minor imperfections happen to the best chefs. If they do occur, a generous drizzle of chocolate sauce or a sprinkle of powdered sugar can conceal them beautifully.
Variations include using different crust bases, like Oreo crumbs, for a unique flavor twist. Introduce creative toppings that suit the party theme, ensuring no two batches are the same.
Serving and Presenting Mini Birthday Cheesecakes
Presentation
When it comes to serving, presentation matters. Arrange the mini cheesecakes on a tiered stand for an impressive display that draws attention. Adding garnishes like mint leaves or whipped cream can elevate their visual appeal.
Consider the color of your toppings. Vibrant fruits can boost the festive spirit, while a drizzle of chocolate provides a rich contrast. Each mini cheesecake serves as its own little celebration.
Pairings and Storage
While pairings can vary, complementary flavors always enhance the experience. Serve these mini cheesecakes alongside fresh fruit or a scoop of ice cream for a delightful contrast.
Storing them correctly extends their freshness. Place leftover mini cheesecakes in an airtight container and refrigerate for up to five days. Before serving leftovers, freshen them up with new toppings for a revived presentation.
Conclusion
Mini birthday cheesecakes encapsulate the essence of celebration in a unique way. With a richly flavored filling and a crunchy crust, they effortlessly bring joy to any gathering. Each bite takes you on a nostalgic journey, filled with rich creaminess and delightful toppings. From preparation to presentation, these mini treats promise to be a hit at any birthday event. Whether you stick to the classic version or explore creative variations, the success of these mini cheesecakes is guaranteed.
Print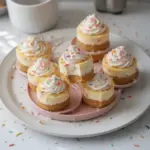
Best Mini Birthday Cheesecakes
- Prep Time: 15 minutes
- Cook Time: 20 minutes
- Total Time: 135 minutes
- Yield: 12 servings
- Category: Dessert
- Method: Baking
- Cuisine: American
- Diet: Vegetarian
Description
Delightful mini cheesecakes that transform celebrations with their creamy texture and rich flavors.
Ingredients
- 1 cup graham cracker crumbs
- 1/4 cup granulated sugar (for crust)
- 1/2 cup unsalted butter, melted
- 16 oz cream cheese, softened
- 1/2 cup granulated sugar (for filling)
- 1 teaspoon vanilla extract
- 2 large eggs
- 1/4 cup sour cream
- Assorted toppings (fruits, sprinkles, chocolate, etc.)
Instructions
- Preheat the oven to 325°F (163°C).
- Combine graham cracker crumbs, 1/4 cup sugar, and melted butter in a bowl. Mix well.
- Press the mixture into the bottom of a mini cheesecake pan or muffin tin lined with paper liners.
- Beat the cream cheese, 1/2 cup sugar, and vanilla until smooth in a large bowl.
- Add eggs one at a time, mixing well after each addition.
- Stir in sour cream until well combined.
- Pour the cream cheese mixture over the crust in the pan.
- Bake for 18-20 minutes or until the center is set.
- Let cool, then refrigerate for at least 2 hours.
- Top with your choice of fruits, sprinkles, or chocolate before serving.
Notes
Keep an eye on the baking time to avoid cracks. Refrigeration helps flavors meld.