
📑 Table of Contents ▶
Venison Nuggets
A memorable camping trip introduced me to the irresistible delight of venison nuggets. As the sun set behind the trees, the smell of sizzling venison filled the air, inviting everyone around the campfire to gather. That first bite transported me to a world of flavor — crunchy on the outside and tender on the inside. Venison nuggets quickly became a staple dish in my home.
The beauty of making these nuggets lies in their simplicity. Using quality ingredients, you can easily recreate that campfire magic, right in your kitchen. The transformation of venison steaks into these delightful bites will not only impress your family but will also secure a spot in your dinner rotation.
Venison nuggets offer a wonderful balance of spices, creating a flavor-packed experience you won’t forget. With a straightforward preparation process and a little patience, you’ll serve up a dish that celebrates the rich taste of venison.
Getting into the kitchen to create your own venison nuggets might just become your new favorite activity. Let’s dive into the details so you can savor this dish at home.
Venison Nuggets Essentials
Fundamentals
Understanding the fundamentals of making venison nuggets starts with recognizing the star ingredient — venison. This lean meat packs a punch of flavor, making it perfect for frying. Choosing the right cut ensures your nuggets are juicy and tender. The buttermilk marinade is equally crucial; it not only tenderizes the meat but also enhances the flavor.
The coating mixture creates the perfect crunchy layer outside the meat. A blend of flour and various seasonings adds depth to the bites, while plain breadcrumbs provide that desired crunch. Each element plays an important role in creating a dish that stands out.
Preparation/Setup
Getting started on your venison nuggets involves a few essential steps. First, gather all your ingredients: venison steak, buttermilk, flour, breadcrumbs, and seasonings. Preparing your workspace in advance streamlines the cooking process.
Begin by patting the venison dry with paper towels. This crucial step helps the buttermilk adhere better, leading to a more flavorful nugget. After that, the marinating process takes center stage. Allow the venison chunks to soak in the buttermilk for at least 30 minutes or, ideally, overnight. This time allows the flavors to penetrate the meat.
Next, whip up your coating mixture. Combine all the dry ingredients well for an even distribution of flavors. Set up your frying station with the flour mix on one side and the breadcrumbs on the other for an organized assembly line.
Ingredients
- 2 venison steaks (about 1 to 1¼ lb total, cut into bite-sized chunks)
- 1 cup buttermilk (or homemade)
- 1 cup plain breadcrumbs
- 1 cup all-purpose flour
- 1 teaspoon salt
- ½ teaspoon black pepper
- 1 teaspoon paprika
- ½ teaspoon garlic powder
- ½ teaspoon onion powder
- ¼ teaspoon cayenne pepper (optional, for a little heat)
- Lard (for frying, enough to fill your skillet about ½ inch deep)
Directions
-
Pat the venison chunks dry with paper towels.
-
Place the pieces in a bowl and pour the buttermilk over them, stirring to coat. Let sit for 30 minutes (or refrigerate for up to overnight).
-
In a shallow dish, combine the flour, salt, pepper, paprika, garlic powder, onion powder, and cayenne.
-
Spread the breadcrumbs out in another shallow dish.
-
Remove the venison from the buttermilk, allowing excess to drip off. Coat each piece first in the seasoned flour, then press into the breadcrumbs until well-covered. Set them aside.
-
Pour enough lard into a 10" cast iron skillet to reach about ½ inch deep. Heat over medium until it reaches about 350°F, or until a pinch of flour sizzles when dropped in.
-
Fry the venison nuggets in batches, ensuring not to crowd the skillet. Cook for 3-5 minutes per side until they are golden and cooked through. Adjust heat as necessary to maintain a steady temperature.
-
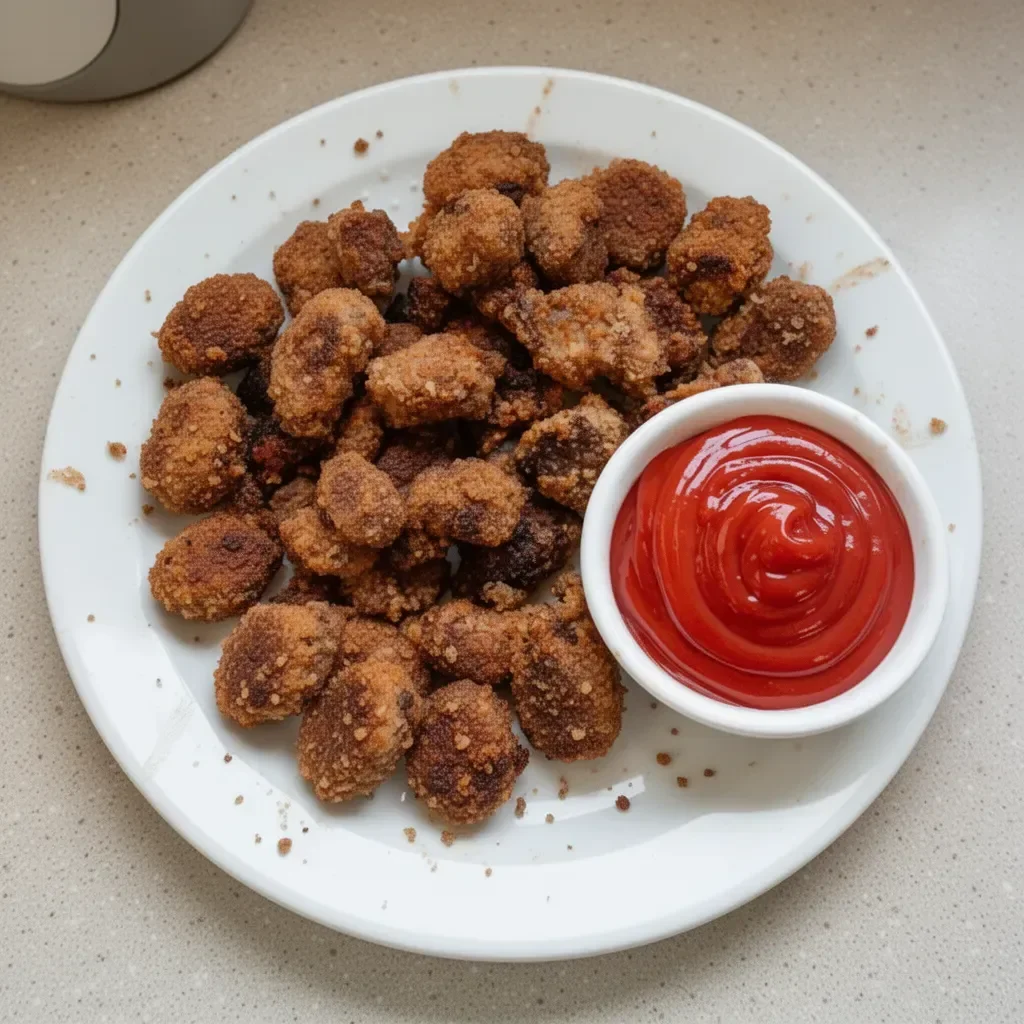
Transfer the cooked nuggets to a paper towel-lined plate and sprinkle with a little extra salt if desired. Serve hot with your favorite dipping sauces such as ketchup, BBQ sauce, or honey mustard.
Creating the Perfect Venison Nuggets
Technique
Frying venison nuggets offers a unique blend of technique and timing. Achieving the perfect crispy exterior while maintaining a juicy interior requires careful temperature control and attention. Begin by ensuring that your lard is hot enough before adding the nuggets. Too low of a temperature can lead to greasy, soggy bites, while overly hot oil may burn the coating before the meat cooks through.
Fry in small batches. Overcrowding the skillet lowers the oil temperature, leading to uneven cooking. Allow each batch adequate time to develop a golden crust. Using a set of tongs, gently turn the nuggets halfway through cooking for even browning.
Tips/Tricks
Making venison nuggets can be enhanced with a few careful tips. Experiment with the seasoning mix to create your desired flavor profile. Add more spices if you enjoy a kick or stick to more straightforward seasonings for a milder flavor.
The marinating time also plays a crucial role in flavor infusion; longer soaking times yield enhanced tenderness and taste. If using homemade buttermilk, combine just enough milk with vinegar to mimic the effect of store-bought buttermilk. It’s a quick solution that works wonders.
In terms of storage, leftover nuggets can be kept in the fridge in an airtight container. Reheat them in a hot oven to retain crispiness.
Perfecting Venison Nugget Results
Troubleshooting/Variations
Not all cooking experiences go as planned. For instance, if your nuggets turn out greasy, check the oil temperature — it may have been too low while frying. If the coating falls off during cooking, ensure the venison pieces are well-coated in both flour and breadcrumbs before frying.
You might also want to explore variations in your recipe. Try adding grated Parmesan cheese to your breadcrumb coating for extra flavor. Using different seasoning blends can take your venison nuggets from savory to spiced just how you like them.
Adapting the recipe for air frying can yield equally delicious results. Adjust cooking times and temperatures accordingly for crispiness without deep frying. Experiment with various techniques to find your perfect method.
Serving Suggestions and Storage
Serving/Presentation
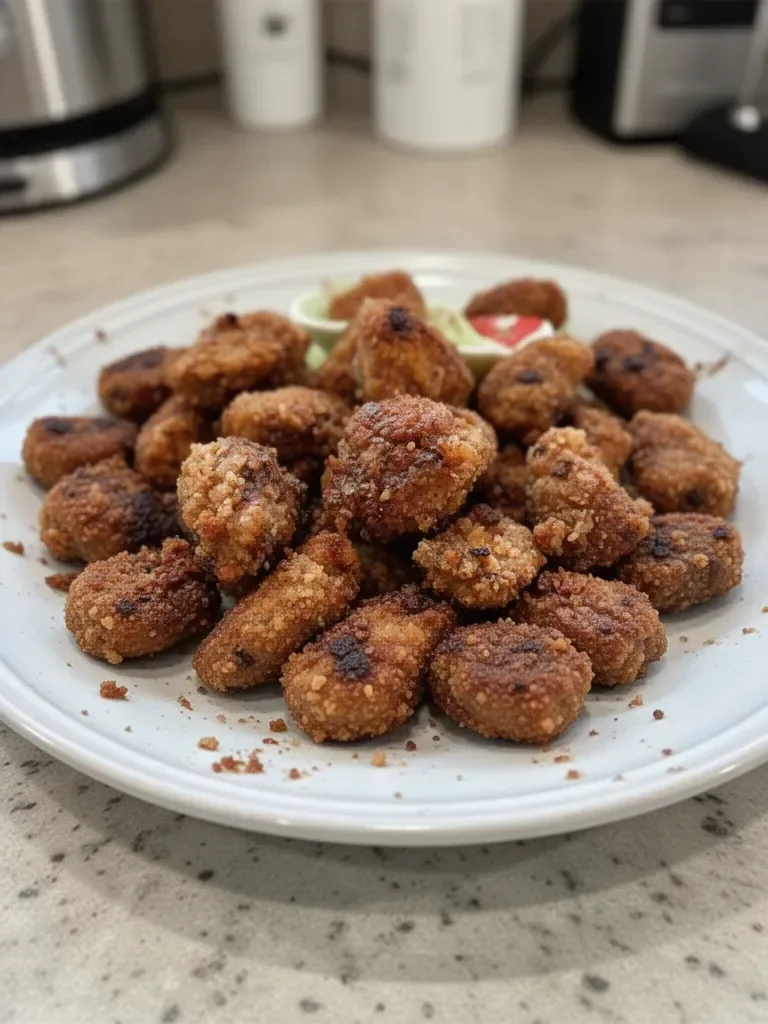
Presenting your venison nuggets can be as enjoyable as making them. Serve them on a wooden board for a rustic feel, or arrange them on a colorful platter. Adding small bowls of various dipping sauces elevates the experience and invites everyone to customize their meal.
For added flair, garnish with fresh herbs like parsley or chives. This not only brightens up the presentation but adds a pop of color that enhances visual appeal.
Pairings/Storage
While venison nuggets shine on their own, they pair wonderfully with a variety of sides. Think crispy fries, coleslaw, or a fresh garden salad to complement the rich flavors of the nuggets.
To store your leftovers, place them in an airtight container and refrigerate. They can typically last for up to three days. For longer storage, consider freezing the cooked nuggets on a baking sheet first, then transferring them to a freezer-safe bag for future cravings.
Conclusion
Making venison nuggets provides a delightful culinary adventure that brings together flavors and textures. From marinating to frying, each step in the process creates a dish that offers satisfaction with every bite. Enjoy the fun of preparing these bites with family or friends, and relish the joy of serving something truly special. Explore various techniques, and don’t hesitate to adapt the recipe to your personal taste. The journey of crafting the perfect venison nuggets is as rewarding as the delicious results you’ll serve at the table.
Print
Venison Nuggets
- Prep Time: 30 minutes
- Cook Time: 15 minutes
- Total Time: 45 minutes
- Yield: 4 servings
- Category: Appetizer
- Method: Frying
- Cuisine: American
- Diet: Paleo
Description
Deliciously crispy venison nuggets that bring the campfire flavor to your kitchen. Perfect for impressing family and friends!
Ingredients
- 2 venison steaks (about 1 to 1¼ lb total, cut into bite-sized chunks)
- 1 cup buttermilk (or homemade)
- 1 cup plain breadcrumbs
- 1 cup all-purpose flour
- 1 teaspoon salt
- ½ teaspoon black pepper
- 1 teaspoon paprika
- ½ teaspoon garlic powder
- ½ teaspoon onion powder
- ¼ teaspoon cayenne pepper (optional)
- Lard (for frying, enough to fill your skillet about ½ inch deep)
Instructions
- Pat the venison chunks dry with paper towels.
- Place the pieces in a bowl and pour the buttermilk over them, stirring to coat. Let sit for 30 minutes (or refrigerate for up to overnight).
- Combine in a shallow dish the flour, salt, pepper, paprika, garlic powder, onion powder, and cayenne.
- Spread the breadcrumbs out in another shallow dish.
- Remove the venison from the buttermilk, allowing excess to drip off. Coat each piece first in the seasoned flour, then press into the breadcrumbs until well-covered. Set them aside.
- Pour enough lard into a 10″ cast iron skillet to reach about ½ inch deep. Heat over medium until it reaches about 350°F.
- Fry the venison nuggets in batches, ensuring not to crowd the skillet. Cook for 3-5 minutes per side until they are golden and cooked through.
- Transfer the cooked nuggets to a paper towel-lined plate and sprinkle with a little extra salt if desired. Serve hot with your favorite dipping sauces.
Notes
Experiment with different seasonings and try adding grated Parmesan cheese to the breadcrumbs for extra flavor.