
📑 Table of Contents ▶
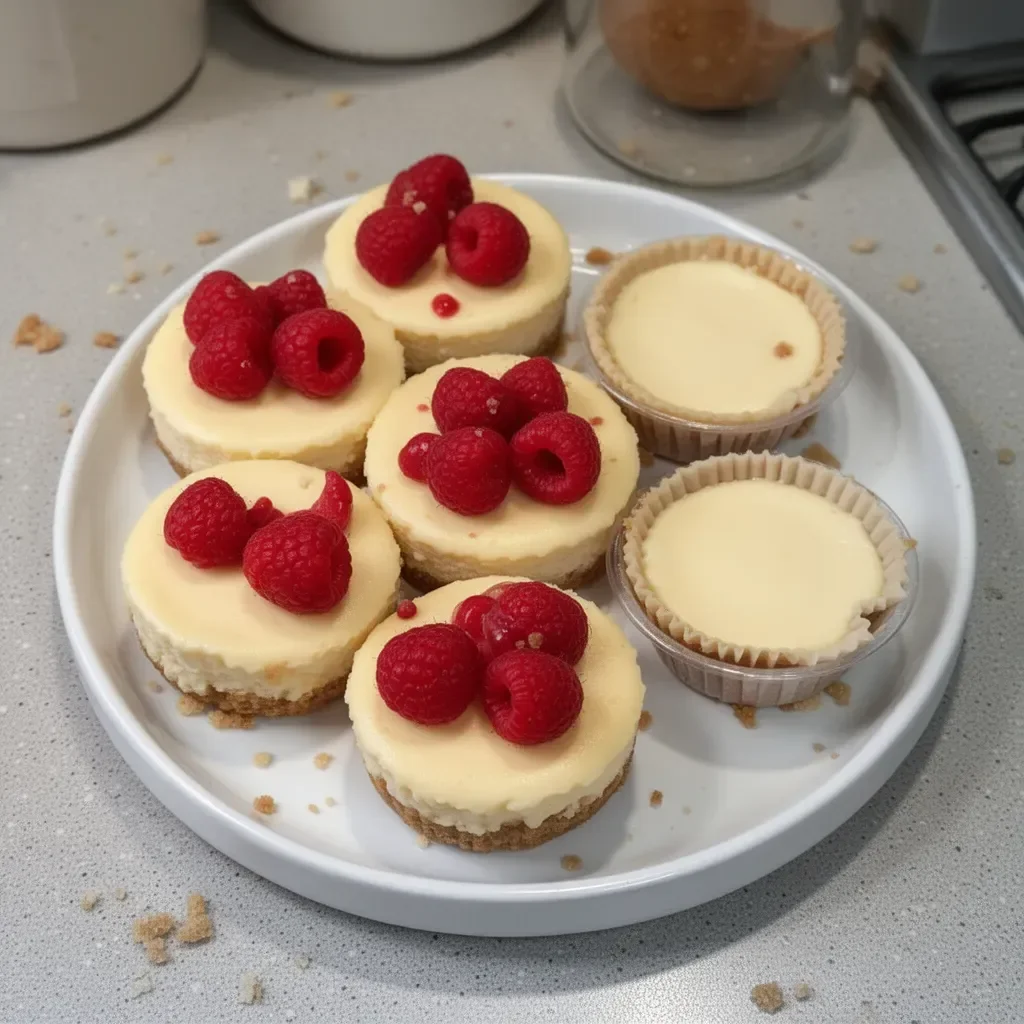
Small Batch Mini Cheesecakes
Nothing brings back fond memories quite like the taste of homemade mini cheesecakes. Growing up, my kitchen always buzzed with laughter and joy as my family gathered to create these delightful treats. I remember the first time I made them all by myself. The smell of warm graham cracker crust filled the air, and as I swirled the creamy cheesecake filling, anticipation bubbled within me. Each bite was pure bliss.
To this day, small batch mini cheesecakes hold a special place in my heart. They’re perfect for every occasion, whether it’s a simple dessert after dinner or a surprise treat for guests. I love how they’re both elegant and easy to make, offering the rich flavors of traditional cheesecake without the fuss.
Creating small batch mini cheesecakes lets you indulge in something special while keeping portions manageable. These bites of heaven capture the essence of comfort food and celebration in every creamy layer.
With just a handful of ingredients, you can craft mini cheesecakes that will impress anyone. Each bite draws you in, making it impossible to stop at just one. Let’s dive into the world of small batch mini cheesecakes, where deliciousness awaits.
Understanding Small Batch Mini Cheesecakes
Fundamentals
Small batch mini cheesecakes simplify the traditional cheesecake process while maintaining a luxurious taste. They offer the perfect solution when you crave something sweet but want to keep things portion-controlled. This recipe thrives on flavor and simplicity, allowing the ingredients to shine.
The essence of a good cheesecake lies in its creamy texture and balanced flavor. Using full-fat cream cheese yields that luxurious mouthfeel, while sour cream elevates the richness. Pairing these with a crispy, buttery graham cracker crust builds a perfect foundation for the cheesecake filling.
What makes small batch mini cheesecakes even more appealing is their flexibility. You can easily personalize them with your favorite toppings or mix-ins. Whether you want to keep it classic or get adventurous, the options are endless.
Preparation/setup
Crafting these mini cheesecakes requires minimal prep work. First, preheat your oven to 350°F, ensuring the baking environment is just right. Prepare a muffin pan lined with paper liners, ready for the graham cracker crust.
Combining graham cracker crumbs, melted butter, and sugar is the first step. This simple mixture transforms into a crumbly texture, perfect for forming your crust. Press it firmly into the muffin cups to create a solid base for your cheesecake. A short bake time of just five minutes helps set the crust before adding the filling.
Ingredients
The ingredient list for small batch mini cheesecakes is short, but each component plays a crucial role:
- Graham Cracker Crumbs (2/3 cup): These create a delicious, crisp crust.
- Butter (2 tablespoons): Adds richness and helps the crust hold together.
- White Granulated Sugar (1 tablespoon): Sweetens the crust.
- Cream Cheese (1 8oz block): This rich base gives the cheesecake its signature flavor and creaminess.
- White Granulated Sugar (1/4 cup): Sweetens the filling, balancing the tanginess of the cream cheese.
- Sour Cream (1/4 cup): Contributes to the cheesecake’s creamy texture and adds a hint of tartness.
- Vanilla Extract (1/2 teaspoon): Enhances the overall flavor.
- Lemon Juice (1 teaspoon): Brightens the filling and adds a subtle zing.
- Egg (1): Provides structure to the filling, ensuring it sets perfectly.
Directions
- Preheat the oven to 350°F. Prepare a muffin pan with paper liners, using 8-10 cups.
- In a medium bowl, combine graham cracker crumbs, melted butter, and sugar. The mixture should resemble wet sand.
- Press about 1.5 tablespoons of the crust mixture into each muffin cup, forming an even layer. Bake for 5 minutes.
- In another bowl, beat the cream cheese and 1/4 cup of sugar until smooth and creamy using a mixer.
- Add the sour cream, vanilla extract, and lemon juice to the mixture, blending until combined.
- Add the egg, mixing until just incorporated. The batter should be thick and creamy.
- Divide the cheesecake filling among the crusts, using 3-4 tablespoons per cup.
- Bake for 19-21 minutes, or until the centers appear just set. Give the pan a jiggle to check.
- Allow the mini cheesecakes to cool to room temperature in the pan for about 30 minutes.
- Transfer to the refrigerator and chill for 1-2 hours until fully set.
- Once chilled, top with fresh berries or your favorite toppings before serving.
Crafting the Perfect Cheesecake
Technique
Achieving the ideal small batch mini cheesecakes lies in mastering the technique. Start by ensuring all ingredients are at room temperature. This step allows for a smoother batter, avoiding lumps that hinder the cheesecake’s texture.
When beating the cream cheese, take your time to ensure it’s thoroughly mixed. This practice results in a creamy filling that’s light and airy. Avoid overmixing, especially after adding the egg. Overmixing can incorporate too much air, leading to cracking during baking.
When filling the crusts, even distribution is key. Use a scoop or spoon for consistent amounts, ensuring that each cheesecake has the same rich flavor and texture.
Tips/Tricks
While this recipe is straightforward, a couple of tips can enhance your results. Use high-quality cream cheese for the best flavor and texture. Store brands may save money but often produce a grainy filling.
Always check for doneness by gently jiggling the pan. If the centers are slightly wobbly but hold their shape, they’re done baking. Overbaking may lead to dryness, so err on the side of caution.
For added color and flavor, consider topping your cheesecakes with fresh berries or a drizzle of fruit sauce. These additions not only improve presentation but also add another layer of taste.
Perfecting Your Mini Cheesecakes
Perfecting results
To ensure consistently perfect small batch mini cheesecakes, practice makes perfect. Experiment with your mixing technique, and be mindful of oven temperatures. Each oven can behave differently, affecting baking times.
Chilling the cheesecakes is as crucial as the baking process. Placing them in the refrigerator after they’ve cooled to room temperature allows them to firm up, giving them that signature cheesecake consistency.
To avoid cracking, be cautious when baking. Maintaining a consistent oven temperature and avoiding overmixing can lead to perfect results every time. If you notice small cracks, don’t worry; they’ll still taste delicious.
Troubleshooting/variations
If you encounter issues with your cheesecakes, a few common problems may arise. If they deflate after baking, overmixing could be the cause. Keep mixing to a minimum, especially after adding the egg.
For variations, consider adding in chocolate chip morsels or citrus zest for an exciting twist. If you want richer flavors, replace the sour cream with cream cheese or experiment with flavored extracts, like almond or coconut, to customize the profile.
You can also make crust substitutions, such as using crushed cookies instead of graham crackers, to explore different taste profiles.
Serving and Storage
Serving/presentation
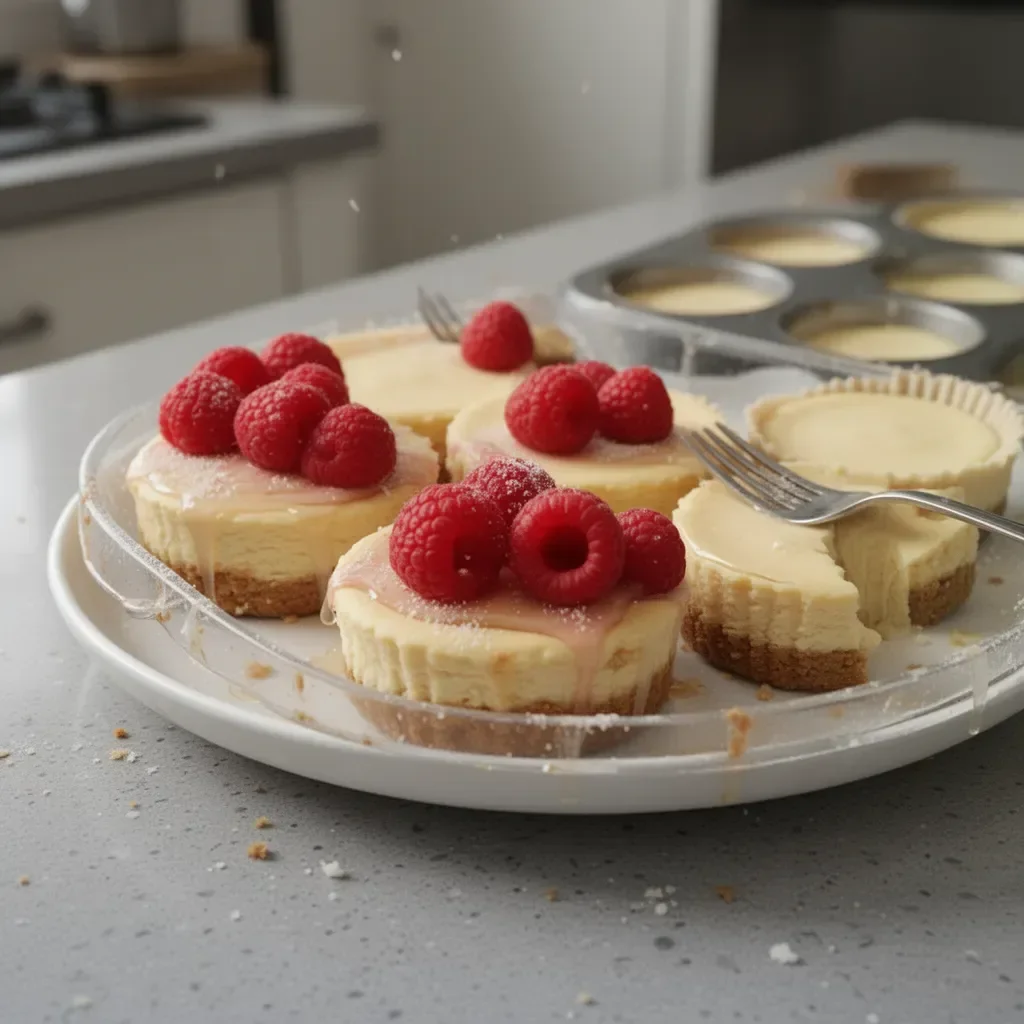
Present your small batch mini cheesecakes beautifully to wow your guests. A dollop of whipped cream or a sprinkle of fresh mint can add vibrant colors. Arrange fresh berries on top for an inviting and appetizing look.
Consider serving the mini cheesecakes on a decorative platter, creating an elegant display. Pair them with coffee or tea for a delightful treat that balances sweetness with warmth.
Pairings/storage
These mini cheesecakes make an excellent complement to a variety of foods. Enjoy them alongside fresh fruit or savory snacks to create a balanced dessert spread.
When it comes to storing, keep your mini cheesecakes in the refrigerator. They’ll last up to a week if well-covered. To freeze, individually wrap each cheesecake in plastic wrap before placing them in an airtight container. They will maintain quality for about two months. Just thaw in the refrigerator when ready to enjoy again.
Conclusion
Small batch mini cheesecakes exemplify the comfort of homemade desserts. With a few simple ingredients, the process of creating these treats brings joy and flavor to any occasion. The resulting mini cheesecakes are not only delicious but also remarkably satisfying, making them ideal for sharing or savoring all by yourself. Each bite takes you back to cherished moments in the kitchen, reminding you of the love and care that goes into baking.
Print
Small Batch Mini Cheesecakes
- Prep Time: 15 minutes
- Cook Time: 30 minutes
- Total Time: 45 minutes
- Yield: 8 servings
- Category: Dessert
- Method: Baking
- Cuisine: American
- Diet: Vegetarian
Description
Delight in homemade small batch mini cheesecakes that offer rich flavors and a creamy texture, perfect for any occasion.
Ingredients
- 2/3 cup Graham Cracker Crumbs
- 2 tablespoons Butter, melted
- 1 tablespoon White Granulated Sugar
- 1 (8oz) block Cream Cheese, softened
- 1/4 cup White Granulated Sugar
- 1/4 cup Sour Cream
- 1/2 teaspoon Vanilla Extract
- 1 teaspoon Lemon Juice
- 1 Egg
Instructions
- Preheat the oven to 350°F and prepare a muffin pan with paper liners for 8-10 cups.
- Combine graham cracker crumbs, melted butter, and sugar in a medium bowl until the mixture resembles wet sand.
- Press about 1.5 tablespoons of the crust mixture into each muffin cup, forming an even layer. Bake for 5 minutes.
- Beat the cream cheese and 1/4 cup of sugar until smooth and creamy using a mixer.
- Add the sour cream, vanilla extract, and lemon juice, blending until combined.
- Add the egg, mixing until just incorporated to keep the batter thick and creamy.
- Divide the cheesecake filling among the crusts, using 3-4 tablespoons per cup.
- Bake for 19-21 minutes, or until the centers appear just set.
- Allow the mini cheesecakes to cool to room temperature in the pan for about 30 minutes.
- Transfer to the refrigerator and chill for 1-2 hours until fully set.
- Top with fresh berries or your favorite toppings before serving.
Notes
Use high-quality cream cheese for the best results. Check for doneness by gently jiggling the pan; the centers should be slightly wobbly but hold their shape.