
📑 Table of Contents ▶
- Nilla Wafer Banana Pudding Cups: The Basics
- Fundamentals
- Preparation/Setup
- Directions
- Crafting Nilla Wafer Banana Pudding Cups
- Technique
- Tips/Tricks
- Perfecting Nilla Wafer Banana Pudding Cups
- Perfecting Results
- Troubleshooting/Variations
- Serving Nilla Wafer Banana Pudding Cups
- Serving/Presentation
- Pairings/Storage
Nilla Wafer Banana Pudding Cups
Growing up, some of my fondest memories revolve around gathering with family and friends for special occasions. One dessert always seemed to make an appearance: banana pudding made with Nilla Wafers. The creamy texture, the sweetness of fresh bananas, and those iconic cookies created an irresistible flavor combo that never failed to bring smiles to our faces.
These Nilla Wafer Banana Pudding Cups take that nostalgic recipe and transform it into a fun, yet elegant dessert experience. Each cup captures layers of goodness, making it perfect for parties or a simple family treat.
The best part? Preparing these delightful cups is simple and enjoyable. Children can join in on the fun, making them not just a dessert but a memory-making activity. Nilla Wafer Banana Pudding Cups will surely become a favorite for anyone who loves a classic dessert that’s easy to assemble and hard to resist.
Nilla Wafer Banana Pudding Cups: The Basics
Fundamentals
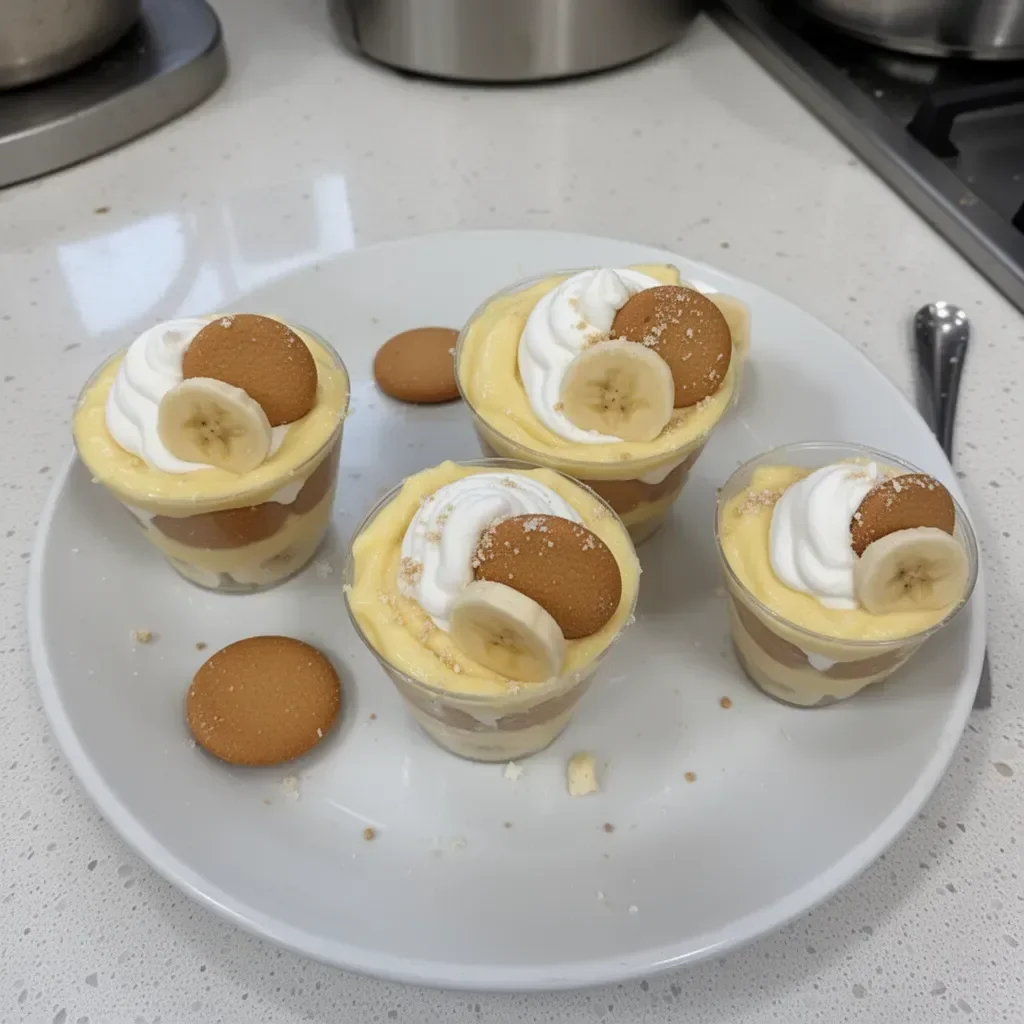
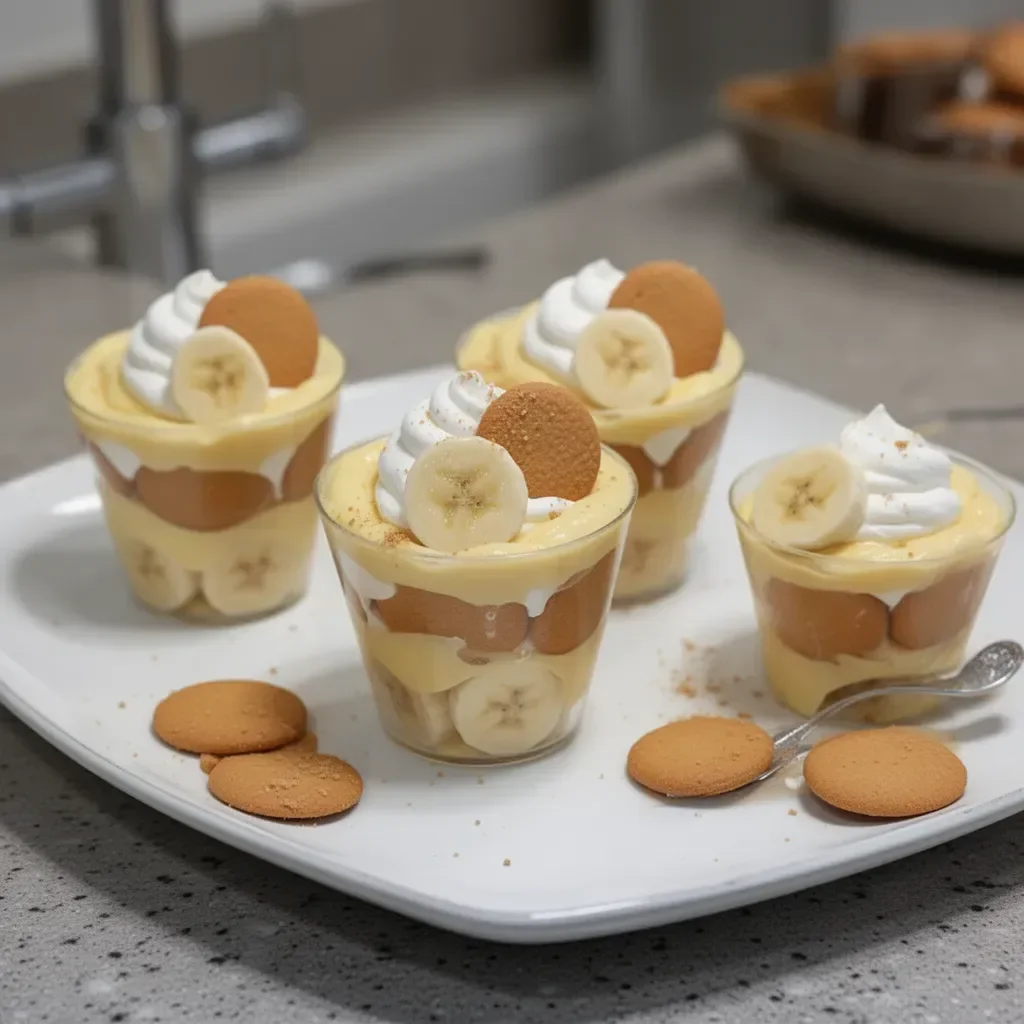
Nilla Wafer Banana Pudding Cups create a delightful combination that highlights multiple textures and flavors. The creamy vanilla pudding pairs wonderfully with fluffy whipped cream and fresh banana slices, creating a perfect balance. Each layer offers its own unique taste and contributes to a delightful overall experience.
These cups are more than just delicious; they also appeal visually. When you first see the layers of pudding, whipped cream, and banana slices peeking through the clear cups, it stirs anticipation and excitement. The Nilla Wafers frame the dish, and their spacing ensures that they catch the eye as well as the palate.
Preparation/Setup
Setting up the Nilla Wafer Banana Pudding Cups is straightforward and quick. You’ll need six transparent plastic cups, which not only showcase the layers beautifully but also make serving easy. Gather the ingredients—cold milk, instant vanilla pudding, heavy whipping cream, powdered sugar, vanilla extract, bananas, and, of course, Nilla Wafers.
The preparation involves multiple mixing bowls, so pull them out before you start for efficiency. With everything set, you can follow each step with enthusiasm as your dessert transforms before your eyes.
Ingredients
- 2 cups cold milk
- 1 package (3.4 ounces) instant vanilla pudding
- 2 cups heavy whipping cream
- 1/4 cup powdered sugar
- 1 teaspoon vanilla extract
- 2-3 large bananas (peeled and sliced)
- 36 Nilla Wafer cookies
Directions
- In a medium mixing bowl, whisk together the cold milk with the instant vanilla pudding until thickened. Cover the bowl and refrigerate until needed.
- In a separate medium mixing bowl, beat together the heavy whipping cream, powdered sugar, and vanilla extract with an electric mixer on medium speed until stiff peaks form.
- Set 6 plastic 9-ounce punch cups on the counter or a cookie sheet. Place banana slices along the bottom of each cup around the sides so they are visible outside the cup.
- Scoop 1/4 cup of the vanilla pudding into the bottom of each cup and spread it out, ensuring the banana slices are fully covered.
- Place 4-5 Nilla Wafers in each cup on top of the pudding layer, positioning the cookies facing out. This way, each round cookie is visible through the sides of the cups.
- Scoop 1/4 cup of the whipped cream into each cup and smooth it out so the Nilla Wafers are fully covered with the whipped cream.
- Divide the remaining vanilla pudding evenly into each cup.
- Top with a dollop of whipped cream and a Nilla Wafer for garnish. If serving immediately, add a slice of banana for garnish as well.
Crafting Nilla Wafer Banana Pudding Cups
Technique
Mastering the technique behind Nilla Wafer Banana Pudding Cups enhances both flavor and presentation. When mixing the vanilla pudding, whisk vigorously to ensure it achieves the perfect thickness. This step is crucial because a well-thickened pudding acts as the backbone for the entire dessert.
Pay attention to the whipping cream as well. When you beat the heavy whipping cream, watch for the moment stiff peaks form. This texture not only adds a creamy layer but also offers visual appeal when piped or spread into the cups.
Tips/Tricks
-
Layering: Pay attention to how you layer each component. Ensure banana slices, pudding, and whipped cream are evenly distributed for consistent flavors in each bite.
-
Chill Time: After assembling the cups, you can chill them for an hour if you prefer a firmer dessert, allowing the layers to meld perfectly.
-
Presentation: Use vibrant bananas and sprinkle extra Nilla Wafer crumbs on top for a beautiful presentation that wins over any crowd.
-
Assembly Line: Create an assembly line to streamline the process if making multiple servings. This method allows for easy preparation, and it keeps everything organized.
Perfecting Nilla Wafer Banana Pudding Cups
Perfecting Results
To achieve the best results with Nilla Wafer Banana Pudding Cups, freshness is key. Use ripe bananas that are firm yet sweet. Avoid overly ripe bananas that may turn mushy quickly.
Monitor the thickness of the pudding closely. Over-mixing can cause it to become too thick or grainy, taking away from the final texture you desire. The balance of the ingredients will contribute to a light and fluffy mouthfeel, which makes every bite enjoyable.
Troubleshooting/Variations
Sometimes, things don’t go as planned with dessert preparations. If the pudding does not thicken sufficiently, it could be due to the temperature of the milk. Make sure the milk is cold, as room temperature milk may not create the same firm texture.
Consider variations if you wish to switch things up. Try Nilla Wafer Banana Pudding Cups with chocolate pudding for a richer flavor or incorporate different fruit layers like strawberries for a fresh twist. These swaps can create enticing new experiences while maintaining the essence of the classic dessert.
Serving Nilla Wafer Banana Pudding Cups
Serving/Presentation
Serve your Nilla Wafer Banana Pudding Cups chilled for a refreshing dessert that’s perfect for any occasion. The visual appeal of each cup, adorned with banana slices and a Nilla Wafer on top, creates an inviting presentation. This dessert can be transformed into a centerpiece for any dessert table, attracting everyone to enjoy a small indulgence.
Use a dessert spoon for easy eating, allowing layers to mix gently together as each scoop brings the perfect combination of creaminess and crunch.
Pairings/Storage
These pudding cups pair well with coffee or a glass of cold milk. You can serve them at parties or family gatherings, where they will brighten the table and delight guests of all ages.
Store any leftovers covered in the refrigerator for up to two days. While they are best enjoyed fresh, leftovers can still be delicious. Note that the bananas may brown over time, so it’s a good idea to store them without the banana garnish if you plan to keep them for a day or two.
Nilla Wafer Banana Pudding Cups blend nostalgia with modern presentation, making them the perfect dessert for any occasion. Enjoy the delightful flavors and fun layers that promise to satisfy your sweet tooth!
Print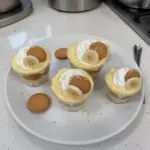
Nilla Wafer Banana Pudding Cups
- Prep Time: 15 minutes
- Cook Time: 0 minutes
- Total Time: 15 minutes
- Yield: 6 servings
- Category: Dessert
- Method: No-Bake
- Cuisine: American
- Diet: Vegetarian
Description
Delightful cups of layered banana pudding featuring Nilla Wafer cookies, creamy vanilla pudding, and fluffy whipped cream.
Ingredients
- 2 cups cold milk
- 1 package (3.4 ounces) instant vanilla pudding
- 2 cups heavy whipping cream
- 1/4 cup powdered sugar
- 1 teaspoon vanilla extract
- 2-3 large bananas (peeled and sliced)
- 36 Nilla Wafer cookies
Instructions
- Whisk together the cold milk with the instant vanilla pudding until thickened. Cover the bowl and refrigerate until needed.
- Beat together the heavy whipping cream, powdered sugar, and vanilla extract with an electric mixer on medium speed until stiff peaks form.
- Set 6 plastic 9-ounce punch cups on the counter or a cookie sheet. Place banana slices along the bottom of each cup around the sides so they are visible outside the cup.
- Scoop 1/4 cup of the vanilla pudding into the bottom of each cup and spread it out, ensuring the banana slices are fully covered.
- Place 4-5 Nilla Wafers in each cup on top of the pudding layer, positioning the cookies facing out.
- Scoop 1/4 cup of the whipped cream into each cup and smooth it out so the Nilla Wafers are fully covered.
- Divide the remaining vanilla pudding evenly into each cup.
- Top with a dollop of whipped cream and a Nilla Wafer for garnish. If serving immediately, add a slice of banana for garnish as well.
Notes
Use ripe bananas for best flavor; chill for an hour for firmer dessert. Consider layering with chocolate pudding for a twist.