
📑 Table of Contents ▶
- Matilda’s Chocolate Cake
- Understanding Matilda’s Chocolate Cake
- Fundamentals
- Preparation/Setup
- Directions
- Crafting Perfect Layers of Matilda’s Chocolate Cake
- Technique
- Tips and Tricks
- Perfecting Matilda’s Chocolate Cake
- Perfecting Results
- Troubleshooting and Variations
- Presenting Matilda’s Chocolate Cake
- Serving and Presentation
- Pairings and Storage
- Matilda’s Chocolate Cake
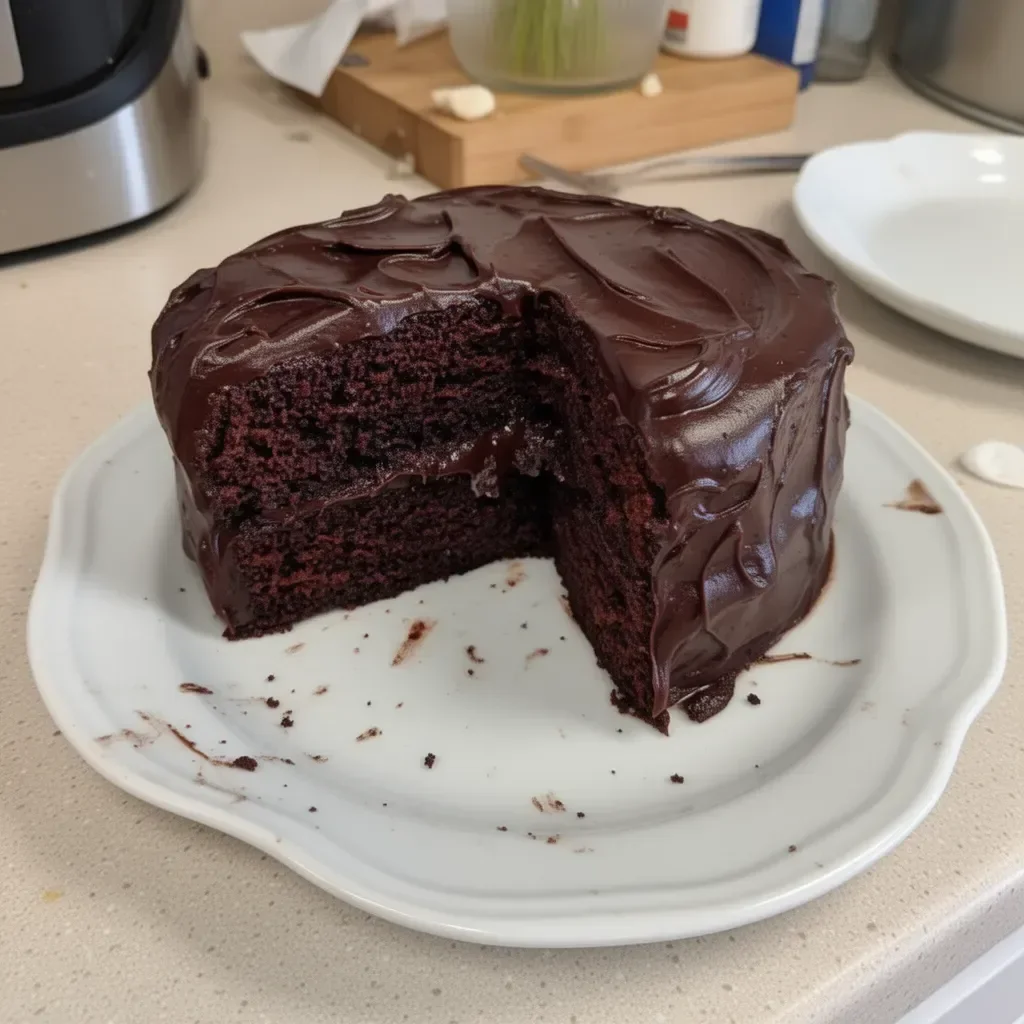
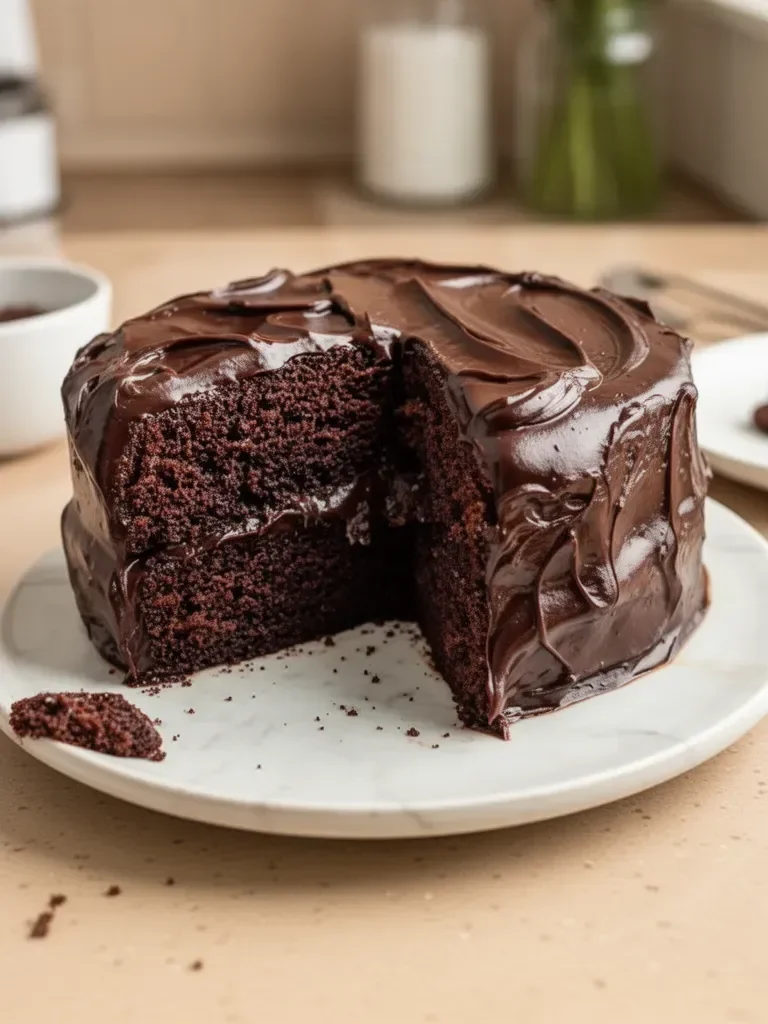
Matilda’s Chocolate Cake
Growing up, chocolate cake was the centerpiece of every family gathering. Matilda’s Chocolate Cake always stole the show at birthdays and special occasions. The rich, velvety chocolate texture, topped with luscious fudge frosting, created a dessert experience that lingered in memory long after the last slice was gone. The aroma of baking chocolate still evokes feelings of warmth and comfort, which is why I often find myself turning to this classic cake for any celebration.
Every bite offers a sweet nostalgia, reminding us how important it is to share delightful moments over food. Making Matilda’s Chocolate Cake is not just about mixing ingredients; it’s a journey back to those simpler times when everyone gathered around the table, eager to dig into a slice of chocolate heaven. This recipe delivers all that and more, making it perfect for creating lasting memories with loved ones.
If you’re ready to bring the delicious essence of Matilda’s Chocolate Cake to your own kitchen, let’s dive into the essential elements that make this cake irresistibly tasty.
Understanding Matilda’s Chocolate Cake
Fundamentals
Matilda’s Chocolate Cake begins with the fundamentals of cake baking. The combination of soft and dry ingredients creates a complex flavor profile that both excites and satisfies. This cake stands out not only for its taste but also for its simplicity in preparation, making it accessible for bakeries of all skill levels.
The foundation includes all-purpose flour, granulated sugar, and unsweetened cocoa powder. The blending of these dry ingredients lays the groundwork for a cake that rises perfectly and provides a rich chocolate flavor. Baking powder and baking soda serve as leavening agents, ensuring that the cake achieves a fluffy texture. These baking essentials are further enhanced by the eggs and milk, adding moisture and structure.
Preparation/Setup
Before embarking on the baking adventure, setting up your workspace is vital. Start by preheating your oven to 350°F (175°C). This temperature creates the perfect environment for even cake baking. Greasing and flouring two 9-inch round cake pans helps to prevent sticking, ensuring that each layer releases smoothly when it’s time to assemble the cake.
Having all ingredients measured and ready will speed up the process. Gather all-purpose flour, granulated sugar, cocoa powder, baking powder, baking soda, salt, eggs, whole milk, vegetable oil, vanilla extract, and boiling water. Each ingredient plays a role in crafting that perfect slice of cake.
Ingredients
– 1 3/4 cups all-purpose flour
– 1 1/2 cups granulated sugar
– 3/4 cup unsweetened cocoa powder
– 1 1/2 teaspoons baking powder
– 1 1/2 teaspoons baking soda
– 1 teaspoon salt
– 2 large eggs
– 1 cup whole milk
– 1/2 cup vegetable oil
– 2 teaspoons vanilla extract
– 1 cup boiling water
– 2 cups chocolate fudge frosting (for filling and topping)
Directions
- Preheat the oven to 350°F (175°C). Grease and flour two 9-inch round cake pans.
- In a large mixing bowl, combine the flour, sugar, cocoa powder, baking powder, baking soda, and salt.
- Add the eggs, milk, oil, and vanilla to the dry ingredients and mix until well combined.
- Stir in the boiling water until the batter is smooth (it will be thin).
- Divide the batter evenly between the prepared pans.
- Bake for 30-35 minutes or until a toothpick inserted into the center comes out clean.
- Allow the cakes to cool in the pans for 10 minutes, then transfer to wire racks to cool completely.
- Once cooled, spread chocolate fudge frosting on top of one layer, place the second layer on top, and frost the top and sides of the cake.
- Serve and enjoy!
Crafting Perfect Layers of Matilda’s Chocolate Cake
Technique
Mastering the technique of cake baking makes a significant impact on the outcome. Begin by ensuring that all ingredients are at room temperature before mixing. This simple step helps the ingredients blend more effectively, leading to a uniform batter.
When mixing the dry ingredients, whisk them together thoroughly to ensure a consistent distribution of leavening agents. This step prevents one layer from rising more than the other during baking.
After adding the wet ingredients, mix gently. Over-mixing can create a dense cake, which we want to avoid. As you incorporate the boiling water, you will notice that the batter becomes thinner, which is completely normal. This thin batter helps create the soft, moist texture we love in chocolate cake.
Tips and Tricks
Every baker has their own tips for success. One valuable piece of advice is to rotate your cake pans halfway through the baking time. This guarantees even cooking, especially in ovens with hot spots.
If you’re unsure whether your cake is done, use the toothpick test. Insert a toothpick in the center of the cake; if it comes out clean or with a few moist crumbs, your cake is ready.
Lastly, embrace the cooling process. Instead of rushing to frost while the cake is still warm, let it cool completely. This patience pays off with a neater frosting application and a better overall presentation.
Perfecting Matilda’s Chocolate Cake
Perfecting Results
Achieving the perfect Matilda’s Chocolate Cake might seem challenging, but with practice, it becomes second nature. Using cake strips can help ensure even baking and prevent dome-shaped layers. These strips insulate the pan’s sides and maintain a more consistent temperature while baking.
Texture is equally as important as taste. For a super moist cake, consider adding a bit of mayonnaise or sour cream to the batter. This small addition significantly enhances the cake’s moisture content without altering the flavor.
Troubleshooting and Variations
Baking is often about trial and error. If your cake comes out dense, check that your measurements were accurate. Too much flour can lead to compactness. When measuring flour, spoon it into the measuring cup and level it off without packing it down.
For those who enjoy custom variations, consider adding ingredients like espresso powder to enhance the chocolate flavor or substituting the vegetable oil with melted butter for a richer taste. These variations keep Matilda’s Chocolate Cake fresh and exciting every time you bake it.
Presenting Matilda’s Chocolate Cake
Serving and Presentation
Presentation elevates Matilda’s Chocolate Cake from a simple dessert to a showstopper. Serve slices on beautiful plates and consider garnishing with chocolate shavings or fresh berries for an eye-catching look.
When stacking the layers, make sure the top layer is even. A crooked layer affects both aesthetics and structure. Using a cake leveler can help slice the top off the domed layer for a flat surface.
Pairings and Storage
Matilda’s Chocolate Cake pairs wonderfully with traditional sides such as coffee or milk, which enhance its rich flavor. If you want to serve it alongside a refreshing option, consider a light fruit salad or whipped cream.
For storage, keep the cake in an airtight container at room temperature for up to three days. If saving leftovers, refrigerate them for longer preservation, but let the cake reach room temperature before serving again for the best texture.
Matilda’s Chocolate Cake remains a cherished recipe that brings back joyful memories. The rich chocolate flavor and fluffy texture invite everyone to gather around for celebrations or casual family dinners. With each step revealed—from the fundamentals of the ingredients to the techniques of perfecting the bake—this cake continues to impress and delight. Whether you’re crafting it for a special occasion or simply satisfying a sweet tooth, this cake holds a special place in the hearts and bellies of all who enjoy it.
Print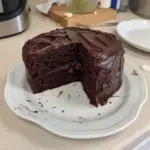
Matilda’s Chocolate Cake
- Prep Time: 15 minutes
- Cook Time: 35 minutes
- Total Time: 50 minutes
- Yield: 12 servings
- Category: Dessert
- Method: Baking
- Cuisine: American
- Diet: Vegetarian
Description
A rich, velvety chocolate cake topped with luscious fudge frosting, perfect for celebrations.
Ingredients
- 1 3/4 cups all-purpose flour
- 1 1/2 cups granulated sugar
- 3/4 cup unsweetened cocoa powder
- 1 1/2 teaspoons baking powder
- 1 1/2 teaspoons baking soda
- 1 teaspoon salt
- 2 large eggs
- 1 cup whole milk
- 1/2 cup vegetable oil
- 2 teaspoons vanilla extract
- 1 cup boiling water
- 2 cups chocolate fudge frosting (for filling and topping)
Instructions
- Preheat the oven to 350°F (175°C) and grease and flour two 9-inch round cake pans.
- Combine the flour, sugar, cocoa powder, baking powder, baking soda, and salt in a large mixing bowl.
- Add the eggs, milk, oil, and vanilla to the dry ingredients and mix until well combined.
- Stir in the boiling water until the batter is smooth (the batter will be thin).
- Divide the batter evenly between the prepared pans.
- Bake for 30-35 minutes or until a toothpick inserted into the center comes out clean.
- Allow the cakes to cool in the pans for 10 minutes, then transfer to wire racks to cool completely.
- Once cooled, spread chocolate fudge frosting on top of one layer, place the second layer on top, and frost the top and sides of the cake.
- Serve and enjoy!
Notes
For a moist cake, consider adding mayonnaise or sour cream. Rotate pans halfway through baking for even cooking.