
📑 Table of Contents ▶
- Boston Cream Pie Cookie Fundamentals
- Fundamentals
- Preparation/Setup
- Directions
- Crafting the Perfect Boston Cream Pie Cookies
- Technique
- Tips and Tricks
- Perfecting Boston Cream Pie Cookies
- Perfecting Results
- Troubleshooting/Variations
- Serving and Storing Boston Cream Pie Cookies
- Serving/Presentation
- Pairings and Storage
Boston Cream Pie Cookies
The first time I experienced the delight of Boston cream pie cookies, I knew they would become a staple in my baking repertoire. It was a chilly afternoon, and I wanted to create something special inspired by the rich flavors of my favorite dessert. The idea of transforming the iconic Boston cream pie into a cookie form excited me. As I set out to combine the creamy goodness of whipped cream and chocolate with buttery, sweet cookies, I felt a rush of anticipation.
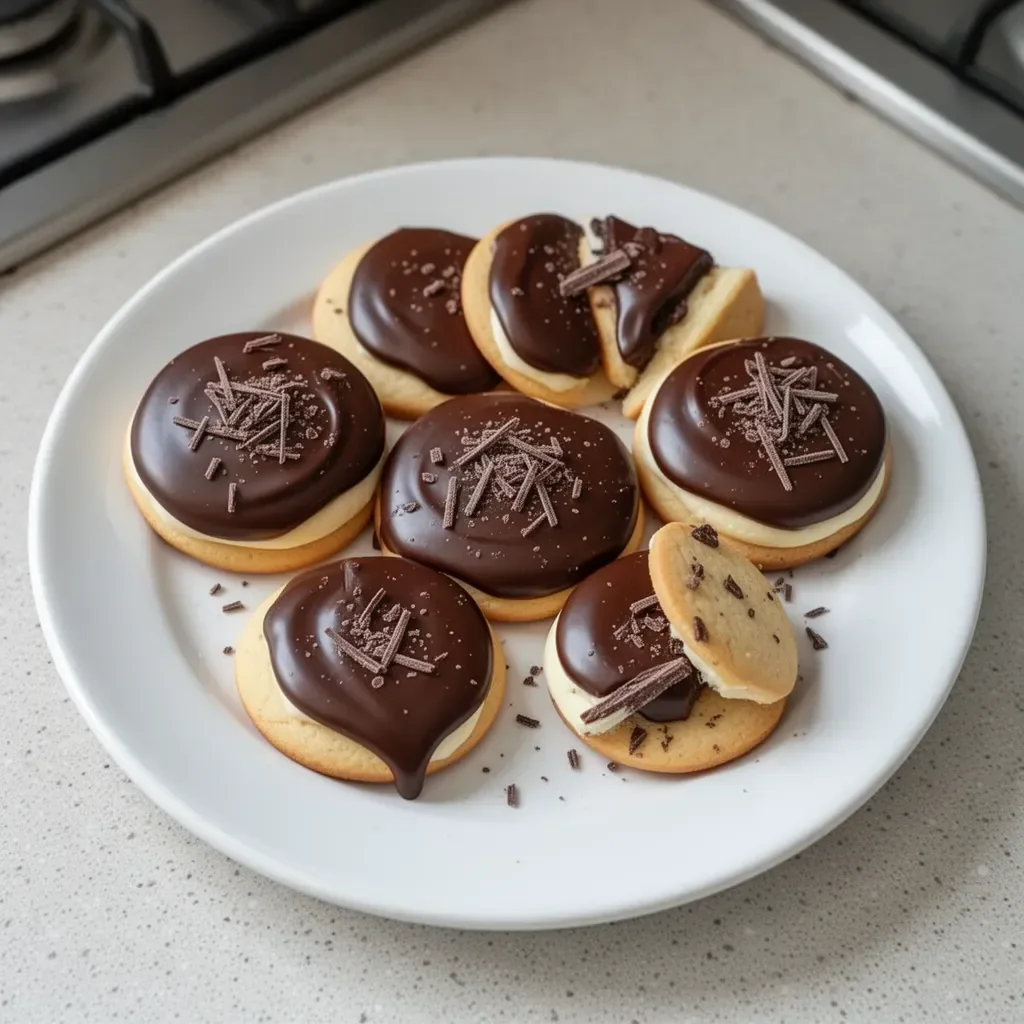
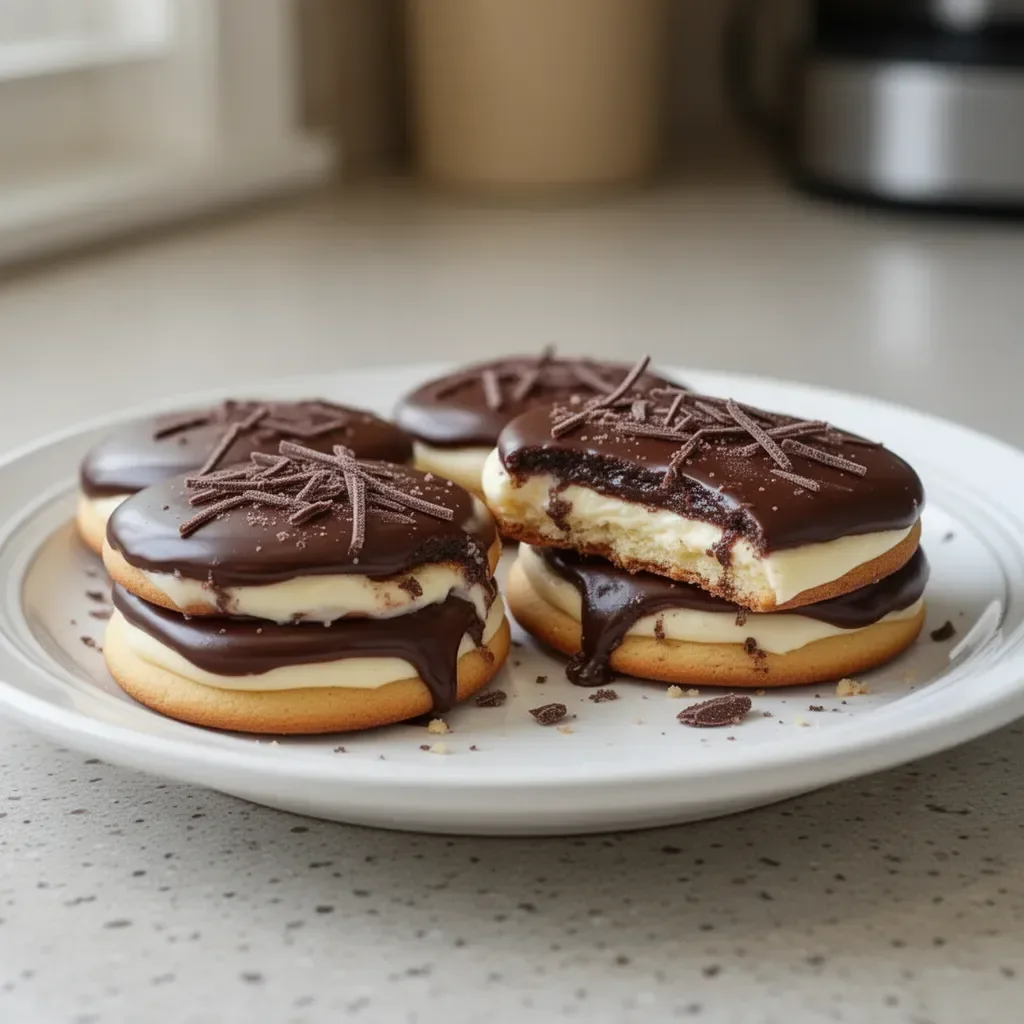
Boston cream pie cookies encapsulate the joy of dessert in every bite. The warm, chewy texture paired with silky whipped cream and drizzled chocolate glaze brings nostalgia and comfort. Creating these cookies takes me back to family gatherings where sweetness filled the air, and everyone, young and old, gathered around the table. Each cookie sandwich perfectly balances the soft cookie with the rich filling, making every moment of enjoyment unforgettable.
Combining familiar ingredients, I can construct these delectable treats. The thought of sharing this deliciousness with friends reels me into the kitchen, eager to start. The memories created during the baking process further enhance the love for these scrumptious cookies. Join me in discovering how to craft your own Boston cream pie cookies, a dessert that will undoubtedly steal the show!
Boston Cream Pie Cookie Fundamentals
Fundamentals
Boston cream pie cookies consist of dynamics that make them a unique treat. The melty chocolate glaze and fluffy whipped cream filling transform standard cookies into a delightful dessert experience. The heart of these cookies lies in their soft, buttery texture and harmonious blend of flavors. It’s essential to understand each component to achieve that perfect balance of cookie, cream, and glaze.
Preparation/Setup
Preparation is crucial in crafting these cookies. You will want to begin by organizing your ingredients and gathering your baking tools. Preheating the oven to 350°F (175°C) sets the stage for the baking magic to happen. Greasing or lining your baking sheet with parchment paper creates a non-stick surface, ensuring the cookies come off the sheet easily after baking.
Before diving into the dough, be sure to gather a mixing bowl, whisk, or electric mixer. These tools will facilitate the creaming and mixing processes. Having everything on hand allows for a smoother baking experience.
Ingredients
Gathering your ingredients makes the baking process enjoyable. For this recipe, you will need:
- 1 cup unsalted butter, softened
- 1 cup granulated sugar
- 2 large eggs
- 2 teaspoons vanilla extract
- 2 cups all-purpose flour
- 1 teaspoon baking powder
- 1/2 teaspoon salt
- 1 cup whipped cream
- 1 cup semi-sweet chocolate chips
- 1/2 cup heavy cream
These simple yet vital components will lead to the delightful creation of Boston cream pie cookies.
Directions
Now that you’re all set, let’s get baking! Follow these easy steps to create your Boston cream pie cookies:
- Preheat the oven to 350°F (175°C).
- In a large bowl, cream together the softened butter and granulated sugar until light and fluffy.
- Beat in the eggs, one at a time, followed by stirring in the vanilla extract.
- In a separate bowl, whisk together the all-purpose flour, baking powder, and salt. Gradually add this dry mixture to the butter mixture.
- Drop spoonfuls of dough onto a baking sheet lined with parchment paper.
- Bake for 12-15 minutes or until lightly golden. Let the cookies cool completely.
- Once cooled, pipe or spoon whipped cream onto the bottom side of half of the cookies.
- Top with the remaining cookies to form delicious sandwiches.
- For the glaze, heat heavy cream until it simmers, then pour it over the chocolate chips in a bowl. Stir until smooth and glossy.
- Drizzle the chocolate glaze over the cookie sandwiches.
- Let the glaze set before serving.
Crafting the Perfect Boston Cream Pie Cookies
Technique
Mastering Boston cream pie cookies requires attention to technique. Properly creaming the butter and sugar ensures the cookies achieve the desired light and fluffy consistency. Mix at medium speed until you see a pale, airy mixture with no lumps. This step adds air, essential for light, textured cookies.
When adding eggs, do so one at a time, ensuring each is fully incorporated before adding the next. The vanilla extract enhances the flavor, so allow it to blend thoroughly. Regarding the flour mixture, add gradually while mixing on low speed to avoid flour clouds and ensure everything combines uniformly.
Tips and Tricks
Baking can be unpredictable, but these tips will help guarantee success. Ensure your butter is softened to room temperature for optimal blending. Cold butter can lead to a dense cookie dough. For accurate measuring, spoon flour into the measuring cup and level it off without packing. This avoids dense cookies caused by compacted flour.
Let the cookies cool fully before adding the whipped cream filling. Warm cookies can cause the cream to melt and make the sandwiches messy. For an extra touch of flavor, consider adding a bit of instant vanilla pudding mix to the whipped cream for stability.
Perfecting Boston Cream Pie Cookies
Perfecting Results
Creating the ultimate Boston cream pie cookie takes practice and patience. A few elements can help enhance these cookies further. Baking time varies based on your oven, so keep an eye on the cookies toward the end of the baking process. They should be lightly golden but remain soft to achieve a chewy texture.
Making the glaze smooth is crucial, as it impacts presentation. If you find the glaze too thick, you can always add a splash more heavy cream to reach the desired consistency.
Troubleshooting/Variations
If you run into issues, adjustments are simple. Cookies that spread too much can indicate too warm or soft butter. Chilling the dough for 30 minutes before baking can help them maintain their shape. If you’re gluten-free, consider substituting all-purpose flour for a gluten-free blend.
Experimenting with flavors can also lead to unique variations. Adding orange or almond extract could elevate the classic cookie in delightful ways. Each spin on the original recipe makes way for new favorites.
Serving and Storing Boston Cream Pie Cookies
Serving/Presentation
Serving Boston cream pie cookies can be as easy as stacking them on a decorative plate. A drizzle of extra chocolate glaze enhances their visual appeal and adds flair to your dessert table. Feel free to dust some powdered sugar for a touch of elegance; it contrasts beautifully with the chocolate.
Accompanying these cookies with a dollop of whipped cream or a scoop of vanilla ice cream might take the experience to another level. The creaminess enhances the cookies, creating a perfect harmony in flavor and texture.
Pairings and Storage
These cookies pair wonderfully with a range of beverages! Consider serving them alongside a warm cup of coffee or tea, balancing sweetness and warmth. Store leftover cookies in an airtight container in the fridge for up to a week. These delicacies retain their taste and texture, ensuring enjoyment for days after baking.
For longer-term storage, freeze unfilled cookies in a freezer-safe bag. Thaw and fill with whipped cream just before serving for fresh-tasting treats.
Boston cream pie cookies capture the essence of dessert in captivating bites, making them the perfect treat for any occasion. Their rich flavors and delightful creaminess will be a hit among friends and family alike.
Print
Boston Cream Pie Cookies
- Prep Time: 20 minutes
- Cook Time: 15 minutes
- Total Time: 35 minutes
- Yield: 12 servings
- Category: Dessert
- Method: Baking
- Cuisine: American
- Diet: Vegetarian
Description
A delightful transformation of the classic Boston cream pie into chewy cookie sandwiches filled with whipped cream and drizzled with chocolate glaze.
Ingredients
- 1 cup unsalted butter, softened
- 1 cup granulated sugar
- 2 large eggs
- 2 teaspoons vanilla extract
- 2 cups all-purpose flour
- 1 teaspoon baking powder
- 1/2 teaspoon salt
- 1 cup whipped cream
- 1 cup semi-sweet chocolate chips
- 1/2 cup heavy cream
Instructions
- Preheat the oven to 350°F (175°C).
- Cream together the softened butter and granulated sugar until light and fluffy.
- Beat in the eggs, one at a time, followed by stirring in the vanilla extract.
- Whisk together the all-purpose flour, baking powder, and salt in a separate bowl. Gradually add this dry mixture to the butter mixture.
- Drop spoonfuls of dough onto a baking sheet lined with parchment paper.
- Bake for 12-15 minutes or until lightly golden. Let the cookies cool completely.
- Pipe or spoon whipped cream onto the bottom side of half of the cookies.
- Top with the remaining cookies to form delicious sandwiches.
- Heat heavy cream until it simmers, then pour it over the chocolate chips in a bowl. Stir until smooth and glossy.
- Drizzle the chocolate glaze over the cookie sandwiches.
- Let the glaze set before serving.
Notes
For a stable whipped cream, consider adding a bit of instant vanilla pudding mix.