
📑 Table of Contents ▶
- Traditional Filipino Spring Rolls
- Fundamentals
- Preparation/Setup
- Directions
- Crafting The Perfect Traditional Filipino Spring Rolls
- Technique
- Tips/Tricks
- Perfecting Traditional Filipino Spring Rolls
- Perfecting Results
- Troubleshooting/Variations
- Serving and Storing Traditional Filipino Spring Rolls
- Serving/Presentation
- Pairings/Storage
- Traditional Filipino Spring Rolls
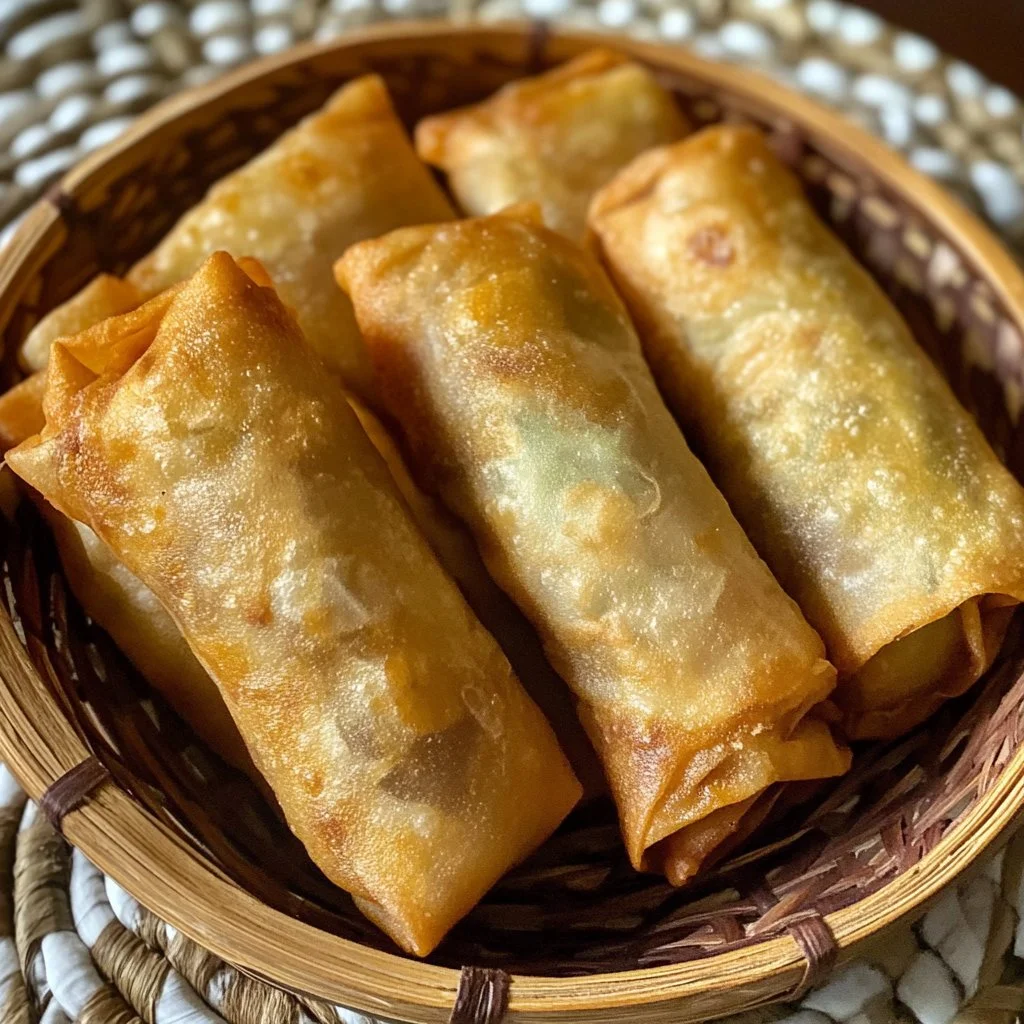
Traditional Filipino Spring Rolls
Every family has its special recipes that spark warmth and joy during gatherings. For many, traditional Filipino spring rolls evoke delicious memories of celebrations. Growing up, I often found myself in the kitchen, watching the delicate process of rolling and frying these bite-sized treasures. Each preparation felt like a small event of its own, with the enticing aroma filling the air.
Traditional Filipino spring rolls, or "lumpia," became a staple at family parties and holiday feasts. Friends would gather, laughter would fill the room, and everyone would eagerly await the first bite of those crispy rolls. The delightful crunch followed by the flavorful explosion of ingredients inside made each spring roll a charming highlight. The process of making these rolls feels like a cherished tradition passed down through generations.
The versatility of traditional Filipino spring rolls captivates anyone who tastes them. They shine at gatherings and also serve as a quick and satisfying meal option. Whether enjoyed as appetizers or snacks, they always bring smiles to faces—uniting family and friends through love for good food.
Traditional Filipino Spring Rolls
Fundamentals
Traditional Filipino spring rolls boast an irresistible crunch, complemented by a myriad of fillings. The classic mixture often involves ground chicken, vegetables, and delicious spices, lovingly wrapped in delicate pastry sheets. These rolls transport one to a world of delightful flavors and textures.
The art of assembling spring rolls lies in the balance of filling and wrapping. Ensuring that each roll remains intact during the cooking process is essential. Crispy exteriors and tender interiors create the ideal combination for any spring roll lover. Understanding the base elements involved in crafting these rolls helps create a successful dish for family meals or entertaining guests.
Preparation/Setup
Setting up your workstation is crucial for creating traditional Filipino spring rolls. Begin by gathering all ingredients, including your choice of filling, wrappers, a frying pan, and oil for frying. Preparing each component in advance makes the assembly smooth and efficient.
Choose a clean and spacious area for wrapping—the table or countertop works well. Keep a bowl of water nearby to seal the edges of the wrappers. This preparation ensures that you create firm rolls that won’t fall apart during frying.
Ingredients
For traditional Filipino spring rolls, gather the following essentials:
- 1 lb ground chicken
- 1 cup finely chopped carrots
- 1 cup finely chopped green beans
- 1 cup shredded cabbage
- 3 green onions, chopped
- 2 cloves garlic, minced
- 1 egg
- 1 package of spring roll wrappers
- Cooking oil for frying
- Salt and pepper to taste
Directions
- In a large mixing bowl, combine ground chicken, carrots, green beans, cabbage, green onions, garlic, and the egg. Season with salt and pepper. Mix thoroughly until evenly combined.
- Take a spring roll wrapper and lay it flat on a clean surface, with one corner pointing towards you. Scoop a tablespoon of filling onto the wrapper, placing it just above the center.
- Fold the bottom corner over the filling, then fold in the sides. Roll tightly to secure the filling.
- Dip your finger in water and moisten the top corner to seal. Repeat this process until all filling is wrapped.
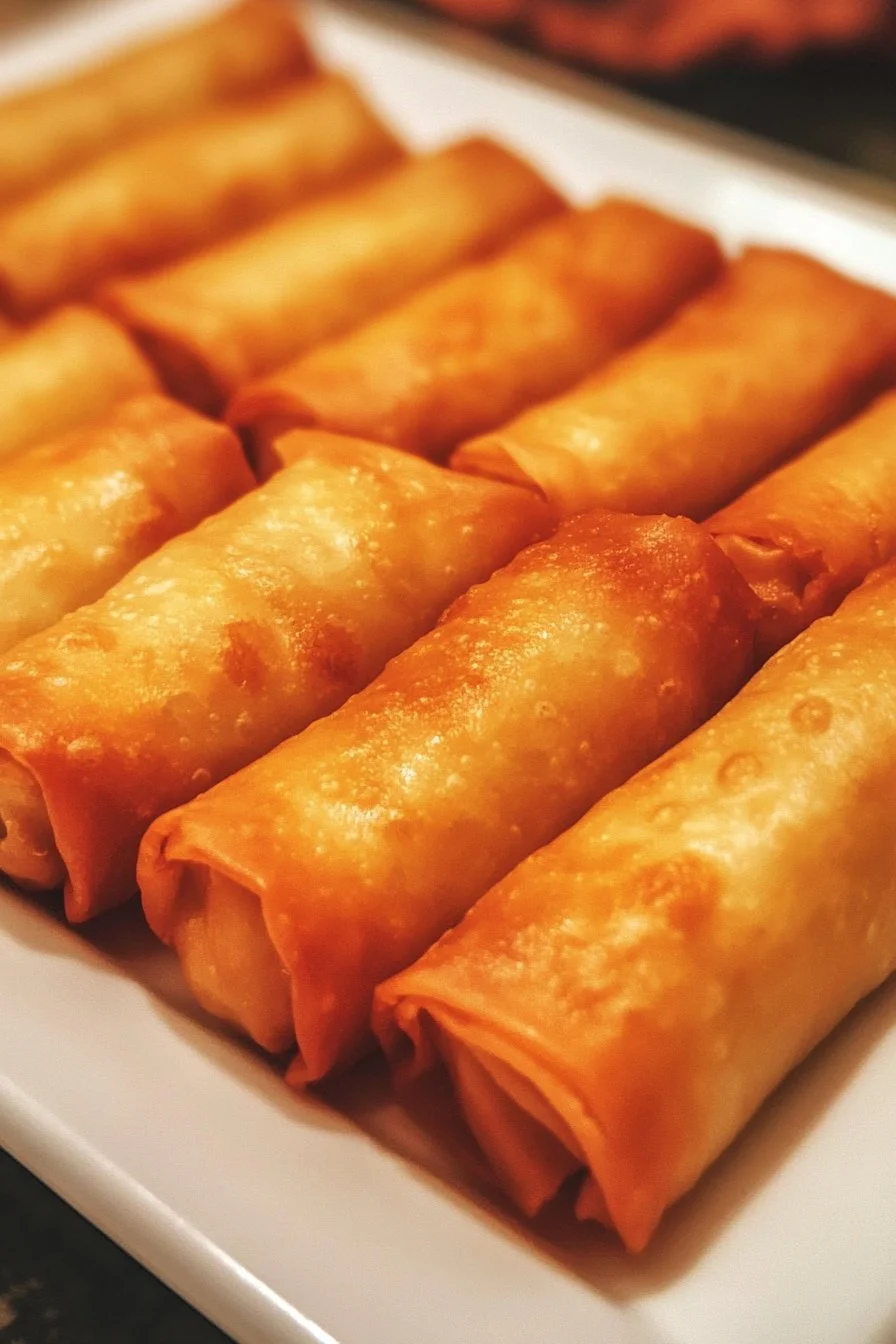
- Heat a generous amount of oil in a frying pan over medium heat. Fry the spring rolls in batches until golden brown and crispy on all sides.
- Remove the rolls from the pan and place them on a plate lined with paper towels to absorb excess oil.
Crafting The Perfect Traditional Filipino Spring Rolls
Technique
Crafting traditional spring rolls requires proper technique to achieve that perfect crispy shell. Make sure the oil temperature is hot enough before adding the rolls. A good test is to drop a small piece of spring roll wrapper into the oil—if it bubbles immediately, the oil is ready.
Frying in small batches allows for even cooking and prevents the oil temperature from dropping too much. Monitor the rolls closely to avoid burning; golden brown indicates that they’re perfectly cooked. Once cooked, place them on paper towels to help drain excess oil.
Tips/Tricks
Using fresh ingredients significantly impacts flavor. Crisp vegetables paired with quality ground chicken boost the taste of your traditional Filipino spring rolls. An assortment of filling options can add variation; try substituting vegetables or experimenting with shrimp or tofu for a different profile.
Seal your rolls carefully to prevent them from opening while frying. If the edges of the wrappers tear, use additional water to patch them. This small tip helps maintain the aesthetic appeal of your roll while keeping the filling intact.
Perfecting Traditional Filipino Spring Rolls
Perfecting Results
Achieving the perfect traditional Filipino spring rolls comes down to practice and precision. Experiment with different ingredients and spice levels to find what suits your taste. Adjust the measurement of vegetables or proteins to achieve a filling consistency you’re happy with.
Additionally, ensuring that the rolls are evenly sized helps them cook uniformly. Consistency matters, especially when frying—uniformity prevents overcooking some rolls while others remain undercooked.
Troubleshooting/Variations
Sometimes, things don’t go as planned. If your spring rolls break during frying, inspect the sealing technique used. Ensuring a proper seal prevents leaks during the cooking process. If the filling spills out, worry not! You can scoop it out and serve it as a deconstructed dish, which adds a unique twist to your presentation.
For those who enjoy a twist, experiment with different fillings. Try customizing your traditional Filipino spring rolls using beans, dal, or even mashed potatoes. Unique flavors captivate new audiences while keeping the essence of the dish alive.
Serving and Storing Traditional Filipino Spring Rolls
Serving/Presentation
Presenting traditional Filipino spring rolls can enhance the dining experience. Arrange them on a platter, garnishing with fresh herbs or drizzle with a homemade dipping sauce. Stay traditional with a sweet and sour sauce or create an exciting peanut sauce.
Serve the rolls while they are still warm, allowing guests to enjoy that incredible crunch. Accompany them with a side salad or steamy rice for a light meal. These rolls offer a versatile addition to any dining occasion.
Pairings/Storage
Storage for traditional Filipino spring rolls can be simple. Place leftover cooked rolls in an airtight container. They can last for up to three days in the refrigerator. When reheating, use an oven or air fryer for optimal crispiness—microwaving can lead to soggy rolls.
If you want to prepare them in advance, freeze the uncooked rolls in an airtight container, separated by parchment paper. These can be fried directly from frozen when needed. This preparation allows you to enjoy the treasured flavors of traditional Filipino spring rolls any time.
Traditional Filipino spring rolls evoke nostalgia and community, providing joyful experiences both in preparation and consumption. Their crunch has the power to bring families and friends together, sharing meals, laughter, and love.
Print
Traditional Filipino Spring Rolls
- Prep Time: 30 minutes
- Cook Time: 15 minutes
- Total Time: 45 minutes
- Yield: 4 servings
- Category: Appetizer
- Method: Frying
- Cuisine: Filipino
- Diet: None
Description
Crispy and flavorful traditional Filipino spring rolls, perfect for gatherings or as a satisfying snack.
Ingredients
- 1 lb ground chicken
- 1 cup finely chopped carrots
- 1 cup finely chopped green beans
- 1 cup shredded cabbage
- 3 green onions, chopped
- 2 cloves garlic, minced
- 1 egg
- 1 package of spring roll wrappers
- Cooking oil for frying
- Salt and pepper to taste
Instructions
- In a large mixing bowl, combine ground chicken, carrots, green beans, cabbage, green onions, garlic, and the egg. Season with salt and pepper. Mix thoroughly until evenly combined.
- Take a spring roll wrapper and lay it flat on a clean surface, with one corner pointing towards you. Scoop a tablespoon of filling onto the wrapper, placing it just above the center.
- Fold the bottom corner over the filling, then fold in the sides. Roll tightly to secure the filling.
- Dip your finger in water and moisten the top corner to seal. Repeat this process until all filling is wrapped.
- Heat a generous amount of oil in a frying pan over medium heat. Fry the spring rolls in batches until golden brown and crispy on all sides.
- Remove the rolls from the pan and place them on a plate lined with paper towels to absorb excess oil.
Notes
Using fresh ingredients greatly enhances flavor. Experiment with different fillings to customize your rolls.
