

📑 Table of Contents ▶
Biko
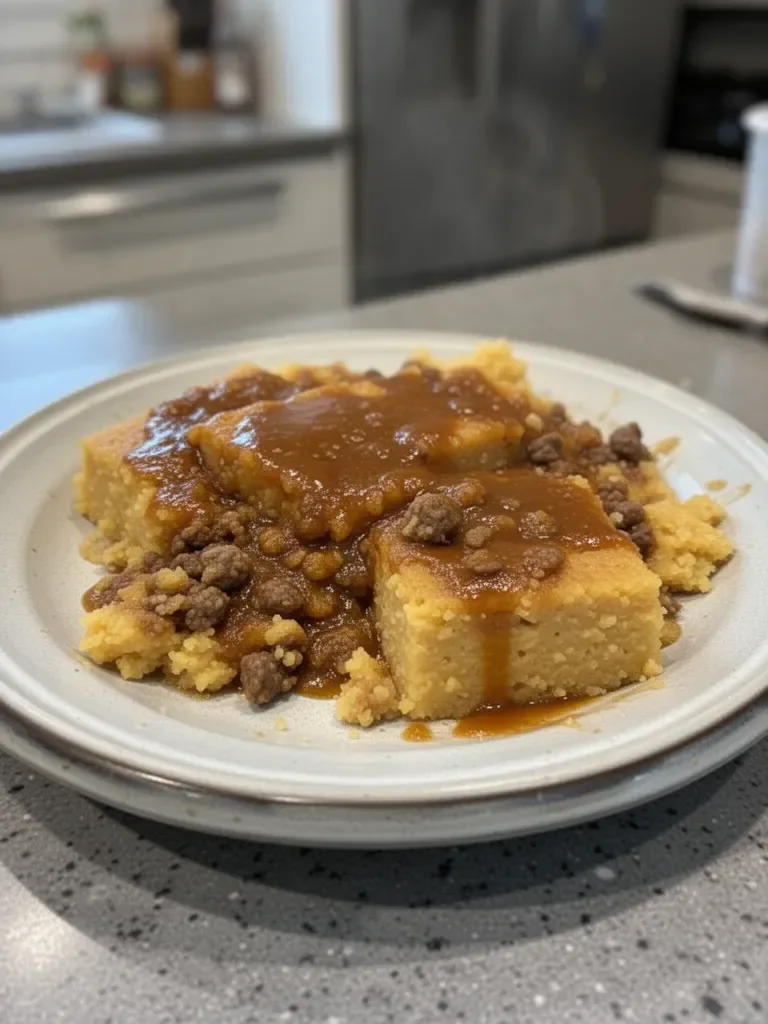
Family gatherings often bring back memories, especially when it comes to treats that everyone loves. Biko, a traditional Filipino rice cake, stands out vividly in my mind. I remember the rich aroma of coconut wafting through the air while my family prepared this delightful dessert. The moment my grandmother took the first bite and smiled was pure magic.
Biko is more than just a rice cake; it captures the essence of togetherness and celebration. It’s not just about the ingredients but also the love and laughter shared while creating it. The combination of sticky rice, coconut cream, and brown sugar creates a deliciously sweet flavor that lingers. It perfectly showcases Filipino culinary heritage, inviting everyone to gather around.
As I’ve made Biko countless times since then, I’ve grown to appreciate the nuances involved in crafting it. Every step—from rinsing the rice to allowing it to bake—plays a vital role in achieving the perfect texture and flavor. If you want to bring a piece of Filipino culture into your home, let’s dive into how to prepare this delightful dish.
Making Biko
Fundamentals
Biko is made from just a few simple ingredients, making it a great dessert for any occasion. Sticky rice, also known as Malagkit, plays the starring role. This unique rice variety has a high starch content, making it perfect for creating a chewy, satisfying texture when cooked.
Aside from sticky rice, coconut milk and coconut cream contribute to the richness of Biko. The balance of sweetness from brown sugar adds depth, while a pinch of salt enhances the overall flavor. The lemon peel invigorates the dish with a hint of citrus, cutting through the creaminess. Understanding these components provides the foundation for crafting the best Biko you’ll ever have.
Preparation/Setup
Before diving into cooking, proper preparation is essential. Start by rinsing 2 ½ cups of sticky rice until the water runs clear. This step removes excess starch, preventing the rice from becoming gummy. After rinsing, you’re ready to move on to cooking the sticky rice.
Gather your ingredients so that you’re set up for an easy cooking experience. You will need an 11 x 7 baking dish. Greasing it with vegetable oil or lining it with banana leaves ensures that your Biko won’t stick. Preheating your oven to 350°F (180°C) prepares it for baking the dish to perfection.
Ingredients
- 2 cups Sticky Rice/Malagkit
- 2 ½ cups water
- 1 can coconut milk
- 1 can coconut cream
- 1 ¼ cups brown sugar (add ¼ cup if not using molasses)
- 2 tbsp molasses (optional)
- 1 tsp salt
- Peel of 1 lemon
Directions
-
Rinse the Rice: Place the sticky rice in a bowl and rinse several times until the water runs clear. This helps remove excess starch, ensuring a better texture for your dish.
-
Cook the Sticky Rice: In a large pot over medium heat, combine the washed sticky rice and 2 ½ cups of water. Bring this mixture to a simmer, then reduce the heat to low. Cover the pot and let it cook for 25-30 minutes until all the liquid is absorbed. The rice should remain slightly undercooked, with some grains still showing a hint of white in the center. If it’s too undercooked, adding an extra ¼ cup of water will help.
-
Prep the Pan and Preheat the Oven: Grease your baking dish or line it with banana leaves. Preheat your oven to 350°F (180°C) during this time.
-
Make the Latik (Coconut Sauce): In a pan over medium heat, mix together coconut milk and coconut cream. Cook it until the mixture becomes creamy and begins to release oil. Stir in the brown sugar and salt, letting it bubble. Toss in the lemon peel for added flavor. Keep cooking until the dessert thickens into a jam-like consistency. Reserve half of this mixture in a bowl for later.
-
Mix in the Cooked Rice: Lower the heat, and fold the partially cooked sticky rice into the remaining sauce. Gently combine until the rice is fully coated and has absorbed all the liquid.
-
Assemble and Bake: Pour the rice mixture into the prepared baking dish, leveling the top and then spreading the reserved latik sauce over it. Bake in your preheated oven at 350°F (180°C) for 30-45 minutes. You’ll know it’s ready once the sauce reduces and becomes bubbly.
-
Cool and Serve: Let your Biko cool before cutting it into squares; this will make serving much easier.
Crafting Delicious Biko
Technique
Creating the perfect Biko requires a balance of technique and patience. Mastering the cooking of the sticky rice is crucial; it should be moist but not overly soft or mushy. Pay close attention during the cooking process, adjusting the heat as needed.
When preparing the latik sauce, allowing it to cook until it reaches the right consistency is vital. A jam-like texture not only enhances the flavor but also creates a visually appealing glaze over the top of your Biko.
Tips/Tricks
-
Use Fresh Coconut: If possible, fresh grated coconut will elevate the dish. However, canned varieties yield excellent results as well.
-
Experiment with Toppings: While latik is traditional, try adding toasted sesame seeds or a sprinkle of grated coconut for added texture and flavor.
-
Allow Enough Cooling Time: Patience pays off. Letting it cool before cutting helps the squares hold their shape.
Perfecting Your Biko
Perfecting Results
To truly perfect your Biko, focus on the cooking times. The sticky rice should capture moisture without becoming soggy. Aim for a bright, rich color from the caramelized brown sugar in the latik sauce. Adjust sweetness according to your taste; using molasses infuses a deeper flavor.
Experiment with lemon peel; using different citrus can offer unique twists. If possible, pair it with tropical flavors for a refreshing finish.
Troubleshooting/Variations
-
Too Wet or Gummy: If the mixture turns gummy, reduce the amount of liquid next time. Ensure that the rice is cooked just enough before mixing in the latik.
-
Too Dry: If the final product is too dry, consider adding a touch more coconut milk or cream before baking next time to maintain moisture.
-
Flavor Variations: For versions of Biko, consider adding sweetened fruits like mango or jackfruit, which pair beautifully with coconut.
Serving and Enjoying Biko
Serving/Presentation
Serve Biko warm or at room temperature for the best experience. Cutting it into squares allows for easy sharing, making it perfect for gatherings. Create a visually appealing dish by garnishing with extra latik.
Consider using coconut shavings on top for an additional layer of texture. Serving this delight with fresh fruit can enhance the overall experience, offering a contrast in flavors.
Pairings/Storage
Biko pairs well with creamy desserts or a cup of coffee for a delightful afternoon treat. A side of fresh fruit can balance its sweetness, ensuring each bite bursts with flavor.
Store leftovers in an airtight container at room temperature for up to three days. The flavors deepen over time, making it an ideal make-ahead dessert. For longer storage, refrigerate it for up to a week, reheating individual portions in the microwave.
Enjoying the process of making Biko lends itself to deeper connections with family and friends. It’s a dish born from rich tradition and numerous shared moments around the table. Through careful preparation and a little patience, you’ll create a dessert that’s not only delicious but also brings everyone together. Follow these steps to enjoy a taste of tradition that embodies love and celebration in every bite.
Print
Biko
- Prep Time: 15 minutes
- Cook Time: 45 minutes
- Total Time: 60 minutes
- Yield: 12 servings
- Category: Dessert
- Method: Baking
- Cuisine: Filipino
- Diet: Vegetarian
Description
A traditional Filipino rice cake made with sticky rice, coconut cream, and brown sugar, perfect for family gatherings and celebrations.
Ingredients
- 2 cups Sticky Rice/Malagkit
- 2 ½ cups water
- 1 can coconut milk
- 1 can coconut cream
- 1 ¼ cups brown sugar (add ¼ cup if not using molasses)
- 2 tbsp molasses (optional)
- 1 tsp salt
- Peel of 1 lemon
Instructions
- Rinse the Rice: Place the sticky rice in a bowl and rinse several times until the water runs clear.
- Cook the Sticky Rice: In a large pot over medium heat, combine the washed sticky rice and 2 ½ cups of water. Bring this mixture to a simmer, then reduce the heat to low. Cover the pot and let it cook for 25-30 minutes until all the liquid is absorbed.
- Prep the Pan and Preheat the Oven: Grease your baking dish or line it with banana leaves. Preheat your oven to 350°F (180°C).
- Make the Latik (Coconut Sauce): In a pan over medium heat, mix together coconut milk and coconut cream. Cook it until the mixture becomes creamy and begins to release oil. Stir in the brown sugar and salt, letting it bubble. Toss in the lemon peel for added flavor.
- Mix in the Cooked Rice: Lower the heat, and fold the partially cooked sticky rice into the remaining sauce. Gently combine until the rice is fully coated.
- Assemble and Bake: Pour the rice mixture into the prepared baking dish, level the top, and spread the reserved latik sauce over it. Bake in your preheated oven for 30-45 minutes.
- Cool and Serve: Let your Biko cool before cutting it into squares.
Notes
For a richer flavor, try using fresh grated coconut instead of canned. Experiment with different citrus peels for a unique twist.