
📑 Table of Contents ▶
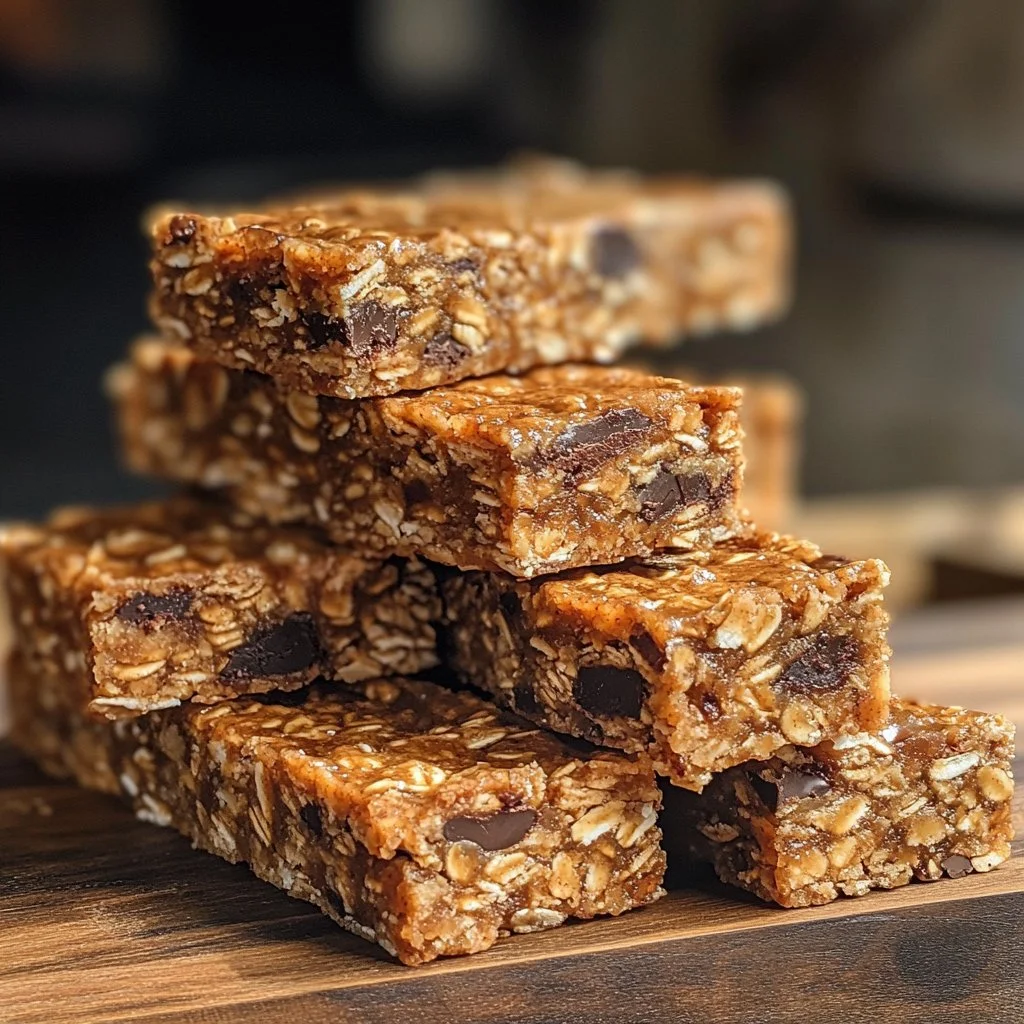
Sourdough Granola Bars
Busy mornings often call for quick snacks, and what better than homemade sourdough granola bars? Reminiscing about my childhood, I recall the joy of rummaging through the pantry for a sweet, chewy treat. Granola bars provided that perfect balance of energy and indulgence. They fueled my playdates and school lunches, each bite bursting with flavor and crunch.
Exploring the world of sourdough introduced a new dimension to my granola bars. With the creative use of sourdough starter discard, every batch becomes an opportunity to innovate while minimizing waste. The combination of quick oats, chocolate chips, and roasted peanuts mesmerizes the taste buds and elevates the simple granola bar. It’s amazing how pantry staples can work together to create a wholesome snack.
In this recipe, I’ll guide you through making delicious sourdough granola bars that will become an essential staple in any household. With just a handful of ingredients, you can prepare this tasty treat in no time. Get ready to experience homemade granola bars that will make you rethink store-bought alternatives.
Sourdough Granola Bars: The Basics
Fundamentals
Sourdough granola bars offer a delightful mix of flavors and textures. Combining oats with nutty peanut butter adds richness and chewiness, while chocolate chips bring a touch of sweetness. Each ingredient serves a unique purpose, creating a well-balanced snack. Quick oats provide the foundational structure, while the sourdough starter discard enhances the flavor profile, making these bars truly one of a kind.
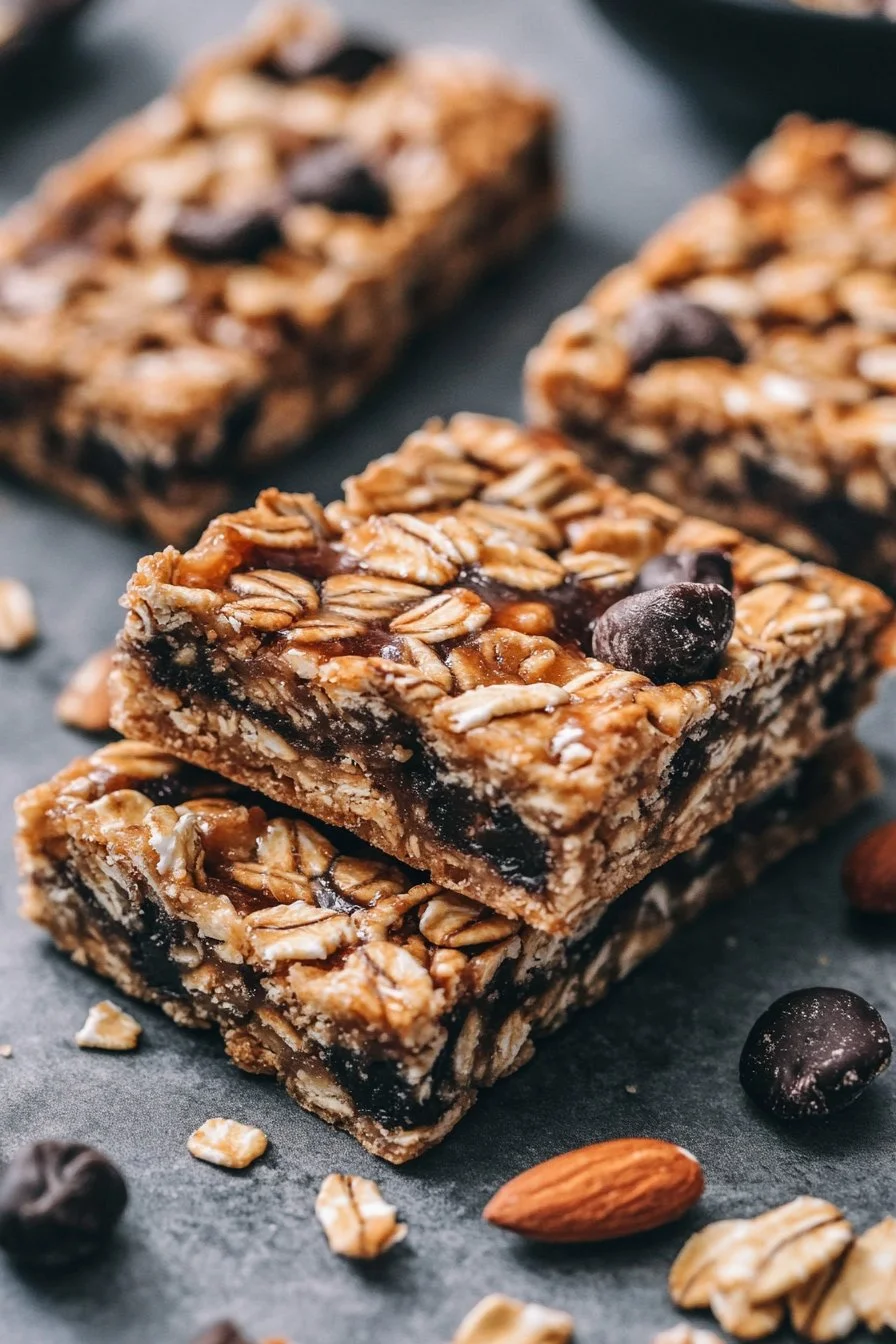
Understanding the ingredients is vital. Quick oats not only define the texture but also absorb moisture, providing the perfect consistency for granola bars. Peanut butter binds everything together and supplies healthy fats. The mini chocolate chips contribute sweetness and tempt the chocolate lovers in every household. Finish it off with chopped peanuts for an extra crunch, and you have a winning combination.
Preparation/Setup
A successful baking experience starts with a well-prepared setup. Preheat your oven to 350℉ to ensure even baking. While the oven warms, lightly grease an 8-inch square pan and line it with parchment paper. This step prevents sticking and allows easy removal of your sourdough granola bars. In a large mixing bowl, gather your ingredients—this is the fun part.
Next, combine your quick oats, sourdough starter discard, mini chocolate chips, chopped peanuts, honey, peanut butter, vanilla extract, and kosher salt. Ensuring that each ingredient mixes thoroughly will enhance the final flavor. Use a spatula or wooden spoon to incorporate everything, making sure no dry bits remain. Once the mixture is cohesive, it’s time to transfer it to the prepared pan.
Ingredients
To whip up these delightful sourdough granola bars, gather the following ingredients:
- 2 cups (160 grams) quick oats
- ½ cup (100 grams) sourdough starter discard
- ½ cup (80 grams) mini chocolate chips
- ½ cup (70 grams) unsalted dry roasted peanuts (finely chopped)
- 6 tablespoons (126 grams) honey
- 6 tablespoons (96 grams) smooth natural peanut butter
- 1 teaspoon vanilla extract
- ½-1 teaspoon kosher salt (to taste)
Directions
- Preheat your oven to 350℉. Lightly grease an 8-inch square pan and line it with parchment paper.
- In a large mixing bowl, combine the quick oats, sourdough starter discard, mini chocolate chips, roasted peanuts, honey, peanut butter, vanilla extract, and kosher salt. Stir until everything is well combined.
- Transfer the mixture to the prepared pan. Press it evenly into the pan, making sure to spread it to the corners.
- Bake for 12-15 minutes or until the edges turn lightly golden brown.
- Allow the granola bars to cool in the pan for at least 30 minutes.
- After cooling, lift the bars out using the parchment paper. Cut into 12 equal-sized portions.
- Serve immediately, or let them cool completely before storing in an airtight container.
Crafting Perfect Sourdough Granola Bars
Technique
Baking sourdough granola bars requires diligence and attention to detail. Patience matters in achieving the desired chewy texture. Ensure you press the mixture firmly into the pan. This compactness allows for even baking and prevents crumbling after cutting. Bake until golden brown—this moment signals the sugars caramelizing, delivering a rich flavor.
Once you remove the granola bars from the oven, resist the temptation to cut them immediately. Allowing them to cool in the pan helps them firm up. The longer they cool, the easier it becomes to cut evenly. If they cool completely, their structure stabilizes, providing perfect portions ready for snacking.
Tips/Tricks
Make these sourdough granola bars uniquely yours. Customize the mix-ins based on personal preferences. Experiment with different varieties of nuts or seeds for added nutrition and texture. Adding dried fruits can boost sweetness and offer another layer of flavor. Always remember to adjust the honey if adding sweeter ingredients to maintain the right balance.
If you prefer a less sweet option, reduce the quantity of honey or chocolate chips. Alternatively, you can add a pinch of cinnamon for a warming, aromatic touch. Each variation offers a new spin on the original recipe, encouraging creativity in the kitchen.
Achieving Flawless Results
Perfecting Results
Striving for the best sourdough granola bars hinges on testing and tweaking. If handling the mixture feels too sticky, consider adding a bit more oats or peanuts to balance it out. Thickening the mixture often leads to a great final product, so trust your instincts during the preparation phase.
The baking time may vary slightly based on your oven’s calibration. Keep a watchful eye during the last few minutes to prevent over-baking. When achieving that perfect golden brown edge, your eyes will confirm the bars are ready for cooling.
Troubleshooting/Variations
Addressing inconsistencies helps improve future baking endeavors. For crumbly bars, ensure you press the mixture tightly into the pan. Also, double-check ingredient ratios, ensuring gummy ingredients like honey and peanut butter are accurately measured. A common issue involves under-baking, leading to soft bars that fail to hold their shape. If this happens, pop them back in the oven for a minute or two.
If you prefer crunchy granola bars, extending the baking time can render a firmer texture. You might also toast the oats briefly before mixing to enhance their nuttiness. Tailoring your sourdough granola bars to suit your taste buds opens up a world of possibilities.
Enjoying Sourdough Granola Bars
Serving/Presentation
When serving your delicious sourdough granola bars, presentation can elevate the experience. Arrange the cut bars on a colorful platter, possibly garnishing with a sprinkle of extra chopped peanuts or chocolate chips. This simple touch creates an enticing display, especially when sharing with family or friends.
Sourdough granola bars also shine as grab-and-go snacks. Wrap each bar individually in parchment paper and tie with twine, perfect for a sustainable on-the-move option. You can also pair them with yogurt or fresh fruit for a wholesome breakfast or snack combo.
Pairings/Storage
Store your sourdough granola bars in an airtight container to keep them fresh. They can last for up to a week on the countertop or two weeks in the refrigerator. For an even longer shelf life, consider freezing them. Individually wrapped bars can be frozen and defrosted quickly, serving tasty snacks at any moment.
These granola bars pair wonderfully with coffee or tea. They also work great as a pre- or post-workout snack, providing the energy needed to keep you going without excess fuss. Customization is key—so enjoy the process of finding your favorite variations!
Conclusion
Sourdough granola bars transform pantry staples into something extraordinary. Engaging in the process highlights the delight of homemade snacks. By combining ingredients like oats and sourdough starter discard, you craft bars that experience flavor and texture. Crafting the perfect granola bar entertains creativity, providing delicious and nutritious snacking options that cater to everyone. Discovering the balance between convenience and flavor sets the stage for continual exploration in the kitchen, encouraging the perfect blend of art and practicality.
Print
Sourdough Granola Bars
- Prep Time: 10 minutes
- Cook Time: 15 minutes
- Total Time: 30 minutes
- Yield: 12 servings
- Category: Snack
- Method: Baking
- Cuisine: American
- Diet: Vegetarian
Description
Delicious and chewy sourdough granola bars made with quick oats, chocolate chips, and roasted peanuts, perfect for busy mornings.
Ingredients
- 2 cups (160 grams) quick oats
- ½ cup (100 grams) sourdough starter discard
- ½ cup (80 grams) mini chocolate chips
- ½ cup (70 grams) unsalted dry roasted peanuts (finely chopped)
- 6 tablespoons (126 grams) honey
- 6 tablespoons (96 grams) smooth natural peanut butter
- 1 teaspoon vanilla extract
- ½-1 teaspoon kosher salt (to taste)
Instructions
- Preheat your oven to 350℉. Lightly grease an 8-inch square pan and line it with parchment paper.
- In a large mixing bowl, combine the quick oats, sourdough starter discard, mini chocolate chips, roasted peanuts, honey, peanut butter, vanilla extract, and kosher salt. Stir until everything is well combined.
- Transfer the mixture to the prepared pan. Press it evenly into the pan, making sure to spread it to the corners.
- Bake for 12-15 minutes or until the edges turn lightly golden brown.
- Allow the granola bars to cool in the pan for at least 30 minutes.
- After cooling, lift the bars out using the parchment paper. Cut into 12 equal-sized portions.
- Serve immediately, or let them cool completely before storing in an airtight container.
Notes
Customize the mix-ins based on personal preferences by adding different nuts, seeds, or dried fruits.
