
📑 Table of Contents ▶
VIRAL CHUCK ROAST
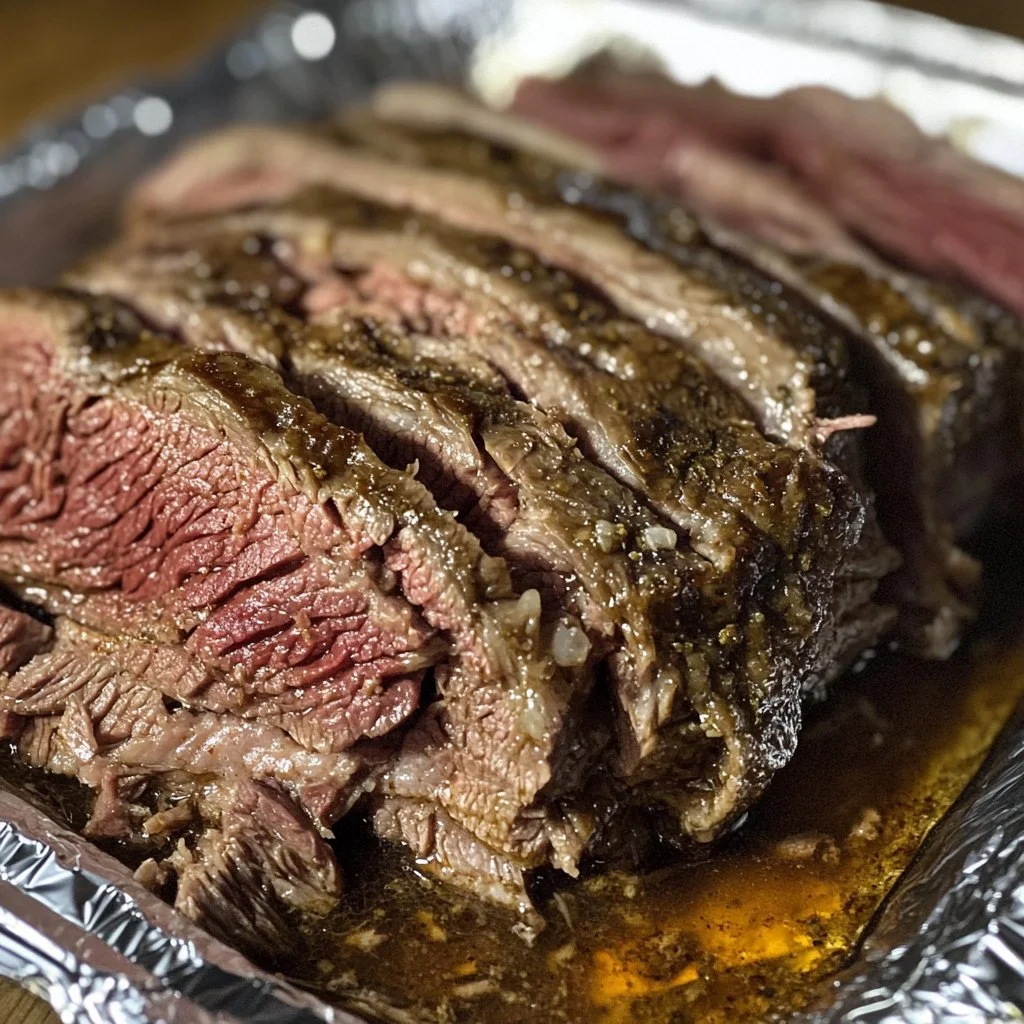
The first time I tried making a chuck roast, I felt a mix of excitement and nervousness. I remember the aromas filling the kitchen and the anticipation building as the hours ticked away. The chuck roast simmered slowly, transforming into tender pieces of meat that could be pulled apart with a fork. It was a spectacular moment when I lifted the lid to see the delicious result; the crispy, caramelized edges contrasted perfectly with the juicy interior.
Since that day, chuck roast has become a go-to dish for special family gatherings and cozy dinners alike. It’s not just a meal; it’s an experience, a memory-making centerpiece for any occasion. The satisfaction of serving this dish and watching everyone savor each bite is unparalleled. The chuck roast is simple yet remarkable, proving that sometimes, the best meals come from just a few ingredients.
This viral chuck roast recipe stands out not only for its flavor but also for its ease of preparation. Just a boneless beef chuck roast, generous seasoning, and a little bit of patience can create magic in your kitchen. Dive into this culinary journey and enjoy the mouthwatering flavors of a perfectly cooked chuck roast.
Part 1 — Chuck Roast Basics
Fundamentals
The boneless beef chuck roast possesses qualities that make it ideal for roasting. It has the right amount of marbling, which provides flavor and tenderness during cooking. Cooking this type of roast at low temperatures allows the fat to melt and the muscle fibers to break down, resulting in a tender, delicious meal.
Choosing the right cut is crucial. A whole chuck roast typically weighs around 4 pounds. This size offers the perfect balance for a family gathering or to have leftovers for those delightful sandwiches the next day. Understanding the cut helps in managing cooking time and ensures proper seasoning.
Preparation/setup
Start by preheating your oven to 325°F. This lower temperature allows the roast to cook evenly throughout without drying out. Generously seasoning both sides of the roast with salt and pepper truly elevates the flavors. This simple step lays the foundation for a mouthwatering meal.
Place the seasoned roast in a baking dish and cover it. The cover traps moisture while cooking, adding to the juiciness of the meat. You’ll bake it for about one hour per pound, making it essential to plan accordingly. Once you cover the roast and slide it into the oven, the magic begins!
Ingredients
- 1 boneless beef chuck roast, about 4 pounds
- Salt and pepper, to generously season
Directions
- Preheat your oven to 325°F.
- Season the roast generously on both sides with salt and pepper.
- Place the roast into a baking dish and cover it.
- Bake for about 4 hours, or 1 hour per pound of meat.
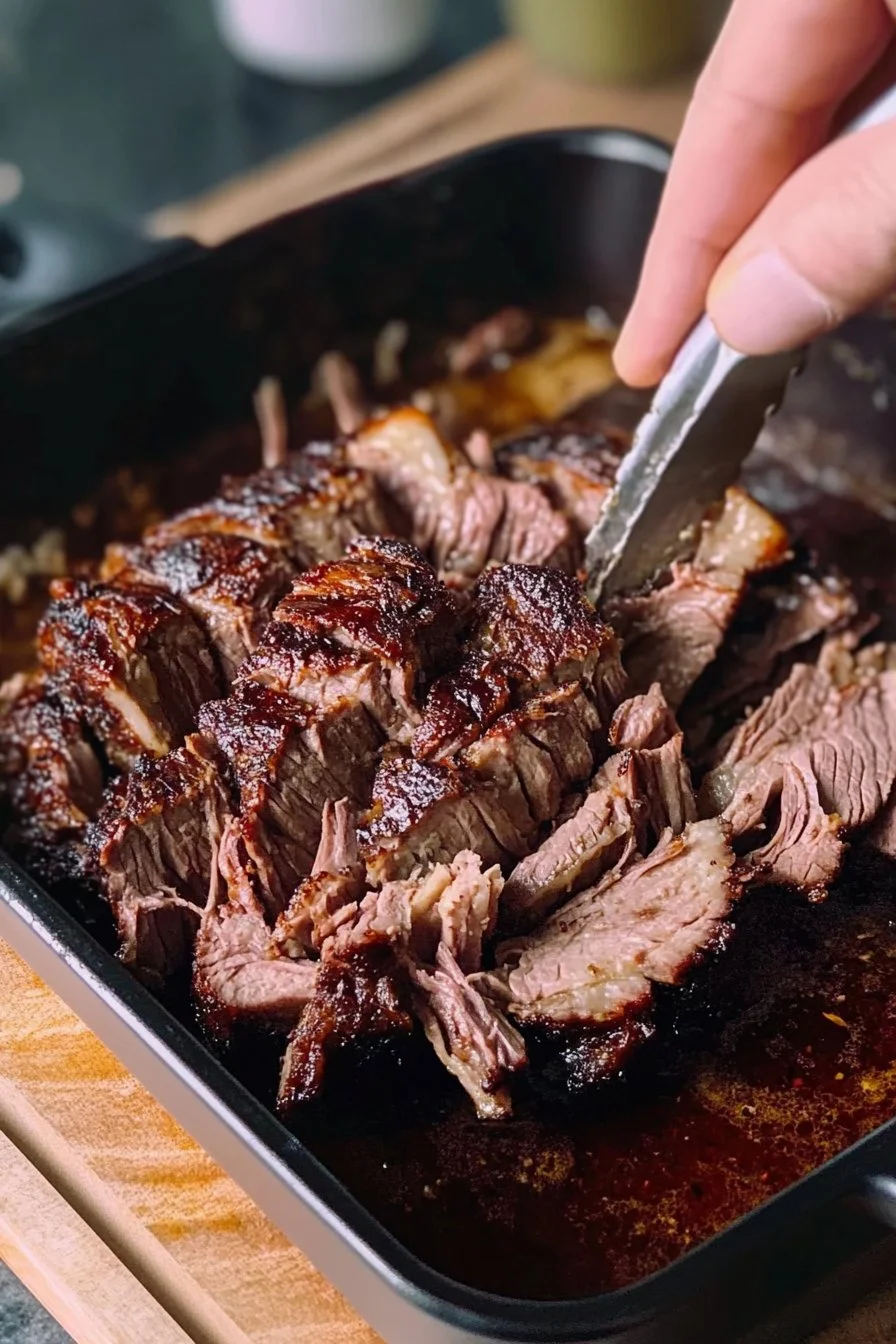
- Remove the roast from the oven once done. Shred it into large chunks using two forks.
- If the roast does not pull apart easily, return it to the oven for an additional 30 minutes.
- Raise the oven temperature to 425°F.
- Toss the shredded pieces of roast in the rendered fat, then place them back in the oven uncovered for 25 minutes, or until you see some crispy, caramelized ends.
Part 2 — Cooking Techniques for Chuck Roast
Technique
Understanding the technique behind cooking is essential for achieving that perfect chuck roast. The process involves low and slow cooking followed by a high heat finish. This two-step method allows for deeper flavor development and texture contrast.
Low temperatures in the initial stages retain the meat’s moisture, while the final high temperature creates that beautiful crispy exterior. Both steps are crucial; they are not just about timing but about the transformation that takes place with each degree of heat.
Tips/tricks
Be patient with your roast! Chuck roast benefits from longer cooking times to achieve that fork-tender consistency. Also, letting the roast rest for a few minutes after cooking helps in sealing the juices. If you’re short on time, don’t worry; you can always return the meat to the oven if it doesn’t pull apart easily.
Stock up on additional ingredients if desired, like onions or garlic, to roast alongside your meat. These can add depth to the flavor profile, making the final dish even more special without straying from the core ingredients.
Part 3 — Perfecting Your Chuck Roast
Perfecting results
Achieving perfect results means monitoring the internal temperature closely. While the ideal range is between 190°F and 205°F for pulling apart easily, every oven may run a bit differently. Investing in a good meat thermometer ensures you get it right every time without guesswork.
Don’t forget to check the tenderness. If your roast isn’t shredding as expected, it’s a good indication it needs a little more time in the oven. Don’t hesitate to return it for that tender perfection.
Troubleshooting/variations
Everybody’s oven is unique, and various factors may affect cooking time. Remember that differences in altitude can influence cooking results, so adjust accordingly. If you encounter a roast that seems too dry, consider checking the cooking time or covering it again to lock in moisture.
Trying different seasonings or spices also brings exciting variations. Stick with the original seasonings and blend in your favorites as you grow more comfortable with the recipe.
Part 4 — Serving and Storing Your Chuck Roast
Serving/presentation
Presenting your chuck roast enticingly enhances the dining experience. Serve shredded pieces piled high on a platter or in individual bowls to showcase its delectable textures. Pair it with sides like mashed potatoes or roasted vegetables for a complete meal.
Don’t forget the sauce! Drizzling some of the rendered fat over the meat adds flavor and keeps it juicy. A sprinkle of fresh herbs can brighten the dish and offer a vibrant touch, enhancing both presentation and taste.
Pairings/storage
An excellent accompaniment to the roast includes hearty sides such as creamy mashed potatoes or a fresh garden salad. For storage, let any leftovers cool completely before placing them in an airtight container in the fridge. They can last for up to three days, allowing you to enjoy the flavors even longer.
You can also freeze the shredded roast by portioning it into containers. This makes meal prep simple and allows you to savor that savory goodness anytime, just by reheating it in the oven or on the stovetop.
The viral chuck roast recipe captivates hearts and palates alike. With a simple approach consisting of just a few ingredients, your kitchen transforms into a hub of flavor and warmth. The memories created around this dish will surely last long after the last bite.
Print
Viral Chuck Roast
- Prep Time: 15 minutes
- Cook Time: 240 minutes
- Total Time: 255 minutes
- Yield: 8 servings
- Category: Main Course
- Method: Roasting
- Cuisine: American
- Diet: None
Description
A simple yet remarkable chuck roast recipe that creates tender, juicy meat perfect for family gatherings and special dinners.
Ingredients
- 1 boneless beef chuck roast, about 4 pounds
- Salt, to generously season
- Pepper, to generously season
Instructions
- Preheat your oven to 325°F (163°C).
- Season the roast generously on both sides with salt and pepper.
- Place the roast into a baking dish and cover it.
- Bake for about 4 hours, or 1 hour per pound of meat.
- Remove the roast from the oven once done. Shred it into large chunks using two forks.
- If the roast does not pull apart easily, return it to the oven for an additional 30 minutes.
- Raise the oven temperature to 425°F (218°C).
- Toss the shredded pieces of roast in the rendered fat, then place them back in the oven uncovered for 25 minutes, or until you see some crispy, caramelized ends.
Notes
Let the roast rest after cooking to seal in the juices. Adjust cooking time based on your oven’s performance.
