

📑 Table of Contents ▶
- Taco Bell Chalupas
- Mastering the Homemade Taco Bell Chalupas
- Fundamentals
- Preparation/Setup
- Creating Flavorful Fillings
- Technique
- Tips/Tricks
- Perfecting Your Taco Bell Chalupas
- Perfecting Results
- Troubleshooting/Variations
- Serving and Storing Your Chalupas
- Serving/Presentation
- Pairings/Storage
- Conclusion
- FAQs – Taco Bell Chalupas
There’s something truly special about recreating iconic fast-food favorites at home, especially when it comes to Taco Bell Chalupas. I remember the first time I managed to replicate their crispy, yet soft texture, and the satisfaction was immense. Homemade cooking has always been about more than just food for me; it’s about the joy of creation and the comfort of familiar flavors.
I’ve spent countless hours in my kitchen, experimenting with different ingredients to nail that perfectly balanced chalupa shell. Each time I finally achieve the right taste and texture, it feels like a small victory. And when you take that first bite, the soft crunch followed by the flavorful fillings, it’s like a taste of nostalgia right in your own home.
Recreating Taco Bell Chalupas isn’t just about mimicking flavors; it’s about capturing the essence of a beloved dish. The process becomes a journey of discovery, tweaking spices, and adjusting textures until it feels just right. It’s a reminder that cooking, much like life, is about enjoying each step and savoring the results.
In this recipe, we dive into making Taco Bell Chalupas from scratch, using simple ingredients and straightforward techniques. With the right approach, you can transform your kitchen into a hub of delicious creativity, capturing the essence of your favorite fast-food treat.
Print
Taco Bell Chalupas
- Prep Time: 20 minutes
- Cook Time: 20 minutes
- Total Time: 40 minutes
- Yield: 8 chalupas
- Category: Main Course
- Method: Frying
- Cuisine: Mexican
Description
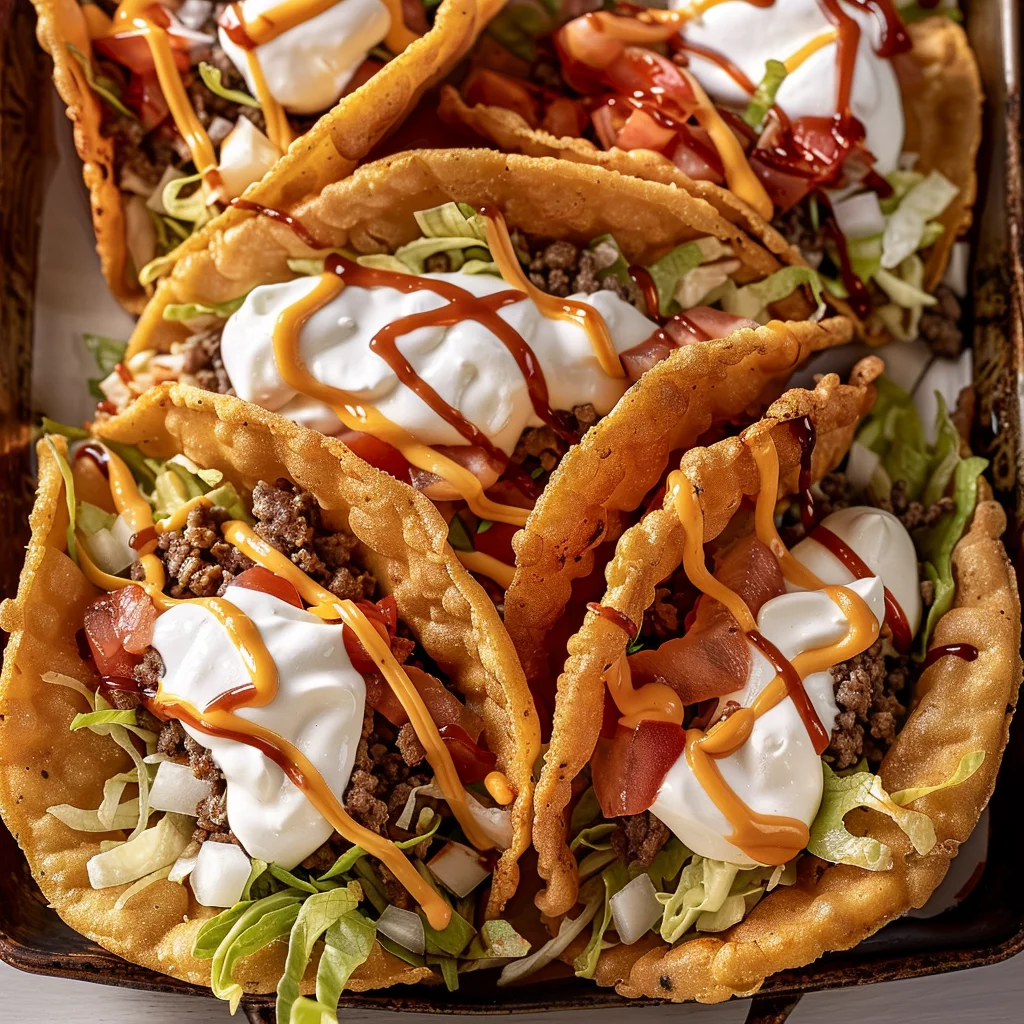
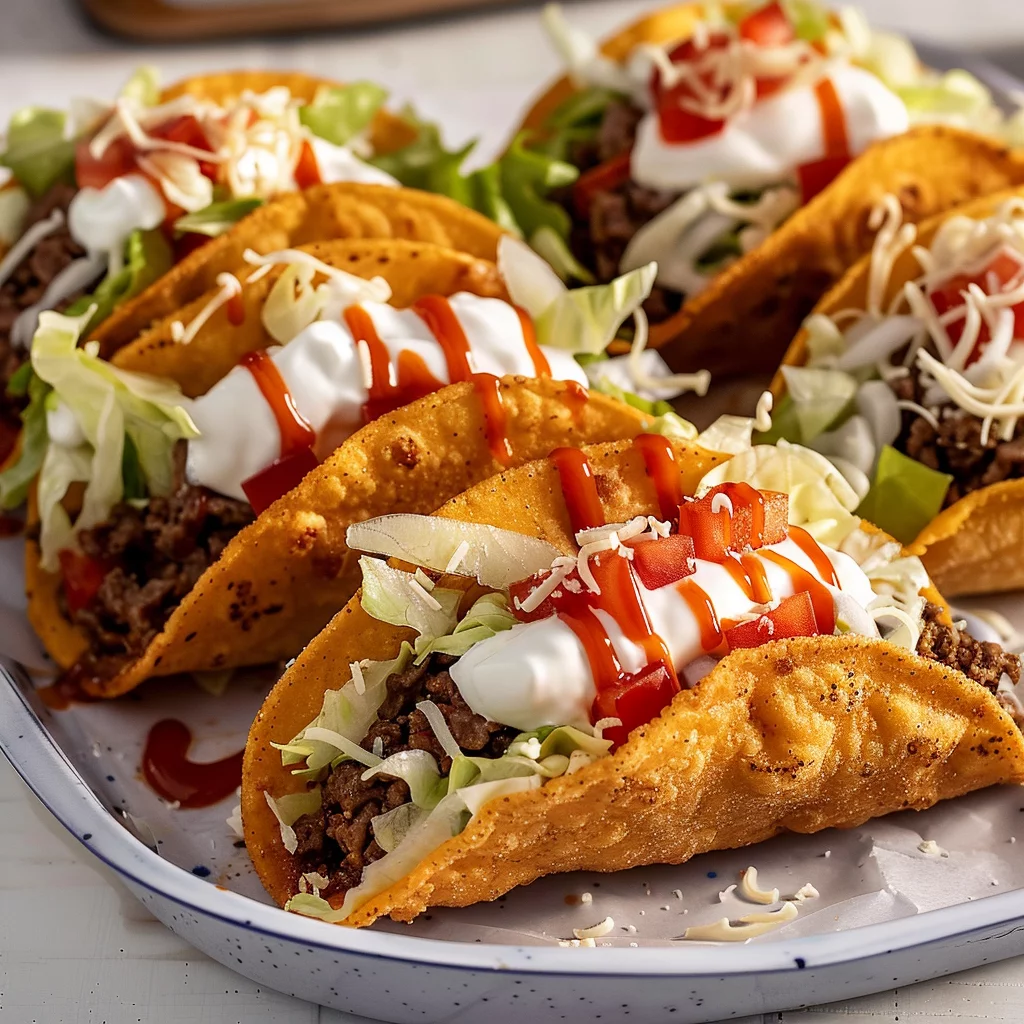
Learn how to make delicious Taco Bell Chalupas at home with our easy recipe. Crispy fried dough filled with flavorful toppings for a satisfying meal.
Ingredients
- 21/2 cup (2520 ml) s all-purpose flour, additional as needed
- 1 tablespoon (15 ml) baking soda
- 1/2 teaspoon (3 ml) kosher salt
- 1 teaspoon (5 ml) white vinegar
- 1 cup (240 ml) whole milk
- Vegetable oil, as needed, for frying
- 1 teaspoon (5 ml) chili powder
- 1 teaspoon (5 ml) cornstarch
- 1/2 teaspoon (3 ml) paprika
- 1/2 teaspoon (3 ml) kosher salt
- 1/4 teaspoon (1 ml) cumin
- 1/4 teaspoon (1 ml) coriander
- 1/4 teaspoon (1 ml) cayenne
- 1 tablespoon (15 ml) vegetable oil
- 1 pound (454 g) 85/15 ground beef
- 1 cup (240 ml) shredded iceberg lettuce
- 1/4 cup (60 ml) sour cream
- 1 medium Roma tomatoes, cored and diced
- 1/2 cup (120 ml) grated Colby Jack cheese
- Hot sauce, as needed
Instructions
- In a medium bowl, blend the flour, baking soda, and salt together using a whisk. Gradually mix in the vinegar and milk until a rough dough forms.
- Transfer the dough to a lightly floured, clean surface. Knead until it becomes cohesive, then separate into 8 equal portions (approximately 75g each).
- Pour enough oil into a cast iron skillet to reach a height of 1½ inches. Heat the oil over medium heat until it reaches 325ºF (170ºC).
- Flatten each dough portion into a circle about 6 inches in diameter.
- One at a time, gently place each dough circle into the hot oil. Cook until the bottom is golden but not overly crispy, approximately 30 seconds.
- Using tongs, flip and shape the dough into a taco shell, frying each side for another 30 seconds.
- Transfer the cooked shells to paper towels to remove excess oil. Repeat with the remaining dough portions.
- In a small bowl, combine the chili powder, cornstarch, paprika, salt, cumin, coriander, and cayenne, then set aside.
- Use paper towels to dry the beef. In a large cast iron skillet over medium heat, warm the oil. Add the beef and cook, breaking it apart with a wooden spoon, until browned, about 6 minutes.
- Mix in the spice blend and ⅓ cup of water. Stir to combine, then remove from the heat.
- Spoon some seasoned beef into each chalupa shell. Add layers of shredded lettuce, sour cream, cheese, and diced tomatoes. Drizzle with hot sauce and serve right away.
Notes
- Ensure the beef is patted dry with paper towels before cooking to prevent excess moisture.
- Be cautious when shaping the dough into taco shells to avoid burning yourself with the hot oil.
- Personalize the toppings to your liking, such as adding avocado, salsa, or jalapeños for added flavor.
Mastering the Homemade Taco Bell Chalupas
Fundamentals
Understanding the fundamentals of creating Taco Bell Chalupas begins with the dough. This recipe uses all-purpose flour, baking soda, kosher salt, white vinegar, and whole milk to form the perfect chalupa shell. It’s essential to mix these ingredients until a rough dough forms, ensuring the base for your chalupas is well-prepared.
The next step is kneading the dough. This process not only brings the dough together but also develops its structure, allowing for a soft yet crispy shell. Divide the dough into equal portions to ensure uniform cooking, and prepare your workspace with additional flour to prevent sticking.
Preparation/Setup
Before you begin frying, ensure your oil is at the correct temperature. Using a cast iron skillet, heat vegetable oil to 325ºF (170ºC). This precise temperature is key to achieving the ideal chalupa texture—golden and crisp without being overly oily or greasy.
Shape each dough portion into a flat circle approximately 6 inches in diameter. Gently place each circle into the hot oil, cooking each side to a golden perfection. The technique of shaping the dough into a taco shell while frying is crucial—use tongs for precision and safety.
Creating Flavorful Fillings
Technique
For the filling, you’ll need to focus on seasoning the ground beef to perfection. Combine chili powder, cornstarch, paprika, salt, cumin, coriander, and cayenne to create a robust spice blend. This mixture imparts a rich, savory flavor that complements the chalupa shell beautifully.
To cook the beef, start by using paper towels to remove excess moisture, then brown it in a skillet with a touch of vegetable oil. Incorporate the spice blend and a bit of water to ensure the spices evenly coat the meat, enhancing its flavor and juiciness.
Taco Bell Chalupas
Tips/Tricks
When preparing the beef, using a wooden spoon helps break it apart evenly, ensuring a consistent texture in every bite. Adjust the spice levels to your preference—add more cayenne for heat or additional cumin for a deeper flavor profile.
Once your beef is ready, quickly assemble your chalupas to prevent the shells from becoming soggy. The key is to have all your toppings—lettuce, sour cream, cheese, and tomatoes—prepped and ready for swift assembly.
Perfecting Your Taco Bell Chalupas
Perfecting Results
Achieving the perfect Taco Bell Chalupas requires attention to detail. Ensure your shells are crispy yet pliable, providing the ideal vessel for your flavorful fillings. The balance between the shell’s texture and the robust filling creates an extraordinary culinary experience.
Using fresh ingredients for your toppings enhances the overall taste. Shredded iceberg lettuce offers a refreshing crunch, while diced Roma tomatoes add a burst of sweetness. The creamy sour cream and melted Colby Jack cheese bring everything together with a delightful creaminess.
Troubleshooting/Variations
If your chalupa shells are too hard, try adjusting the frying time or temperature. Frying at too high a temperature can cause the shells to become overly crispy before they cook through. Experiment with spice levels in the beef to match your taste preferences, ensuring every bite is as flavorful as possible.
For a vegetarian variation, consider replacing the beef with seasoned black beans or grilled vegetables. This alternative offers a delightful twist while maintaining the essence of the classic chalupa.
Serving and Storing Your Chalupas
Serving/Presentation
Present your Taco Bell Chalupas immediately after assembly for the best experience. The combination of warm, seasoned beef and cool, crisp toppings creates a mouthwatering contrast. Arrange them on a platter, allowing guests to customize with hot sauce or extra toppings.
For an enhanced culinary journey, consider pairing your chalupas with a side of One Pot Taco Rice. This side dish complements the chalupas perfectly, providing a hearty and satisfying meal.
Pairings/Storage
Store any leftover chalupa shells separately from the fillings to maintain their texture. Reheat them in a skillet or oven to bring back their crispness before serving. If you enjoyed this recipe, you might also like these Fire-Grilled Venison Tacos for another twist on taco night.
Taco Bell Chalupas
Explore other variations like Sous Vide Carnitas Tacos for different flavor profiles. These alternatives offer diverse culinary experiences while keeping the essence of taco night alive.
Conclusion
Recreating Taco Bell Chalupas at home allows you to enjoy a beloved fast-food treat with a personal touch. By mastering the art of the perfect shell and flavorful filling, you can experience the joy of cooking and the satisfaction of a homemade meal.
This recipe offers a delightful blend of crispy textures and savory flavors that capture the essence of the original chalupa. Whether you stick to the classic or explore variations, the process promises culinary enjoyment and delicious results.
Creating these chalupas in your kitchen not only brings the flavors of Taco Bell home but also provides a platform for culinary creativity. Enjoy the process, savor each bite, and share the joy of homemade cooking with family and friends.
