
📑 Table of Contents ▶
- Strawberry Earthquake Cake: Essentials to Know
- Fundamentals
- Preparation/Setup
- Directions
- Perfecting Your Strawberry Earthquake Cake
- Technique
- Tips/Tricks
- Troubleshooting and Variations
- Perfecting Results
- Troubleshooting Variations
- Serving and Presentation Tips
- Presenting Your Cake
- Pairings and Storage
- Conclusion
Strawberry Earthquake Cake
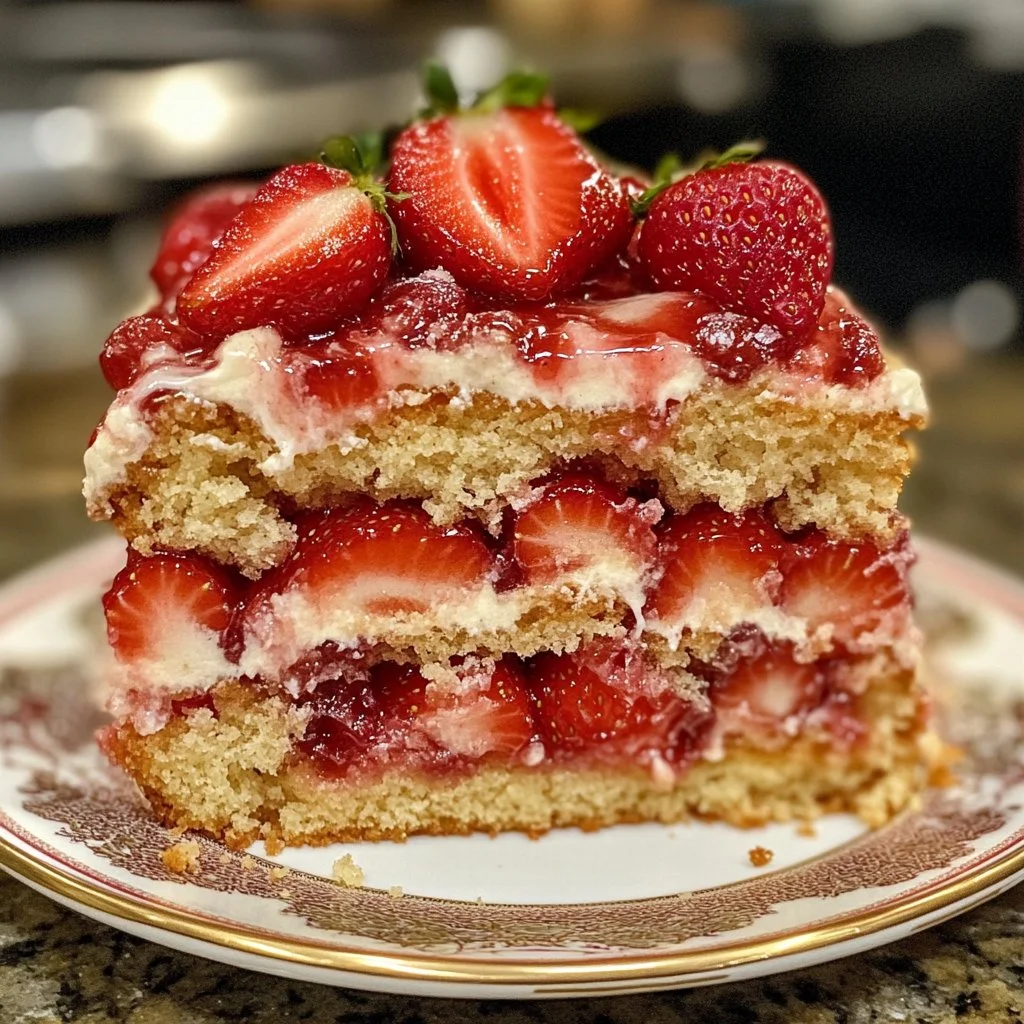
My first encounter with a Strawberry Earthquake Cake was during a family gathering. The aroma of freshly baked strawberry cake soared through the air, igniting memories of summer picnics and laughter. This dessert stole the show, captivating everyone’s taste buds with its irresistible combination of strawberries and creamy filling. The cake’s distinct layers created a beautiful landscape, resembling an earthquake’s aftermath—wonderfully chaotic yet deliciously satisfying.
As I indulged in this delightful treat, I couldn’t help but feel a wave of nostalgia wash over me. It brought back fond childhood memories of berry-picking with my siblings, racing to the finish line with our baskets full of strawberries. Those moments reminded me that food has the magical power to connect us, and the Strawberry Earthquake Cake exemplifies that joy perfectly.
Crafting this cake at home rekindles those warm feelings and delivers an explosion of flavors in every bite. It’s not just a dessert but rather a celebration of what makes gathering with loved ones so special. The cake’s vibrant strawberry flavor combined with creamy layers offers a sensory delight that anyone can prepare with minimal effort.
Strawberry Earthquake Cake: Essentials to Know
Fundamentals
Creating a Strawberry Earthquake Cake adds a delightful twist to traditional cake baking. This unique dessert stands out with its various textures and flavors. The cake features a moist strawberry base that holds random pockets of cream cheese and white chocolate goodness. The sweet strawberries balance perfectly with the richness of the cream cheese and white chocolate, creating a delicious dessert that everyone will love.
Understanding the components of this cake ensures your creation has that signature earthquake look and taste. The layers should intermix without being fully blended, resembling the chaos of an earthquake. Keep that in mind as you prepare this delightful treat. This cake is ideal for any casual gathering, birthday celebration, or simply to satisfy your sweet tooth.
Preparation/Setup
Baking the Strawberry Earthquake Cake requires simple steps that anyone can follow. Start by preheating the oven to 350°F (175°C). Greasing a 9×13-inch baking dish ensures your cake releases easily once it’s cooked. It’s best to use solid oil or butter for greasing—this will help in creating that lovely outer crust.
Gather your ingredients; the key to impressive results lies in preparation. Mix the strawberry cake mix with eggs, oil, and water according to the package instructions. This basic step sets the foundation for a delightful cake. Make sure to incorporate all ingredients thoroughly to achieve a smooth batter that rises evenly.
Ingredients
- 15.25 oz strawberry cake mix
- Eggs
- Oil
- Water (as per package instructions)
- 8 oz cream cheese (softened)
- 4 tbsp butter
- 2 ½ c powdered sugar
- 8 oz white chocolate bar (two 4 oz bars)
- 2 c chopped strawberries (divided)
- 8 oz whipped topping
With this list in hand, you can feel prepared to create a stunning Strawberry Earthquake Cake that will impress your family and friends. Each ingredient brings something special to the table, from the strawberries bursting with flavor to the creamy richness of the cream cheese.
Directions
- Preheat the oven to 350°F (175°C) and grease a 9×13-inch baking dish.
- In a large mixing bowl, combine the strawberry cake mix with eggs, oil, and water according to package instructions. Pour into the prepared baking dish.
- In a medium bowl, melt the butter. Blend with softened cream cheese using an electric mixer until smooth, and gradually incorporate the powdered sugar.
- Drop spoonfuls of the cream cheese mixture onto the batter randomly. Sprinkle broken white chocolate pieces over the batter and add 1 cup of chopped strawberries.
- Gently swirl together without fully mixing.
- Bake for 40-45 minutes or until a toothpick comes out clean.
- Cool completely on a wire rack before spreading whipped topping over the cake.
- Garnish with chocolate curls and remaining chopped strawberries before serving.
Perfecting Your Strawberry Earthquake Cake
Technique
Mastering the technique for baking a Strawberry Earthquake Cake will help achieve that picture-perfect presentation. The key lies in how you layer the ingredients. Pour the batter evenly across the baking dish, allowing it to settle before adding cream cheese dollops. This way, the delicious cream cheese creates delightful surprises as you slice into the cake.
When swirling the cream cheese mixture into the batter, keep the motions gentle. You want to incorporate some but not all of the batter. The objective is to create pockets of cream cheese among the cake layers, ensuring you experience the rich flavor with every bite.
Tips/Tricks
For the best results, consider these tips. Use room-temperature cream cheese for easier blending. Cold cream cheese can create lumps in your filling, so softening it beforehand makes a significant difference.
Additionally, always select quality strawberries. Fresh, ripe strawberries elevate the flavor of your cake and enhance its aesthetic appeal. If fresh strawberries aren’t available, frozen works in a pinch, though they may add moisture. Drain excess liquid before chopping them up.
Remember to check your cake for doneness toward the end of the bake time, as ovens may vary. A toothpick inserted into the center should come out clean, ensuring your cake is perfectly baked.
Troubleshooting and Variations
Perfecting Results
Even seasoned bakers encounter challenges, so understanding common issues helps perfect your Strawberry Earthquake Cake. If your cake rises unevenly, it might be due to over-mixing the batter or under-measuring ingredients. Measure carefully, and mix just until combined—this helps achieve an even texture.
If your cake sinks in the middle, it likely didn’t bake long enough. Even a few extra minutes can make a significant difference. Make sure to cool your cake on a wire rack, which helps prevent sogginess.
Troubleshooting Variations
If you’re craving something different, consider variations to this recipe. Substitute the strawberries with raspberries or blueberries for a berry explosion. Each fruit brings a new taste while maintaining that moist cake structure.
Alternatively, you can play around with the creamy component, trying mascarpone cheese in place of cream cheese for a silkier texture. Just ensure that whatever you choose complements the cake flavor without overpowering it.
Serving and Presentation Tips
Presenting Your Cake
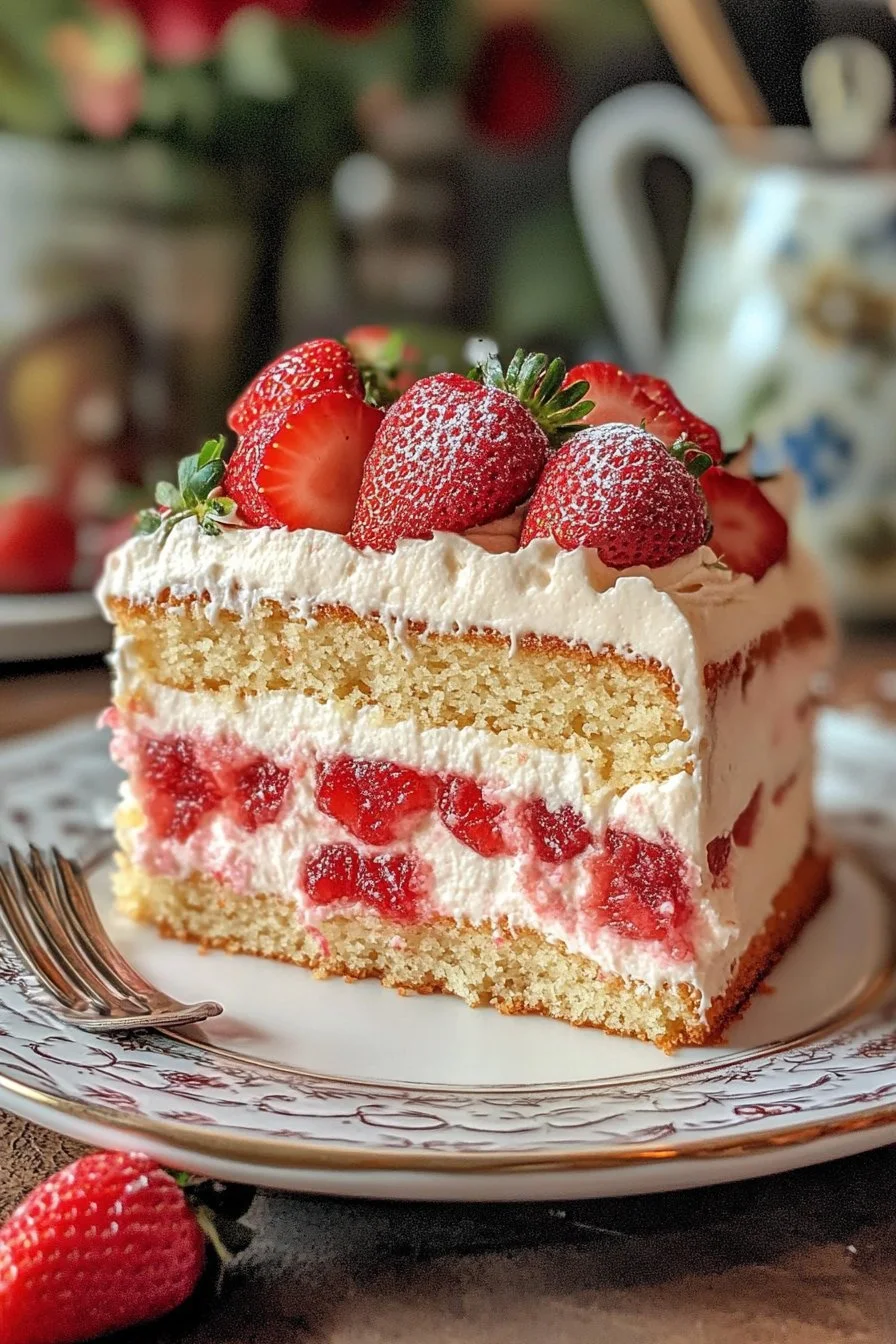
When it’s time to serve the Strawberry Earthquake Cake, present it beautifully! Use a large serving platter and cut the cake into squares. Aim for each piece to include strawberry chunks and cream cheese swirls to highlight the cake’s complexities. Garnish with fresh strawberries on top for an appealing and vibrant presentation.
For added elegance, consider drizzling some melted white chocolate over each serving. The creamy color contrasts beautifully against the pinkish cake, enhancing its visual appeal.
Pairings and Storage
When it comes to enjoying this cake, serve it with a scoop of vanilla ice cream or a dollop of fresh whipped cream for a touch of indulgence. This cake pairs well with simple dessert beverages like iced tea or lemonade, enhancing the desserts’ refreshing qualities.
Store any leftovers in an airtight container in the refrigerator; it can last for up to five days. If you’re prepping ahead of time, keep the whipped topping separate and add it just before serving to maintain its airy texture.
Conclusion
Strawberry Earthquake Cake embodies the spirit of togetherness with its delightful flavors and textures. The memories associated with it enrich the experience, making it more than just dessert. Mixing cake batter, melting cream cheese into a smooth mixture, and swirling in bright strawberries creates a family favorite that everyone can savor together. With this guide, baking becomes a joyous occasion filled with flavor and nostalgic moments. Enjoy creating this delicious cake and make it a staple for your gatherings!
Print
Strawberry Earthquake Cake
- Prep Time: 15 minutes
- Cook Time: 45 minutes
- Total Time: 60 minutes
- Yield: 12 servings
- Category: Dessert
- Method: Baking
- Cuisine: American
- Diet: Vegetarian
Description
A delightful strawberry cake with creamy layers and an explosion of flavors, perfect for gatherings.
Ingredients
- 15.25 oz strawberry cake mix
- 3 large eggs
- 1/2 cup oil
- 1 cup water (as per package instructions)
- 8 oz cream cheese (softened)
- 4 tbsp butter
- 2 ½ cups powdered sugar
- 8 oz white chocolate bar (two 4 oz bars)
- 2 cups chopped strawberries (divided)
- 8 oz whipped topping
Instructions
- Preheat the oven to 350°F (175°C) and grease a 9×13-inch baking dish.
- In a large mixing bowl, combine the strawberry cake mix with eggs, oil, and water according to package instructions. Pour into the prepared baking dish.
- In a medium bowl, melt the butter. Blend with softened cream cheese using an electric mixer until smooth, and gradually incorporate the powdered sugar.
- Drop spoonfuls of the cream cheese mixture onto the batter randomly. Sprinkle broken white chocolate pieces over the batter and add 1 cup of chopped strawberries.
- Gently swirl together without fully mixing.
- Bake for 40-45 minutes or until a toothpick comes out clean.
- Cool completely on a wire rack before spreading whipped topping over the cake.
- Garnish with chocolate curls and remaining chopped strawberries before serving.
Notes
For best results, use room-temperature cream cheese and select quality strawberries. Store leftovers in an airtight container in the fridge for up to five days.
