
📑 Table of Contents ▶
- The Essentials of Sourdough Bread
- Fundamentals
- Preparation/Setup
- Directions
- Finesse Your Sourdough Technique
- Technique
- Tips and Tricks
- Perfect Your Sourdough Results
- Perfecting Results
- Troubleshooting/Variations
- Presenting and Storing Sourdough Bread
- Serving/Presentation
- Pairings/Storage
- Conclusion
- Speedy Same Day Sourdough Bread
Speedy Same Day Sourdough Bread
Sourdough bread has a special place in many kitchens. The tangy flavor, chewy crust, and airy crumb create moments worth savoring. Once, I found myself craving freshly baked sourdough but faced with a time crunch. The thought of waiting for days to achieve that perfect rise felt insurmountable.
As I gathered my ingredients, I discovered that creating a flavorful loaf on the same day was possible. With just a few simple steps and an afternoon at home, I unleashed the potential of sourdough right in my kitchen. Using my trusty sourdough starter, I made a warm, crusty bread that charmed everyone who took a bite.
This speedy same day sourdough bread recipe captures the essence of traditional techniques while fitting into a busy lifestyle. It requires minimal waiting and can elevate any meal. Let’s dive in and explore how to create a delicious loaf that delivers comfort and satisfaction without the extended waiting period associated with traditional sourdough methods.
The Essentials of Sourdough Bread
Fundamentals
Understanding the basics of sourdough bread is crucial for anyone looking to bake their own. Sourdough stands out because it depends on natural fermentation rather than commercial yeast. This method brings out a distinct flavor profile and texture. The unique taste comes from the lactic acid bacteria and wild yeast present in the sourdough starter, creating that delightful tanginess.
A well-fed sourdough starter is your foundation. It’s essential to keep it at the right temperature and feed it regularly to ensure it remains active. Knowing how to gauge the readiness of your starter eliminates guesswork and sets the stage for successful baking. Following the right ratios can lead to a beautiful rise and flavor that carries through the entire loaf.
Preparation/Setup
Preparation is integral to making speedier sourdough. Start by gathering all the ingredients: 410 grams of all-purpose flour, 290 grams of water, 160 grams of active sourdough starter, and 8 grams of salt. A spacious mixing bowl is your best friend during the initial phases.
Before diving in, measure your ingredients accurately. Miscalculating can lead to dense or underwhelming bread. Once you have everything organized, it’s time to mix. Unlike traditional bread-making, the process for this same day sourdough is simple, yet it yields impressive results.
Ingredients
Here’s what you’ll need for this recipe:
- 410 grams all-purpose flour: This flour provides the backbone for your loaf, allowing the crust to crisp up beautifully.
- 290 grams water: The water hydrates the flour, promoting gluten development.
- 160 grams sourdough starter: A vibrant starter gives life and flavor to your dough.
- 8 grams salt: Salt enhances taste while controlling fermentation, preventing over-proofing.
Directions
Creating your sourdough bread involves a few straightforward steps. First, mix the water, sourdough starter, and salt in a large bowl until well combined. Slowly add the flour and mix until no dry flour remains. Cover the bowl and set it aside to rest for 30 minutes. This short rest period allows the flour to fully absorb the water, which improves dough extensibility.
After the rest, perform four sets of stretch and folds every 20 minutes to develop the gluten. Once you complete these folds, leave the dough to rise at room temperature for 3 to 4 hours, or until it nearly doubles in size. The dough should feel airy, indicating it’s ready for shaping.
Shape the dough into a smooth ball and place it seam-side up in a floured banneton basket. Allow it to proof for an additional 2 hours. During the last hour, preheat your oven to 460°F (238°C).
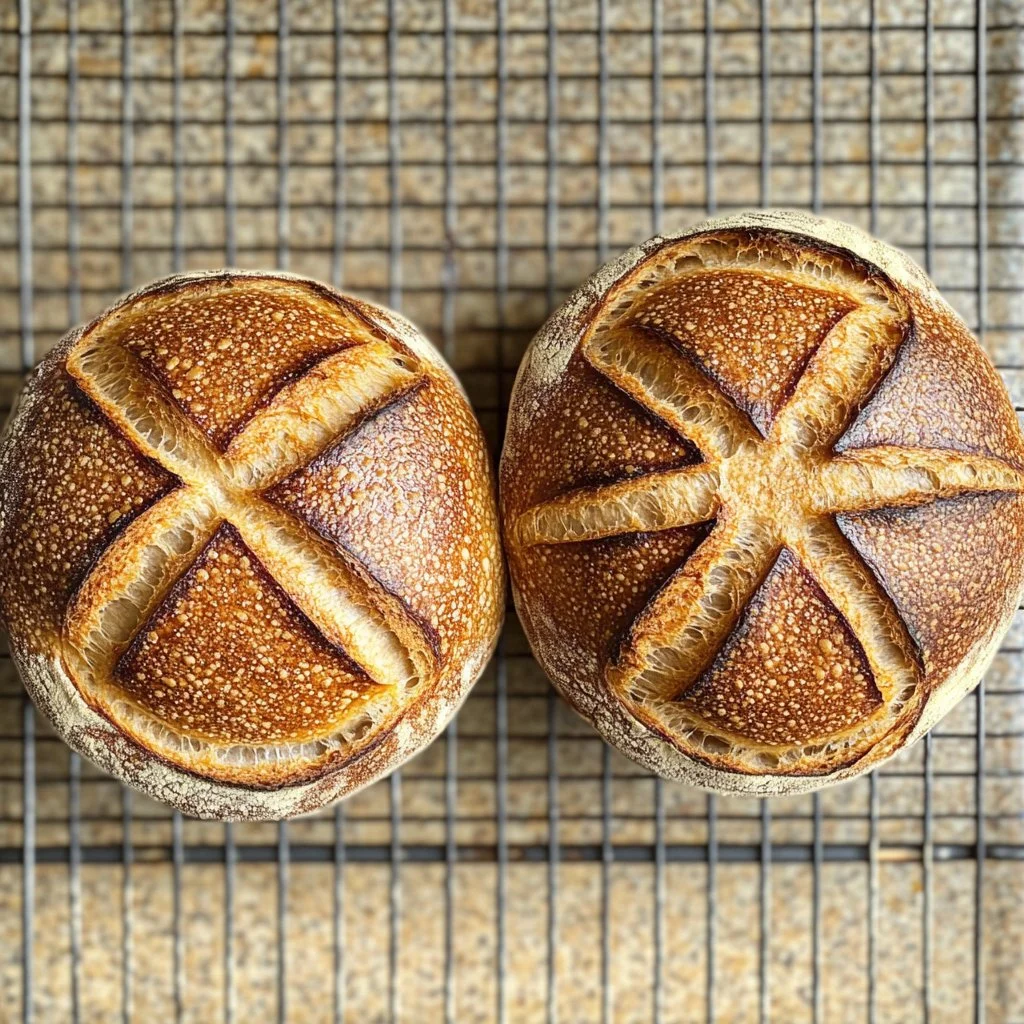
When the proofing stage is complete, score the dough to create steam vents, and bake it in a preheated Dutch oven. Cover it for 30 minutes to trap steam, then uncover for an additional 10 minutes until golden brown. Finally, cool the bread on a rack before slicing. Enjoy the tantalizing aroma that fills your kitchen!
Finesse Your Sourdough Technique
Technique
Mastering the technique of sourdough bread baking can elevate your culinary skills. Emphasizing time management is vital when preparing bread on the same day. Timing each stage accurately helps maintain a rhythm, ensuring everything comes together nicely.
Pay close attention during the stretch and fold phase. Instead of traditional kneading, stretch and fold promotes gluten formation without overworking the dough. This gentle technique preserves the air pockets, which will provide the loaf with that airy texture.
Once you shape the dough, the proofing time is crucial. Notice how the dough expands; this indicates it is ready for the oven. While watching the rise, think about how each phase contributes to the final texture and flavor of the bread.
Tips and Tricks
A few tips can make your sourdough-baking journey smoother. First, hydration matters—if the dough feels too dry, add a bit more water during mixing. Don’t fret if the dough seems sticky; that means it’s on the right track.
Use a kitchen scale for measuring ingredients to maintain consistency with each loaf. Even small deviations can influence the texture. Maintain a cozy environment during the rising phase. Warmer temperatures will accelerate fermentation, yielding improved flavor and texture.
If you live in a cooler climate, consider placing the dough in a slightly warm area or inside an oven with just the light on. This warmth helps yeast activity and encourages rising.
Perfect Your Sourdough Results
Perfecting Results
Achieving the perfect loaf of sourdough bread calls for diligence and practice. Each component of the recipe contributes to the final product, and understanding your ingredients’ behavior is crucial. The flour choice plays a significant role; all-purpose flour works well, but experimentation with bread flour can yield a denser crumb.
Monitoring the dough’s rise is essential. An over-proofed dough results in a bread that collapses in the oven, while under-proofed dough won’t expand properly. Look for a slight doming effect and a puffy appearance, as these indicate readiness for baking.
Keep track of your baking times, as oven variations can lead to different results. Trust your instincts and allow your personal preferences to guide you in perfecting your approach.
Troubleshooting/Variations
Sometimes, things don’t go as planned. If your bread turns out too dense, consider adjusting the hydration levels next time. Alternatively, ensure that your starter is active and bubbly before reaching for it.
For those looking to kick things up a notch, add herbs or spices during the mixing phase. The subtle flavor enhancements can leave a lasting impression on your bread.
Another variation to consider involves incorporating seeds or grains. This not only boosts the bread’s nutritional value but also adds pleasing textures.
Presenting and Storing Sourdough Bread
Serving/Presentation
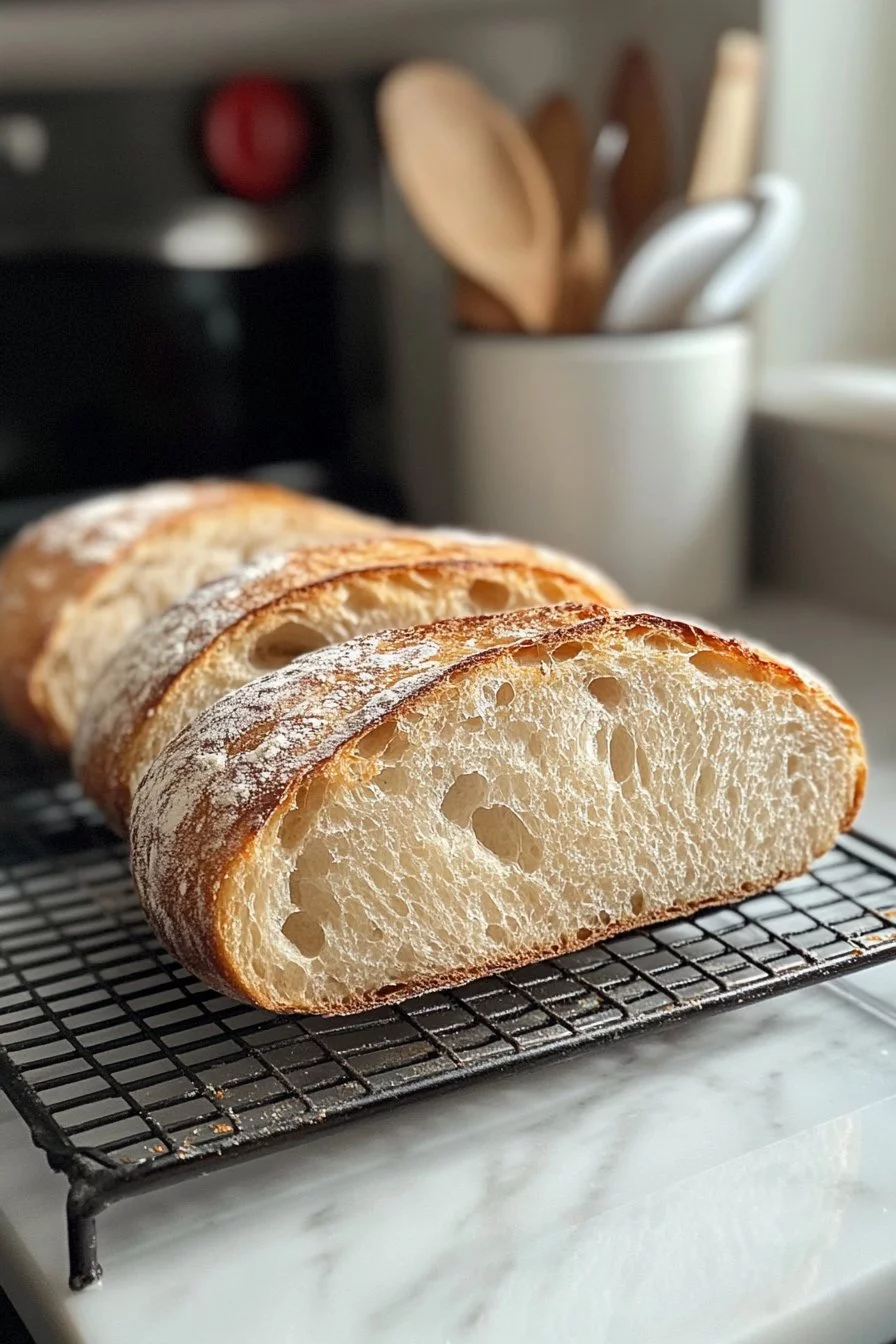
The presentation of your sourdough bread is just as important as the taste. Once it’s cool, slice the bread with a serrated knife for the best results. The crunchy crust and soft interior create a lovely contrast that deserves to shine.
Consider serving warm slices with a light drizzle of olive oil or creating open-faced sandwiches. You can complement the bread with harvest vegetables or gourmet spreads for an upscale feel. It’s not just about eating; it’s about sharing the experience with others.
Pairings/Storage
While enjoying your freshly baked sourdough bread, consider serving it alongside fresh fruits, hearty soups, or salads. These pair beautifully, enhancing overall meal enjoyment.
To store your leftover bread, keep it in a paper bag to prevent moisture accumulation. If you’ve baked more than you can consume, slice the bread and freeze it. Thaw individual slices on a counter for a quick snack or meal component.
By focusing on these practices, you can savor your sourdough longer.
Conclusion
Sourdough bread brings warmth and nostalgia to the table, capturing the essence of home baking. Following these steps, anyone can create a delicious loaf on the same day as mixing. Crafting bread doesn’t have to take days; instead, it can provide immediate comfort.
From the initial preparation to the satisfying final product, this speedy same day sourdough recipe reveals the joy of baking. With practice, tips, and a passion for flavor, each loaf tells a story of creativity and love for food. The art of sourdough is truly rewarding, inviting us to embrace the process and share the delicious outcomes with those we care about most.
Print
Speedy Same Day Sourdough Bread
- Prep Time: 15 minutes
- Cook Time: 40 minutes
- Total Time: 55 minutes
- Yield: 1 loaf
- Category: Bread
- Method: Baking
- Cuisine: American
- Diet: Vegetarian
Description
A quick and delicious sourdough bread recipe that can be made in one day, perfect for those pressed for time.
Ingredients
- 410 grams all-purpose flour
- 290 grams water
- 160 grams active sourdough starter
- 8 grams salt
Instructions
- Mix water, sourdough starter, and salt in a large bowl until combined.
- Add flour and mix until no dry flour remains.
- Cover and allow to rest for 30 minutes.
- Perform four sets of stretch and folds every 20 minutes.
- Let dough rise at room temperature for 3 to 4 hours or until nearly doubled in size.
- Shape the dough into a ball and place seam-side up in a floured banneton.
- Proof for 2 hours.
- Preheat the oven to 460°F (238°C) during the last hour of proofing.
- Score the dough and bake in a preheated Dutch oven, covered, for 30 minutes.
- Uncover and bake for an additional 10 minutes until golden brown.
- Cool on a rack before slicing.
Notes
Use a kitchen scale for precise measurements and ensure your sourdough starter is active for best results. If the dough feels too dry, add a bit more water during mixing.
