
📑 Table of Contents ▶
Sourdough Bread Recipe
Sourdough bread has a way of weaving itself into cherished memories. I still recall the first time the warm aroma of freshly baked sourdough filled my kitchen. It signaled not only the promise of a delicious loaf but also a sense of accomplishment. The magic of sourdough lies in its simplicity amid the complexity of its flavors.
Every step, from nurturing the starter to the final rise, connects you with the art of baking. Making sourdough bread at home has a unique charm. Each loaf tells a story, marked by the bubbles in the crust and the tang in the flavor. It invites you to slow down and appreciate the process.
Gathering the ingredients becomes a delightful ritual as you prepare to make sourdough bread. The tactile nature of kneading the dough activates your senses. There’s something incredibly satisfying about watching the dough come to life, shape itself, and transform as it bakes. The end result is not just bread; it’s a tangible expression of patience and practice.
In the world of baking, sourdough bread stands out as a favorite. It embodies a perfect blend of tradition and taste. The recipe I’ll share reflects this beautiful balance, showcasing how satisfying it is to create your bread.
Understanding Sourdough Bread
Fundamentals
Sourdough bread relies on its starter, which is a mix of flour and water that captures wild yeast and bacteria from the environment. This natural fermentation process gives sourdough its distinctive flavor and chewy texture. Understanding the fundamentals of sourdough leads to more successful baking experiences.
The fermentation process begins when you combine the active sourdough starter with lukewarm water. This creates a base for your dough, contributing to its unique taste and airy quality. Salt and bread flour integrated into the mix build the structure and flavor of the bread.
Preparation/Setup
Before you dive into baking, ensure you have enough time to dedicate to the dough’s development. Start by measuring your ingredients: one cup of active sourdough starter, one and a half cups of warm water, one and a half teaspoons of salt, and three and a quarter cups of bread flour. Gathering all ingredients beforehand simplifies the process, inviting focus and creativity in baking.
Ingredients
Here’s what you will need:
- 1 cup of active sourdough starter
- 1 1/2 cups of lukewarm water
- 1 1/2 tsp of salt
- 3 1/4 cups of bread flour
Directions
- In a large mixing bowl, combine the active sourdough starter and lukewarm water. Use a whisk or spoon to stir until most of the starter dissolves into a milky mixture.
- Add the bread flour and salt to the mixing bowl and stir until a shaggy dough forms. You may need to use your hands to work the rest of the flour in.
- Cover the bowl and let the dough rest for 30 minutes. This rest period, known as "fermentolyse," helps create a smoother, more elastic dough.
- Knead the dough for five minutes by hand or with a dough hook in a stand mixer until it becomes smooth and elastic.
- Return the dough to the mixing bowl and cover it again. Let it rest for 30 minutes.
- Begin a series of stretch and folds: Fold each side of the dough over itself into the center. Repeat this for a total of four sets, with 30 minutes of resting in between each set.
- After the final stretch and folds, cover the dough and let it rise for 2-4 hours at room temperature, or overnight in the refrigerator.
- Once risen, transfer the dough onto a lightly floured surface and shape it into a round boule. Flip it so the seam faces down and gently cup it to tighten the shape.
- Place parchment paper inside the bowl used for rising. Transfer the shaped loaf onto the parchment paper for its final rise.
- Cover the dough with plastic wrap or a damp towel and let it rise for 30 minutes to one hour, until slightly puffy.
- Preheat your oven to 425°F and place your Dutch oven inside to heat for 30-40 minutes.
- Lightly flour the top of the loaf and score it with a sharp knife for expansion during baking.
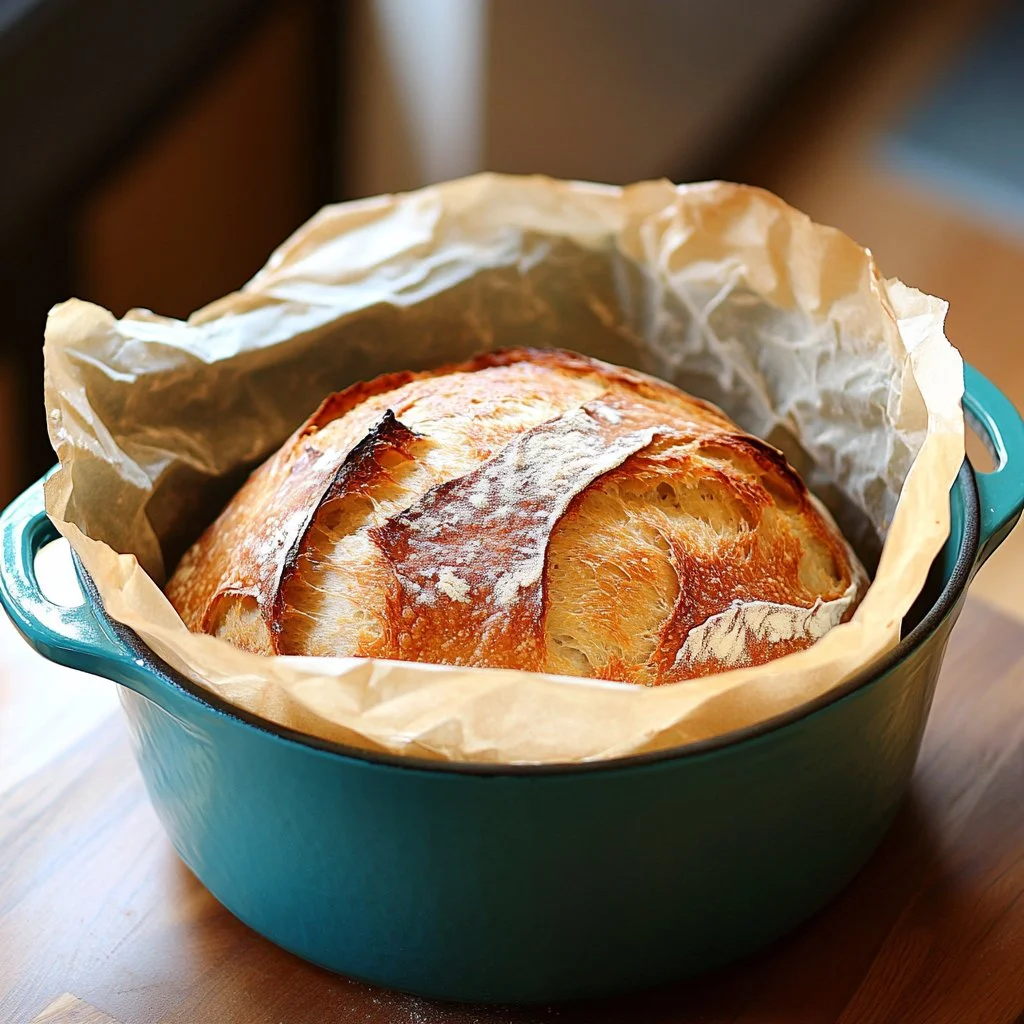
- Carefully transfer the loaf with the parchment paper into the hot Dutch oven and bake for 40 minutes with the lid on.
- Remove the lid and bake for an additional 12 minutes until the crust is golden.
- Remove the bread from the oven and let it cool on a wire rack for at least 30 minutes before slicing.
Mastering Your Sourdough Bread
Technique
Achieving the perfect sourdough bread requires practice and attention to technique. The fermentation process, kneading, and shaping of the dough are crucial. Ensure each step receives the necessary care to build the desired flavor and texture.
Experiment with your kneading method. Some prefer traditional hand kneading, while others find satisfaction in using a stand mixer. Regardless of your choice, strive for a smooth and elastic dough. This elasticity helps the bread rise and creates that wonderful texture we all love.
Tips/Tricks
Never underestimate the value of proper rising times. Monitor your dough rather than strictly adhering to a clock. The ideal dough will roughly double in size during the first rise. If you’re short on time, a warm kitchen can speed up fermentation. Conversely, a cooler environment can slow it down, offering a different flavor profile over a longer rise.
Using a lid when baking in your Dutch oven traps steam, creating that coveted crust. Don’t rush the cooling process; letting the bread rest allows flavors to settle and improves the slicing experience.
Perfecting Your Sourdough
Perfecting Results
Baking sourdough bread may seem daunting at first, but with time, it becomes intuitive. Pay close attention to the dough’s texture and behavior during each stage. You want it to feel elastic and slightly tacky without being overly sticky.
Some bakers find success by adjusting the hydration level of the dough. If your bread turns out too dense, consider adding a bit more water to the dough on your next attempt.
Troubleshooting/Variations
Sourdough baking has its quirks. If your bread doesn’t rise as expected, recheck the activity of your starter. Ensure it’s bubbly and at its peak of fermentation.
If you face issues with flavor, experiment with fermentation times and temperatures. Each loaf offers a chance to learn, and small tweaks can lead to delightful variations in taste and texture.
Serving Sourdough Bread
Serving/Presentation
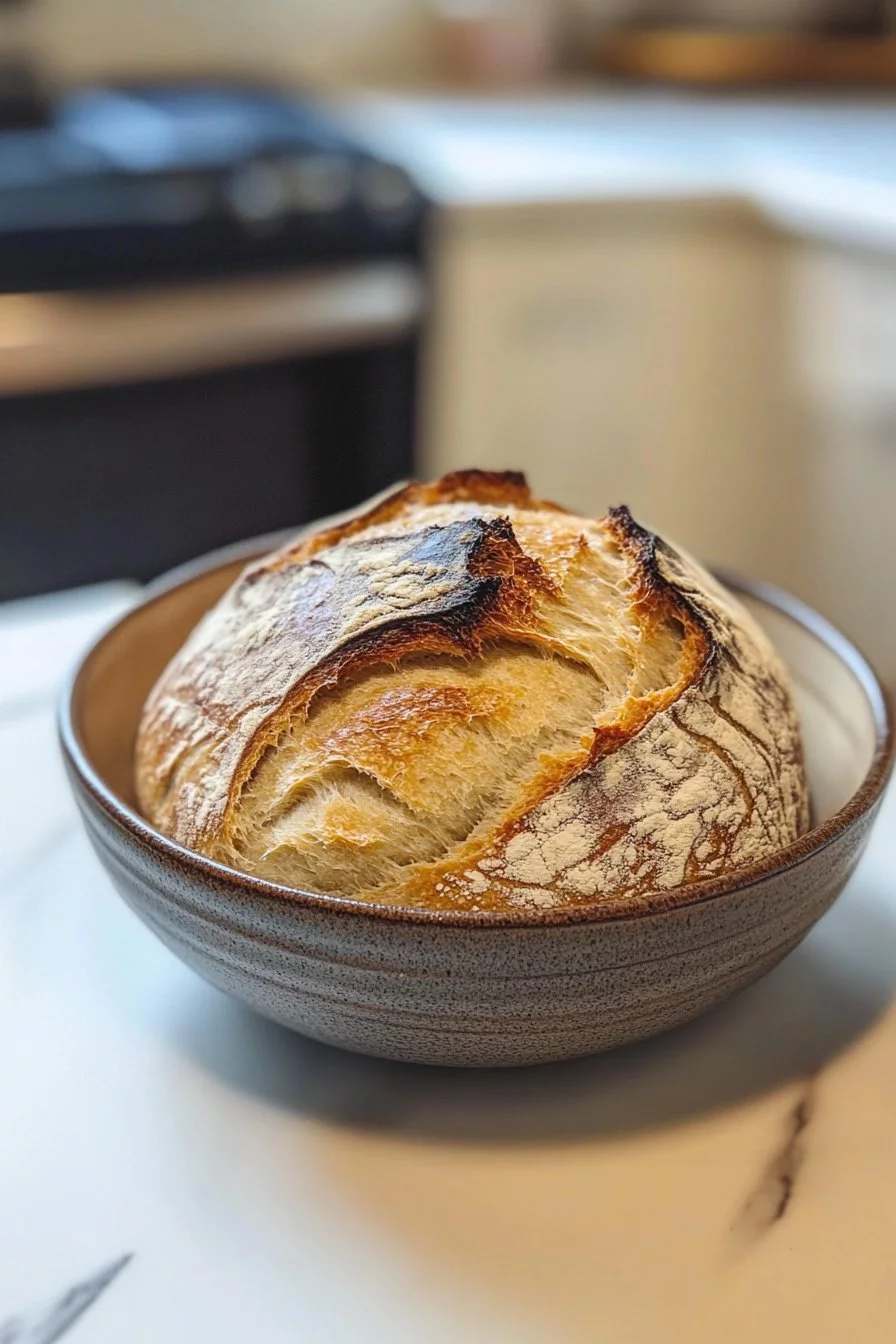
Sourdough bread shines when served warm, with a crisp crust and soft interior. Slice it for sandwiches, toast it for breakfast, or simply enjoy it with butter.
Pairing sourdough with hearty soups or stews enhances mealtime. A good loaf adds comfort and heartiness, making it the star on your dining table.
Pairings/Storage
For the best experience, consume your sourdough bread fresh. If you have leftovers, store it at room temperature in a paper bag to maintain its crust. Avoid plastic wrap, which can make the crust soggy.
For longer storage, freeze slices for later enjoyment. Simply thaw or toast them when ready to savor that homemade goodness again.
Making sourdough bread invites you into a world filled with flavor and creativity. Each step offers a chance to connect with the ingredients, transforming them into something beautiful and delicious. Enjoy the journey, and savor every bite of your homemade sourdough loaf.
Print
Sourdough Bread
- Prep Time: 30 minutes
- Cook Time: 52 minutes
- Total Time: 82 minutes
- Yield: 1 loaf
- Category: Bread
- Method: Baking
- Cuisine: American
- Diet: Vegetarian
Description
A delightful recipe for homemade sourdough bread, celebrating simplicity amidst complex flavors.
Ingredients
- 1 cup active sourdough starter
- 1 1/2 cups lukewarm water
- 1 1/2 tsp salt
- 3 1/4 cups bread flour
Instructions
- In a large mixing bowl, combine the active sourdough starter and lukewarm water, stirring until mostly dissolved.
- Add the bread flour and salt, mixing until a shaggy dough forms.
- Cover and let the dough rest for 30 minutes.
- Knead the dough for 5 minutes until smooth and elastic.
- Cover and let it rest for another 30 minutes.
- Perform a series of stretch and folds, folding each side into the center, resting 30 minutes between each set for a total of four sets.
- Let the dough rise for 2-4 hours at room temperature or overnight in the refrigerator.
- Transfer the risen dough to a floured surface and shape into a round boule.
- Place parchment paper in a bowl, transfer the shaped loaf onto it, cover, and let rise for another 30 minutes to 1 hour.
- Preheat the oven to 425°F with a Dutch oven inside for 30-40 minutes.
- Score the top of the loaf and carefully transfer it into the hot Dutch oven.
- Bake for 40 minutes with the lid on, then remove the lid and bake for an additional 12 minutes until golden.
- Cool on a wire rack for at least 30 minutes before slicing.
Notes
For best results, monitor rising times and avoid plastic wrap for storage.
