
📑 Table of Contents ▶
- The Essentials of Soft, Buttery Homemade Caramels
- Fundamentals
- Preparation/Setup
- Directions
- Mastering the Technique of Caramel Making
- Technique
- Tips/Tricks
- Perfecting the Soft, Buttery Caramel Results
- Perfecting Results
- Troubleshooting/Variations
- Serving and Presenting Your Caramels
- Serving/Presentation
- Pairings/Storage
- Conclusion
Soft, Buttery Homemade Caramels
Making soft, buttery homemade caramels evokes memories of childhood kitchens filled with warmth and sweet aromas. There’s something magical about the combination of sugar, butter, and evaporated milk that transforms into deliciously rich candy. I remember standing on a stool, peering over the bubbling pot as the mixture transformed from a sticky syrup into a thick, velvety delight.
Every holiday season, the tradition of making homemade caramels finds its way back into my life. Each batch carries the promise of delectable indulgence, perfect for sharing. The simplicity of the ingredients—sugar, butter, corn syrup, salt, and evaporated milk—makes this recipe approachable yet exceptional. Soft, buttery homemade caramels become a delightful treat that friends and family eagerly anticipate each year.
There’s no need for fancy culinary skills; instead, the creation process centers around patience and attention to detail. The warm, buttery scent wafts through the air, captivating everyone in the kitchen. Soft, buttery homemade caramels truly hold a special place in my heart, reminding me of the comfort and joy that comes from sharing homemade delights.
The Essentials of Soft, Buttery Homemade Caramels
Fundamentals
Soft, buttery homemade caramels rely on a few key components: sugar, butter, white corn syrup, Kosher salt, and evaporated milk. Each ingredient plays a critical role in achieving that signature soft and creamy texture. Understanding how these ingredients interact helps streamline the candy-making process.
Sugar serves as the foundation, forming the caramel’s sweet profile. The butter adds richness, enhancing the overall flavor while preventing the caramels from becoming overly hard. White corn syrup prevents crystallization, ensuring a smooth consistency. Kosher salt adds depth and balances the sweetness, enhancing the overall taste. Finally, evaporated milk introduces creaminess, contributing to the soft texture that makes these caramels so irresistible.
Preparation/Setup
Before diving into the candy-making journey, take the time to prepare your workspace. Start by lining a 9×13 pan with parchment paper. This step not only makes it easier to remove the caramels later but ensures even cooling. Gather your ingredients and tools, including a large, heavy-bottomed pot, a candy thermometer, and an instant-read thermometer for extra precision.
Measuring each ingredient before you start cooking streamlines the process, allowing you to focus on technique. Ensuring everything is within arm’s reach keeps the momentum going as you melt the sugar mixture. Getting that setup perfect sets the stage for successfully crafting soft, buttery homemade caramels.
Ingredients
Here is the simple list of ingredients you’ll need for crafting your own soft, buttery homemade caramels:
- 4 cups sugar
- 2 sticks butter (1 cup)
- 2 cups white corn syrup
- 1 teaspoon Kosher salt
- 2 12 oz. cans evaporated milk
Each ingredient contributes to the final product’s flavor and texture. Remember to gather all ingredients beforehand, as timing and careful addition determine the success of your caramels.
Directions
Start by melting the sugar, butter, white corn syrup, and Kosher salt together in your heavy-bottomed pot over medium heat. Stir the mixture continuously until it comes to a gentle boil. Once you achieve that boil, it’s time to incorporate the evaporated milk gradually.
Add the evaporated milk a little at a time, taking about 10-15 minutes per can, while constantly stirring. This part requires patience, but it transforms the mixture into the creamy base of your caramels. After adding all the milk, bring the temperature to between 238°F and 240°F. Use the candy thermometer to monitor closely, as even a slight increase can change the texture, making the caramels too chewy.
Once you reach the desired temperature, promptly pour the mixture into the lined pan and allow it to cool completely. For best results, refrigerate or freeze the caramels briefly before slicing into squares.
Mastering the Technique of Caramel Making
Technique
Making soft, buttery homemade caramels involves specific techniques to achieve that dreamy, melt-in-your-mouth texture. One of the most crucial steps is maintaining an even temperature throughout the cooking process. The heavy-bottomed pot helps distribute heat evenly, preventing hot spots that can scorch the sugar.
Consistently stirring the mixture as it cooks is essential. This prevents sticking and ensures even cooking, as sugar can easily burn if left unattended. Pouring the evaporated milk slowly and stirring constantly allows for proper emulsification, resulting in creamy, decadent caramels.
Another critical technique is monitoring the temperature carefully. Investing in a reliable candy thermometer is worthwhile. Precision ensures your caramels turn out perfectly soft every time.
Tips/Tricks
A few tips can make the caramel-making process smoother. First, avoid distractions while cooking, as sugar requires focus and attention. Have everything prepped, so there’s no need to step away from the pot.
Keep your workspace clean and organized. This helps prevent spills and messes, allowing you to concentrate on creating your caramels. If you’d like to add a flavor twist, consider incorporating vanilla extract after you remove the pot from heat, gently stirring it in for a delightful touch.
Lastly, patience is key. The process can take time, but the rewards are well worth it. Allow the caramels to cool completely before cutting for the best results.
Perfecting the Soft, Buttery Caramel Results
Perfecting Results
The pursuit of perfectly soft, buttery homemade caramels is a delicious journey. Small adjustments can make all the difference. For instance, varying cooking times or temperatures slightly can yield different textures. If you aim for a firmer caramel, increase the cooking time by a couple of minutes. Conversely, reducing the cooking time can create a softer consistency.
Experimenting with different brands of syrup and cream can also affect flavor. Trusted brands often provide consistent results, while variations can lead to delightful surprises. Many find that homemade caramels become a family tradition, with each batch reflecting their unique touch.
Troubleshooting/Variations
Sometimes issues arise during the caramel-making process, but they often have simple solutions. If you find your mixture crystallizes, know that this can happen if you stir the mixture too vigorously or if any sugar granules cling to the sides of the pot. Avoiding stirring after the mixture begins boiling can help.
For those who prefer an adventurous take on caramels, incorporating flavors like sea salt, nuts, or even spices can elevate your treats. A sprinkle of sea salt on top will enhance the sweetness, creating a delightful contrast. Each variation invites creativity and personal flair to the soft, buttery caramel recipe.
Serving and Presenting Your Caramels
Serving/Presentation
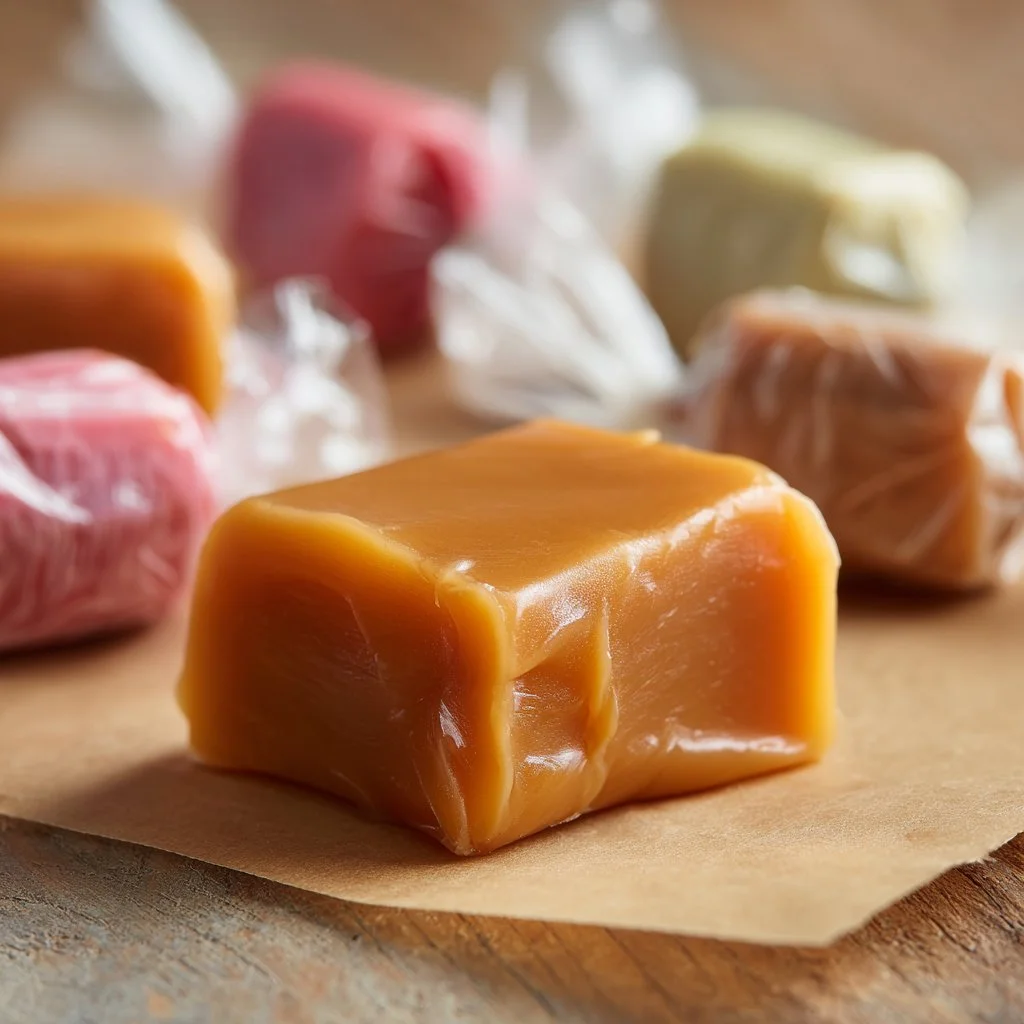
Once your soft, buttery homemade caramels cool and set, it’s time to serve them up! Consider wrapping each piece in wax paper for a classic presentation. This allows for easy sharing and keeps the caramels fresh. You can also create a beautiful display by arranging them in a decorative dish or gift box.
Pair these delightful treats with warm beverages like coffee or hot chocolate for an indulgent experience. Their creamy, buttery taste harmonizes perfectly with rich flavors, making them a sought-after addition to any gathering or casual snack.
Pairings/Storage
For optimal freshness, store your caramels in an airtight container. In cool temperatures, they maintain their softness and flavor longer. If you’re not serving immediately, place a piece of wax paper between layers of caramels to prevent sticking.
If homemade caramels somehow survive, they can stay fresh for up to a couple of weeks stored in the refrigerator. These sweet confections become a delightful treat to share with friends or enjoy during a cozy evening at home.
Conclusion
Making soft, buttery homemade caramels captures the essence of comfort food. Their sweet aroma fills the air, creating a nostalgic connection to simpler times. With straightforward ingredients and a little patience, anyone can master this timeless treat. Discovering the nuances of caramel-making becomes a rewarding experience, resulting in delights that friends and family will cherish for years. Embrace the sweetness and enjoy crafting these beloved confections; they bring joy with every chewy bite.
Print
Soft, Buttery Homemade Caramels
- Prep Time: 15 minutes
- Cook Time: 30 minutes
- Total Time: 45 minutes
- Yield: 16 servings
- Category: Confectionery
- Method: Stovetop
- Cuisine: American
- Diet: N/A
Description
Deliciously rich and soft caramels made from sugar, butter, corn syrup, and evaporated milk, perfect for sharing.
Ingredients
- 4 cups sugar
- 2 sticks butter (1 cup)
- 2 cups white corn syrup
- 1 teaspoon Kosher salt
- 2 12 oz. cans evaporated milk
Instructions
- In a heavy-bottomed pot, melt the sugar, butter, white corn syrup, and Kosher salt over medium heat, stirring continuously until it reaches a gentle boil.
- Gradually add the evaporated milk, a little at a time, stirring constantly for about 10-15 minutes per can.
- Once all the milk is incorporated, bring the mixture to a temperature between 238°F and 240°F using a candy thermometer.
- Pour the mixture into a lined 9×13 pan and allow it to cool completely, refrigerating or freezing briefly for best results before slicing into squares.
Notes
For a flavor twist, consider adding vanilla extract after removing from heat. Store in an airtight container for up to two weeks.
