
📑 Table of Contents ▶
Rustic Herb Bread
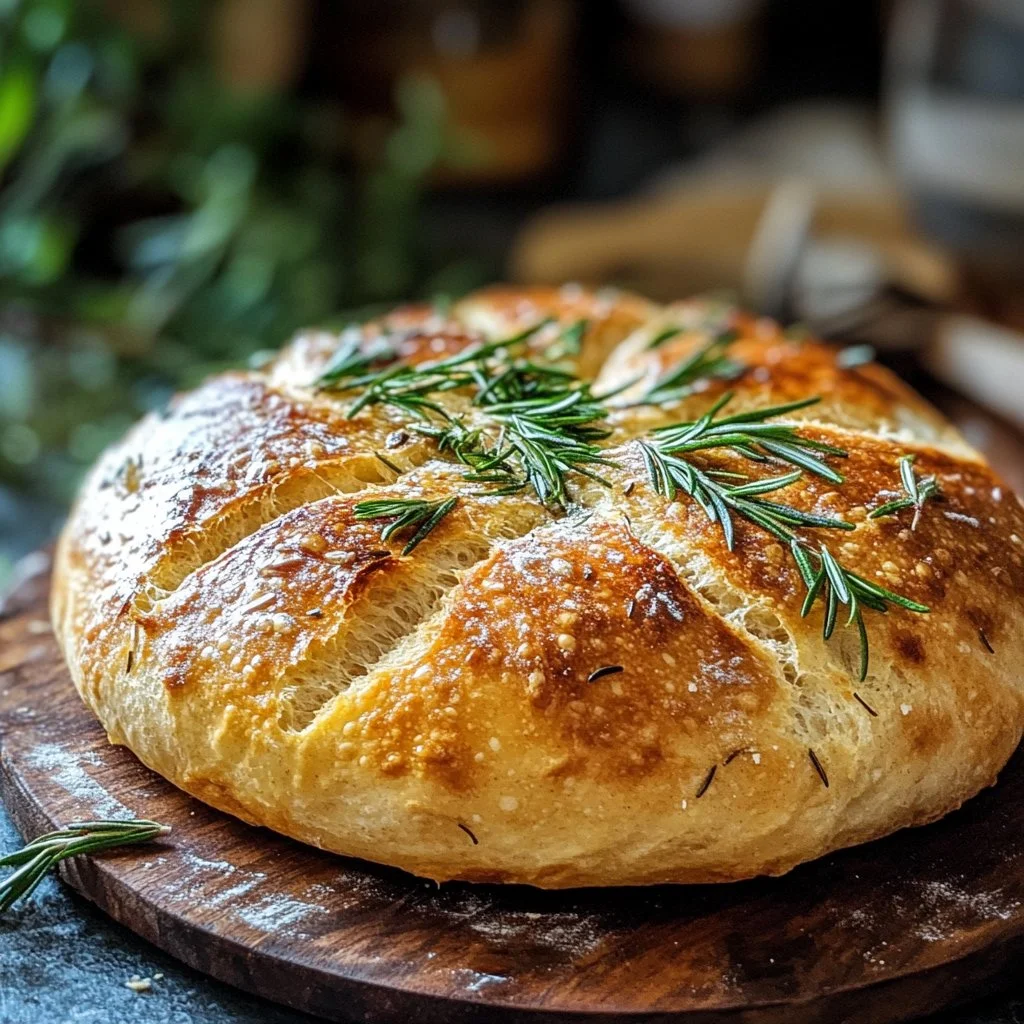
Creating rustic herb bread evokes memories of vibrant kitchen gatherings, where the aroma of freshly baked bread fills the air. The simple process of mixing flour, yeast, salt, and water transforms these basic ingredients into something much more alive and inviting. Friends and family gather around the kitchen island, drawn in by the scent.
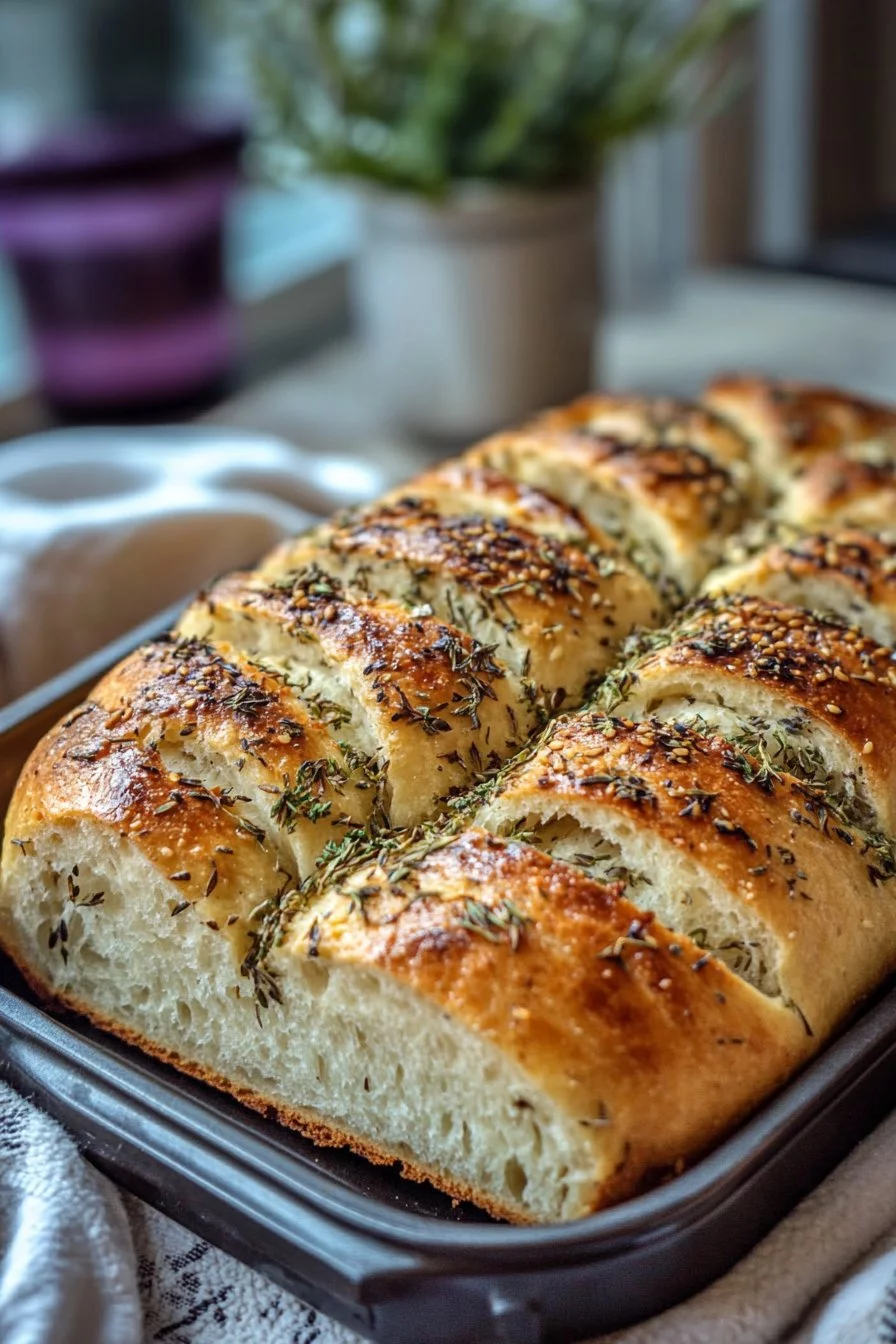
The beauty of making rustic herb bread lies in its versatility. Fresh herbs like rosemary, thyme, or basil can elevate the loaf, making every bite a tasty adventure. Each slice carries a warm history, perhaps reminding you of a sun-drenched afternoon spent with loved ones at a cozy cafe.
As the dough rises, anticipation builds. The act of kneading becomes a rhythmic pleasure, creating a tactile connection to the traditional baking of countless generations. Rustic herb bread is more than a recipe; it’s part of a shared experience, a bridge to fond memories, and a delicious reminder that the simplest ingredients can create something unforgettable.
Everyone can enjoy this rustic herb bread at home, making it a perfect addition to any meal—from casual weeknight dinners to festive gatherings. Each loaf presents an opportunity to infuse your personal touch with the choice of fresh herbs, elevating it to your signature creation.
The Art of Rustic Herb Bread
Fundamentals
Understanding the basics of rustic herb bread lays the foundation for a successful baking experience. The key ingredients—flour, salt, yeast, water, and olive oil—come together to create a magical transformation.
All-purpose flour offers the perfect bridge between stiffness and softness, while instant yeast allows for an accelerated rise. The addition of salt not only enhances flavor but also serves as a stabilizer, ensuring that the yeast performs optimally. The warm water activates the yeast, creating a fluffy structure, while olive oil provides moisture and richness to the dough.
Preparation/setup
Preparation involves gathering everything you need for the rustic herb bread. Start by selecting fresh herbs based on your taste preference. Rosemary, thyme, and basil are fantastic choices that add not just flavor, but also color and fragrance to your loaf.
Next, measure out the three cups of all-purpose flour, ensuring precision for the best results. Place flour, salt, and yeast into a large mixing bowl. This foundational step sets the stage for the dough that follows.
Ingredients
To create rustic herb bread, collect these essential ingredients:
- 3 cups all-purpose flour
- 1 1/4 teaspoons salt
- 1 packet (2 1/4 teaspoons) instant yeast
- 1 cup warm water
- 2 tablespoons olive oil
- 1/4 cup fresh herbs (such as rosemary, thyme, or basil), chopped
Directions
- In a large bowl, mix the flour, salt, and instant yeast.
- Add warm water and olive oil to the dry ingredients, stirring until a cohesive dough begins to form.
- Knead the dough on a floured surface for approximately ten minutes or until you achieve a smooth texture.
- Gradually incorporate the chopped herbs into the dough, ensuring even distribution throughout.
- Place the dough in a greased bowl and cover it with a damp cloth. Allow it to rise in a warm spot for 1-2 hours or until it has doubled in size.
- Preheat your oven to 375°F (190°C).
- Punch down the risen dough and shape it into a loaf.
- Place the loaf onto a baking sheet and let it rise for another 30 minutes.
- Bake the loaf for 30-35 minutes or until it turns a beautiful golden brown.
- Allow the bread to cool before slicing and enjoy it fresh.
Elevating Your Rustic Herb Bread Experience
Technique
Perfecting the technique for baking rustic herb bread helps to enhance both texture and flavor. It’s vital to pay attention to each step, particularly during the kneading phase. Kneading develops gluten, giving the bread strength and a lovely chewiness.
Start slowly, incorporating the ingredients before speeding up as the dough begins to come together. If you find the dough sticky, lightly flour your hands and the work surface, ensuring you do not add too much flour, which may make the bread dense.
Tips/tricks
A few useful tips can elevate your rustic herb bread beyond just good:
- Control the environment: A warmer environment accelerates the rise. If your kitchen is cooler, place the dough in a slightly warmed oven (turned off) to help it rise.
- Experiment with herbs: Don’t hesitate to try different combinations of herbs. Each one brings a unique flavor profile to the bread.
- Use steam: Placing a shallow pan with water in the oven while baking introduces steam, contributing to a nice crust on your bread.
Perfecting Rustic Herb Bread
Perfecting results
Achieving a rustic herb bread that is both light and flavorful requires practice and patience. Once you master the techniques, you can focus on the nuances that make your bread stand out.
Ensure you measure your ingredients carefully. Too much flour can lead to a heavy loaf, while too much water can cause stickiness. Keep notes on your dough’s feel during kneading to find the perfect balance for your next batch.
Troubleshooting/variations
Encountering issues while baking is entirely normal. If your bread doesn’t rise as expected, check the freshness of your yeast. If it fails to activate, your bread will not achieve the desired texture.
For variations, try adding shredded cheese, chopped nuts, or olives alongside the herbs. Each addition provides a delightful twist to the classic recipe.
Serving Rustic Herb Bread
Serving/presentation
Serving rustic herb bread beautifully enhances the dining experience. Consider placing the loaf on a wooden cutting board accompanied by a small bowl of olive oil for dipping. Fresh herbs can also act as a simple garnish, adding color and freshness.
Slice the bread thicker for heartier pieces, or go thin for appetizer servings. Rustic herb bread holds up beautifully, whether served alongside soups, stews, or salads.
Pairings/storage
Rustic herb bread pairs delightfully with many meals. Consider serving it with an antipasto platter, bruschetta, or even as a side to grilled vegetables.
When it comes to storage, keep unused portions in a paper bag at room temperature for a couple of days, or wrap tightly in plastic for longer freshness. You can also freeze it for several weeks, ensuring that every slice can be enjoyed.
The art of baking rustic herb bread not only offers a delicious result but also creates lasting memories around the table. Each loaf tells a story, waiting to be shared with family and friends.
Print
Rustic Herb Bread
- Prep Time: 15 minutes
- Cook Time: 35 minutes
- Total Time: 50 minutes
- Yield: 1 loaf
- Category: Bread
- Method: Baking
- Cuisine: Italian
- Diet: Vegetarian
Description
A delightful rustic bread infused with fresh herbs, perfect for any meal or gathering.
Ingredients
- 3 cups all-purpose flour
- 1 1/4 teaspoons salt
- 1 packet (2 1/4 teaspoons) instant yeast
- 1 cup warm water
- 2 tablespoons olive oil
- 1/4 cup fresh herbs (such as rosemary, thyme, or basil), chopped
Instructions
- In a large bowl, mix the flour, salt, and instant yeast.
- Add warm water and olive oil to the dry ingredients, stirring until a cohesive dough begins to form.
- Knead the dough on a floured surface for approximately 10 minutes or until you achieve a smooth texture.
- Gradually incorporate the chopped herbs into the dough, ensuring even distribution throughout.
- Place the dough in a greased bowl and cover it with a damp cloth. Allow it to rise in a warm spot for 1-2 hours or until it has doubled in size.
- Preheat your oven to 375°F (190°C).
- Punch down the risen dough and shape it into a loaf.
- Place the loaf onto a baking sheet and let it rise for another 30 minutes.
- Bake the loaf for 30-35 minutes or until it turns a beautiful golden brown.
- Allow the bread to cool before slicing and enjoy it fresh.
Notes
Experiment with different herbs for unique flavors. Serve with olive oil for dipping.
