
📑 Table of Contents ▶
No Knead Gluten Free Bread
The first time I tackled bread-making, it felt like an ambitious experiment. I wanted to enjoy warm, freshly baked bread without feeling limited by gluten. Each loaf came with its own set of challenges, especially when trying to perfect the no-knead technique. After many attempts and countless flour-coated counters, I discovered the magic of no knead gluten free bread.
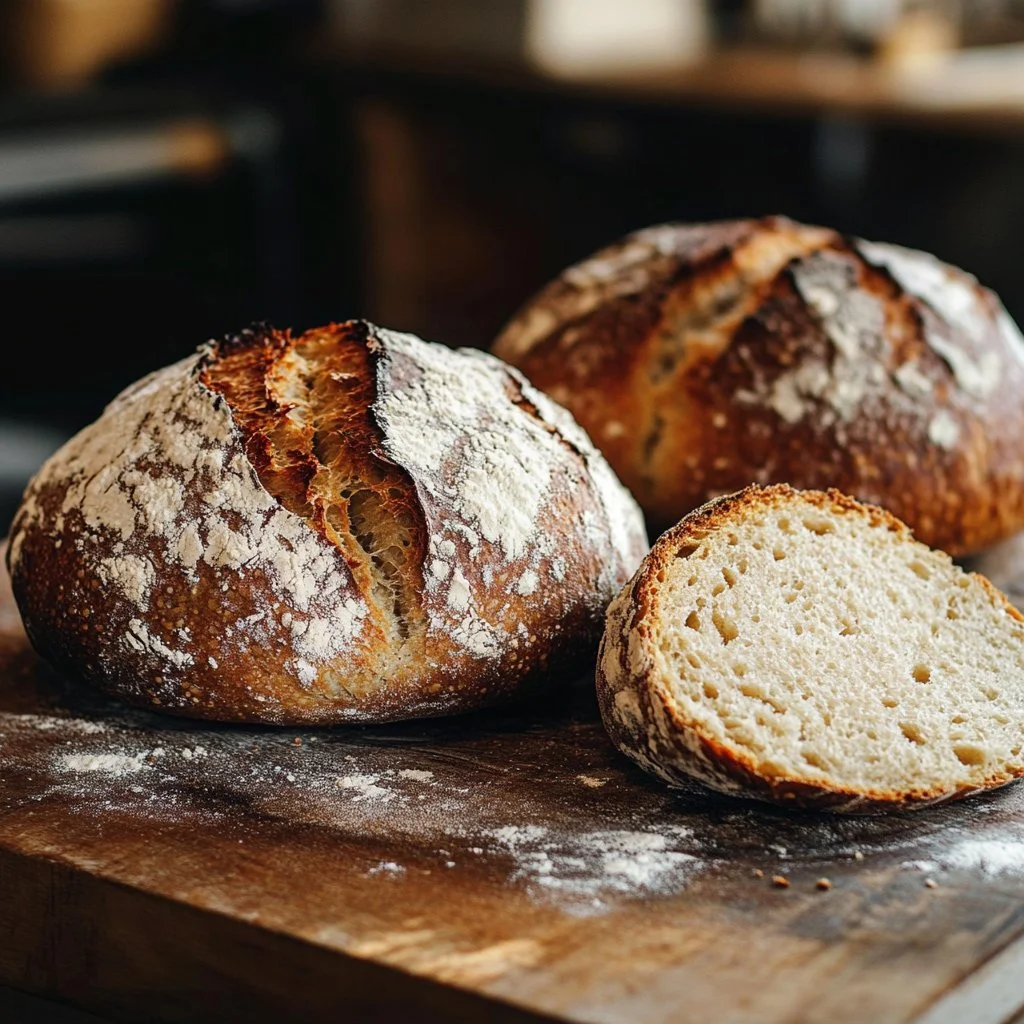
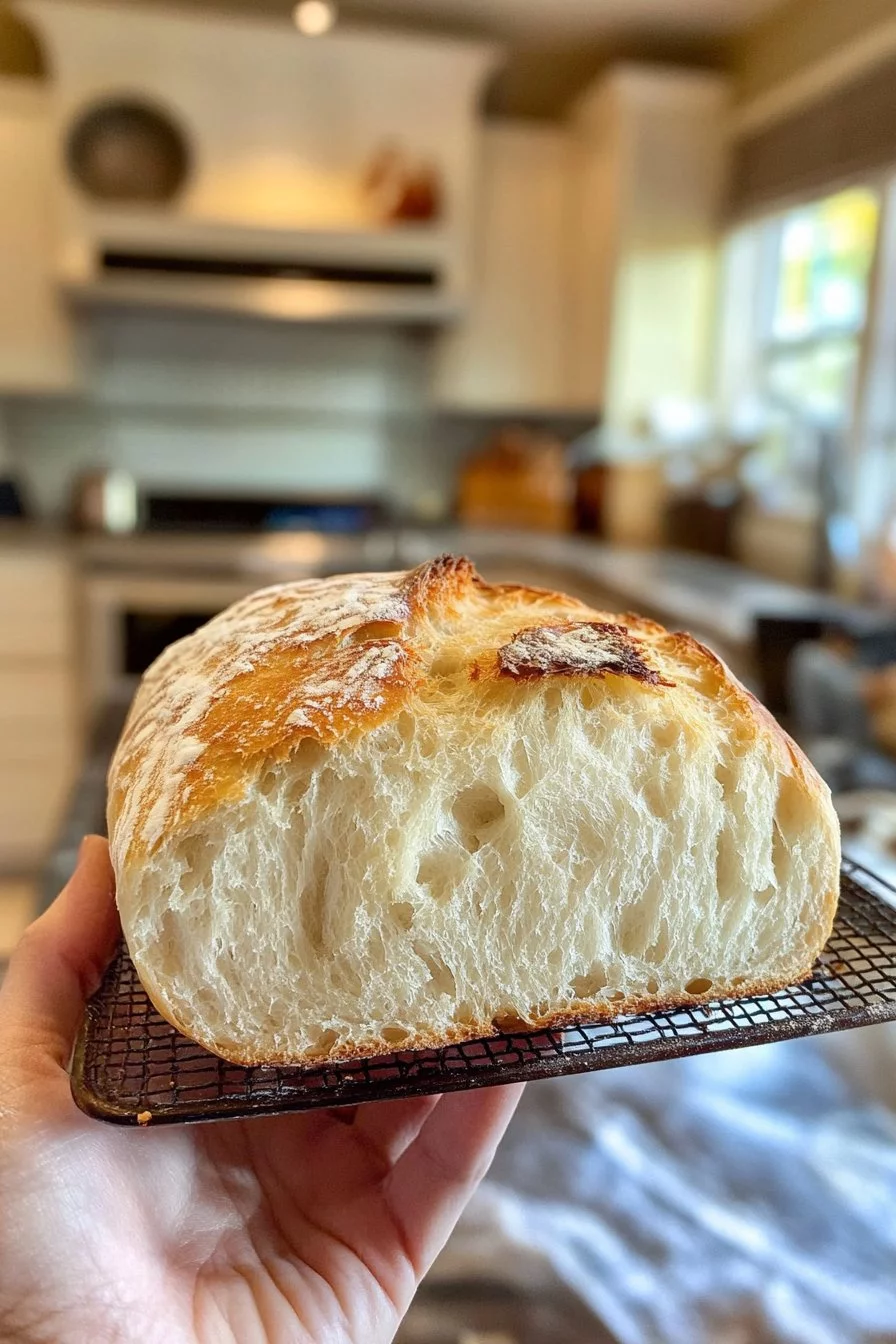
This recipe revolutionized my approach. It allowed me to create a bread that’s not just simple but also incredibly adaptable. The combination of gluten-free flour, water, and yeast comes together effortlessly. The beauty of this bread lies in its long resting period, transforming a sticky mixture into a delicious loaf. Each loaf turned out with a crispy crust and a soft, tender interior, hitting all the right notes.
As I shared this discovery with friends, it became their go-to for gatherings and cozy nights in. The recipe also readily accommodates any herbs or spices, making it a blank slate for creativity. Those moments reinforced my belief that there’s nothing quite like homemade no knead gluten free bread to bring people together.
The Heart of No Knead Gluten Free Bread
Fundamentals
No knead gluten free bread hinges on a few fundamental concepts that ensure success every time. Understanding the scientific principles behind the ingredients and the technique can substantially impact the final product. The essential components of this bread recipe include gluten-free flour, salt, yeast, and warm water. Each plays a crucial role in creating the perfect loaf.
The gluten-free flour blend, which contains rice, tapioca, and potato starch, provides structure and moisture retention. The active dry yeast introduces that delightful rise, creating the desired airy texture. Salt not only enhances flavor but also strengthens the dough. Lastly, warm water activates the yeast, setting the stage for fermentation.
A proper balance of these ingredients forms the backbone of any successful no knead gluten free bread recipe. Embracing this understanding equips home bakers with the knowledge needed to modify and innovate. So, whether you’re craving a basic loaf or longing for something a bit more adventurous, the fundamentals remain the same.
Preparation/Setup
Preparing for no knead gluten free bread is part of the adventure. Start by gathering the necessary tools: a large mixing bowl, a Dutch oven, parchment paper, and plastic wrap. Set the stage by measuring 3 cups of your gluten-free flour blend and combining it with 1½ teaspoons of salt in the mixing bowl. This initial step is critical in ensuring an even distribution of salt throughout the flour.
In a separate bowl, dissolve 1 teaspoon of active dry yeast into 1½ cups of warm water (110°F/43°C). Allow this mixture to sit for 5–10 minutes until it becomes foamy. This foaming indicates that the yeast is alive and ready to work its magic.
Next, combine your wet and dry ingredients. Mix them until a sticky dough forms. Don’t worry about the consistency; it’s meant to be a bit shaggy and messy. Cover this mixture with plastic wrap and leave it to rest at room temperature for 12–18 hours. This long fermentation period develops the flavors and builds the desired texture, making it the most crucial part of the process.
Ingredients
To create no knead gluten free bread, you only need a handful of simple ingredients. Here’s a list to keep handy:
- 3 cups gluten-free flour blend (with rice, tapioca, and potato starch)
- 1½ teaspoons salt
- 1 teaspoon active dry yeast
- 1½ cups warm water (110°F/43°C)
- Optional: 1 tablespoon olive oil, herbs, seeds, or sweeteners
These ingredients come together to provide a robust and delicious loaf. If you’d like to customize your bread, adding olive oil will enhance moisture and flavor. Incorporating herbs or seeds adds an extra dimension to your creation.
When choosing a gluten-free flour blend, aim for one that combines various starches and whole grains for the most balanced flavor. High-quality ingredients yield the best results and ensure a satisfying bite.
Directions
- Start by mixing the gluten-free flour blend and salt in a large bowl.
- In a separate bowl, dissolve the active dry yeast in the warm water and let it sit for 5–10 minutes until foamy.
- Combine the wet and dry ingredients, mixing until a sticky dough forms.
- Cover the bowl with plastic wrap and let it rest at room temperature for 12–18 hours.
- Preheat the oven to 450°F (232°C) with a Dutch oven inside.
- Shape the dough into a round ball on parchment paper.
- Carefully transfer the dough into the hot Dutch oven. Cover and bake for 30 minutes.
- Uncover and bake for an additional 15–20 minutes until the crust is golden brown.
- Cool on a wire rack for at least 1 hour before slicing.
The anticipation that builds during the baking process is thrilling. Watching the bread rise in the oven and develop a beautiful crust feels rewarding and satisfying.
Embracing the Technique
Technique
The no knead technique is simple yet effective. By allowing the dough to rest unattended, the yeast ferments naturally. This nurtures a complex depth of flavor and creates that sought-after crust without traditional kneading.
To achieve the best results, the Dutch oven plays a vital role. It creates an environment that mimics a professional steam-injected oven, helping the crust to form beautifully. Make sure to preheat the Dutch oven sufficiently before adding the dough, ensuring a swift rise when the dough first hits the hot surface.
Don’t hesitate to experiment with the dough after proving itself in the mixing bowl. Occasionally, adjusting the hydration level can produce variations in texture. If the dough feels overly dry, adding a splash more water can facilitate a softer outcome. Conversely, for a denser loaf, reduce slightly the water quantity.
Tips/Tricks
A few tips can elevate your experience with no knead gluten free bread. First, ensure you have a reliable instant-read thermometer to check the water temperature. If the water is too hot, it may kill the yeast; if it’s too cool, the yeast won’t activate properly.
Another important note is to maintain an appropriate resting environment. Too cold can stall yeast activity, while too hot can overly accelerate it. Climbing temperatures could create uneven fermentation, resulting in less than optimal results.
You can also customize this base recipe. Try incorporating different seeds like sunflower or pumpkin for added texture. Dried herbs like rosemary or thyme create a fragrant, artisanal touch that will impress.
Perfecting The Results
Perfecting Results
Success with no knead gluten free bread relies on practice and adjustment. Monitor your dough during its resting period. The longer it rests, the more flavors develop, resulting in a richer taste. Ideally, aiming for an overnight fermentation yields the best results.
Pay attention to the consistency after mixing. Sometimes, gluten-free dough appears wetter than traditional dough. Embrace this variation; it’s normal. If it seems unmanageable, extending the resting period often helps the dough absorb the moisture and thicken up a bit.
Adjusting baking times may also prove valuable. Every oven functions differently. Check the color of the crust and the sound of the bread when tapping its bottom to determine doneness. When it sounds hollow, it’s ready to cool and rest for slicing.
Troubleshooting/Variations
Troubleshooting is part of any cooking adventure. If a loaf turns out too dense, consider letting it rest longer next time. The fermentation process is crucial, and a too-short resting time can result in a heavy texture.
If your bread overflows over the Dutch oven, it could indicate the dough rose excessively. Keeping an eye on the fermentation and controlling the resting time can mitigate this. Smaller loaves may also work better to avoid spillage.
For variations on flavors, consider incorporating sweeteners such as honey or maple syrup for a slightly sweeter bread. You could also add mashed bananas for a fruity twist, or you might blend in spices for something unique, like cinnamon or cardamom.
Serving No Knead Gluten Free Bread
Serving/Presentation
Serving no knead gluten free bread can be both casual and elegant. The rustic appearance goes wonderfully with a simple knife and wooden board for slicing. Present it alongside a selection of dips or spreads.
Consider pairing it with hummus, olive tapenade, or fresh avocado. These accompaniments shine alongside the bread’s crusty exterior.
For a breakfast treat, toast slices and top with fruits, nut butter, or yogurt. The versatile nature allows it to fit seamlessly into any meal of the day.
Pairings/Storage
When it comes to storing no knead gluten free bread, make sure to keep it in an airtight container or a resealable plastic bag. Proper storage ensures freshness for up to several days. For longer storage, consider freezing slices. They defrost easily and retain most of their taste and texture.
While enjoying this bread, feel free to get creative with pairings. Try it with soups, salads, or even as a base for open-faced sandwiches. The options are virtually limitless, making it a superb addition to your culinary repertoire.
Conclusion
Crafting no knead gluten free bread transforms the kitchen experience into effortless artistry. The simple process combined with quality ingredients creates a delightful loaf that opens doors for culinary exploration. Each step comes with an opportunity to infuse creativity and personalization.
Enjoying the warm, crusty bread can be a journey of flavors and textures. Mastering this loaf encourages confidence in baking and inspires numerous variations. Every batch embodies the commitment to delicious, gluten-free cuisine that thrives in our homes.
Print
No Knead Gluten Free Bread
- Prep Time: 15 minutes
- Cook Time: 45 minutes
- Total Time: 60 minutes
- Yield: 1 loaf
- Category: Baked Goods
- Method: Baking
- Cuisine: Gluten Free
- Diet: Gluten Free
Description
A simple and adaptable no-knead gluten free bread recipe that results in a crispy crust and soft interior, perfect for any meal.
Ingredients
- 3 cups gluten-free flour blend (with rice, tapioca, and potato starch)
- 1½ teaspoons salt
- 1 teaspoon active dry yeast
- 1½ cups warm water (110°F/43°C)
- Optional: 1 tablespoon olive oil, herbs, seeds, or sweeteners
Instructions
- Mix the gluten-free flour blend and salt in a large bowl.
- Dissolve the active dry yeast in the warm water and let it sit for 5–10 minutes until foamy.
- Combine the wet and dry ingredients, mixing until a sticky dough forms.
- Cover the bowl with plastic wrap and let it rest at room temperature for 12–18 hours.
- Preheat the oven to 450°F (232°C) with a Dutch oven inside.
- Shape the dough into a round ball on parchment paper.
- Carefully transfer the dough into the hot Dutch oven. Cover and bake for 30 minutes.
- Uncover and bake for an additional 15–20 minutes until the crust is golden brown.
- Cool on a wire rack for at least 1 hour before slicing.
Notes
Customize the bread by adding olive oil, herbs, or seeds for extra flavor and texture. Store in an airtight container for freshness.
