
📑 Table of Contents ▶
No Knead Bread
INTRODUCTION
Baking fresh bread at home used to intimidate me. I would scroll through recipes filled with complicated techniques and time-consuming steps, wondering if I could ever get it right. Then I discovered no knead bread, a game-changer that transformed my kitchen experience.
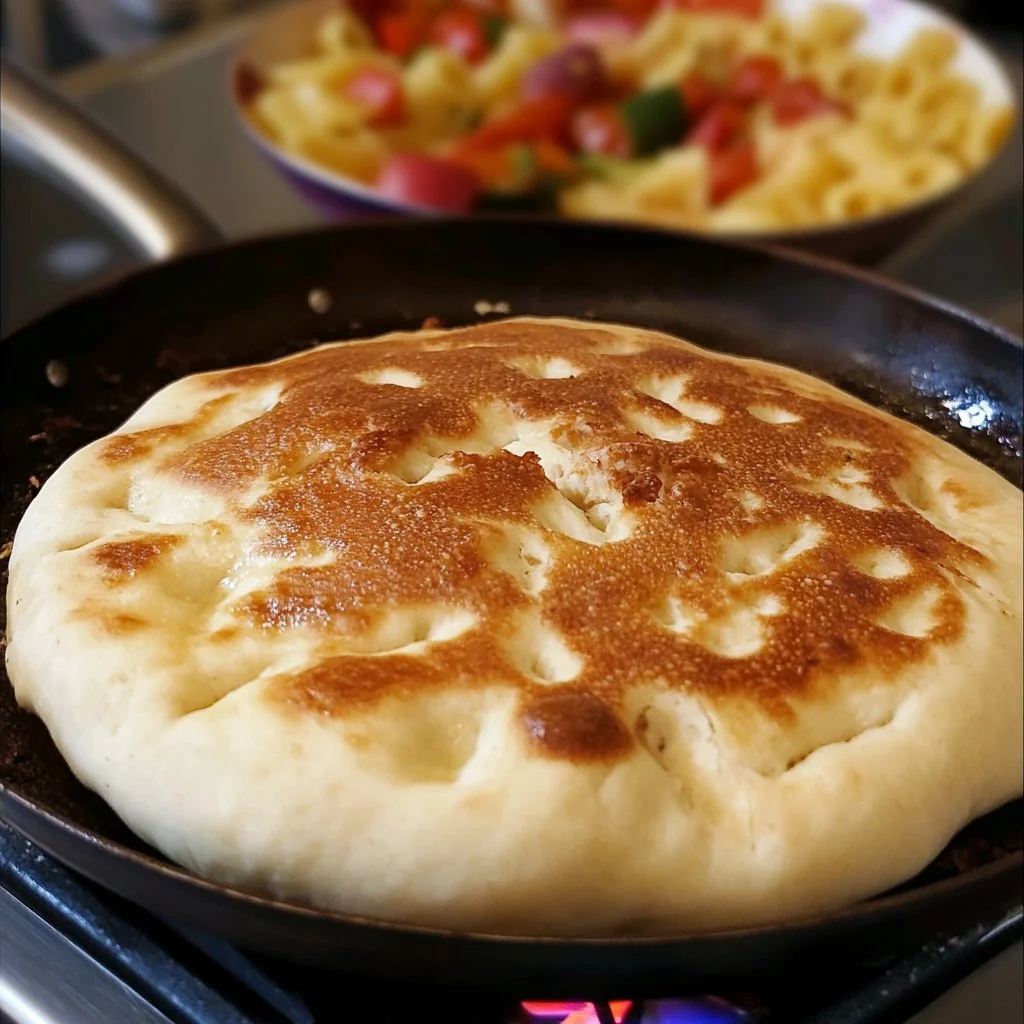
This easy bread recipe requires minimal effort and produces that delightful homemade aroma. The best part? It uses simple ingredients like flour, warm milk, and olive oil, making it accessible for anyone eager to try. With just a bit of patience, you’ll witness the transformation of a shaggy dough into a golden-brown loaf worthy of any meal.
No knead bread encourages experimentation, allowing for perfect customization. For instance, sprinkle some chopped parsley and chili flakes on top for an extra kick. Once you taste the rich flavors, you’ll wonder why you ever hesitated to bake bread at home.
PART 1 — Fundamentals of No Knead Bread
Fundamentals
No knead bread focuses on simplicity and minimal handling. The magic lies in allowing the dough to rise, which enhances flavor and texture without the traditional kneading process. This method appeals to both novice and experienced bakers, offering ease without sacrificing quality.
Using dry yeast is essential for achieving the right rise in the dough. Combined with warm milk and water, it activates the yeast and helps create a soft, airy crumb. As the dough rises, it develops gluten, which contributes to the structure of the final product.
Preparation/setup
Gather all your ingredients before starting the no knead bread recipe. Start by measuring 500 g of flour, 150 ml of warm milk, and 150 ml of warm water. Adding 1 teaspoon of salt and 2 tablespoons of dry yeast sets a solid foundation for your loaf. Ensure your olive oil is ready for incorporation.
Once you have everything ready, you’ll need a large bowl to combine your dry ingredients. Stir in the wet ingredients and mix until a shaggy dough forms. This will act as the base of your no knead bread and is the first step toward your delightful creation.
Ingredients
- 500 g (1 pound) flour
- 150 ml (5 fl. oz) warm milk
- 150 ml (5 fl. oz) warm water
- 1 tsp salt
- 2 tbsp dry yeast
- 3 tbsp olive oil
- Chopped parsley (for topping)
- Chili flakes (for topping)
Directions
In a large bowl, combine the flour, salt, and dry yeast. Pour in the warm milk and water along with the olive oil. Mix until a shaggy dough forms. Cover with a damp towel and let it rise in a warm place for about 1-2 hours, until doubled in size.
Once risen, shape it into a loaf and place it in a greased baking pan. Sprinkle with chopped parsley and chili flakes for added flavor. Allow it to rest for an additional 30 minutes while you preheat the oven to 220°C (425°F). Bake for 25-30 minutes until golden brown.
PART 2 — The Technique of No Knead Bread
Technique
The technique behind no knead bread emphasizes patience and proper timing. After mixing, the dough requires time to rise. This is critical for developing flavor and structure without extensive handling. The slower fermentation process allows the dough to develop complex flavors you often find in artisan breads.
Once your dough has risen, shaping it into a loaf becomes intuitive. Handle it gently, preserving the air bubbles formed during the first rise. This care ensures the final loaf remains light and soft, delivering that perfect texture everyone loves.
Tips/tricks
A few tips can significantly enhance the no knead bread experience. First, always use filtered or bottled water for the best taste. The temperature of the liquids also plays a crucial role in activating the yeast. Aim for a temperature around 100°F (38°C) when combining warm milk and water.
Don’t rush the proving stage. Allow your dough ample time to rise, as this step is vital for achieving impressive results. If your dough seems too sticky after resting, lightly flour your hands during the shaping process, ensuring it stays manageable while retaining its airy structure.
PART 3 — Perfecting the No Knead Bread Results
Perfecting results
Perfecting your no knead bread often comes from practice and attention to detail. Each kitchen may have slightly different temperatures and humidity levels, so adjust your rise times accordingly. If your kitchen is particularly cool, you might find your dough requires more time to double in size.
Another critical factor is stretching and folding during the rise. Though you don’t need to knead, gently folding the dough every 30 minutes can help strengthen its structure, leading to a loftier final product.
Troubleshooting/variations
Even with simple recipes, troubleshooting can sometimes arise. If your bread doesn’t rise sufficiently, check the expiration date on your yeast. Old or inactive yeast will prevent proper rising.
For variations, consider adding herbs or spices directly into the dough for added flavor. Rosemary, thyme, or garlic powder can infuse the bread with delicious undertones. If you enjoy adventurous breads, try incorporating cheese or sautéed onions into the dough for a gourmet touch.
PART 4 — Serving and Storing No Knead Bread
Serving/presentation
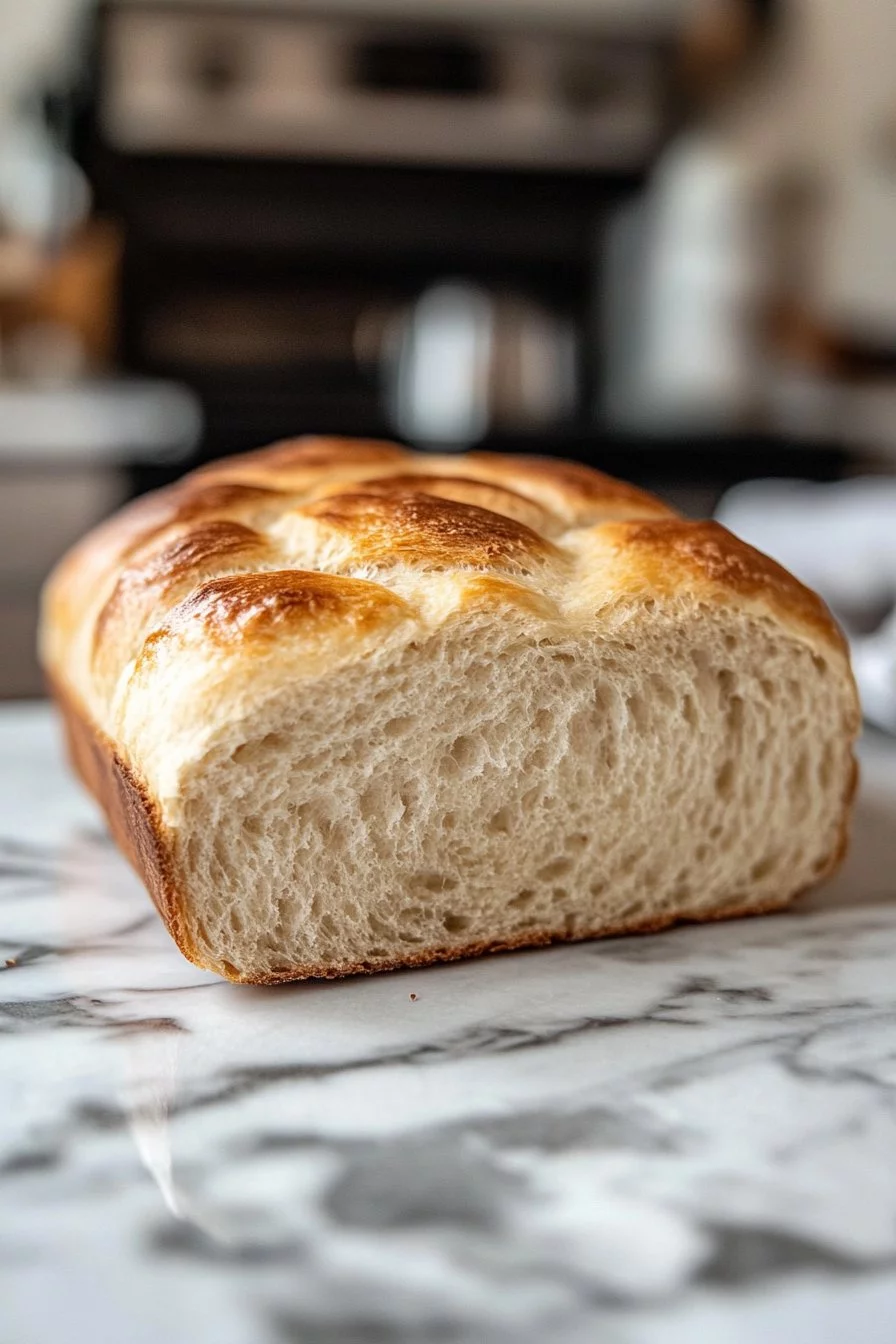
Presenting your no knead bread can elevate any meal. Once baked and cooled slightly, slice the loaf to showcase its beautiful texture and golden crust. Serve it warm as an accompaniment to soups or salads. Simply drizzle with olive oil or butter for an elevated experience.
The aromatic herbs on top not only enhance flavor but also add a rustic touch to the presentation. Place the sliced bread on a wooden board or in a basket lined with a cloth for a charming serves-at-the-table feel.
Pairings/storage
Pair your no knead bread with a variety of dishes. Enjoy it alongside hearty stews or top it with fresh avocado and spices for a delectable brunch. It also complements various dips, making it an excellent choice for gatherings or casual picnics.
When it comes to storage, keep your bread wrapped in a clean kitchen towel to maintain its crustiness. For longer storage, place it in a resealable bag at room temperature. If you want to freeze it, wrap slices individually to enjoy later.
CONCLUSION
Baking no knead bread can transform the way you view homemade baking. This straightforward recipe empowers anyone to create a delicious, comforting loaf without extensive kitchen skills. Each step leads to a rewarding final product that fills your home with delightful aromas and offers heartwarming flavors.
Simply follow the outlined steps, and soon you’ll savor the satisfaction of pulling a freshly baked loaf from your oven. Whether shared with friends or enjoyed on your own, each bite promises to satisfy and impress. The joy of baking is at your fingertips with this no knead bread recipe.
Print
No Knead Bread
- Prep Time: 15 minutes
- Cook Time: 30 minutes
- Total Time: 45 minutes
- Yield: 1 loaf
- Category: Bread
- Method: Baking
- Cuisine: American
- Diet: Vegetarian
Description
An easy no knead bread recipe that produces a delightful homemade loaf with minimal effort.
Ingredients
- 500 g (1 pound) flour
- 150 ml (5 fl. oz) warm milk
- 150 ml (5 fl. oz) warm water
- 1 tsp salt
- 2 tbsp dry yeast
- 3 tbsp olive oil
- Chopped parsley (for topping)
- Chili flakes (for topping)
Instructions
- In a large bowl, combine the flour, salt, and dry yeast.
- Pour in the warm milk, warm water, and olive oil.
- Mix until a shaggy dough forms.
- Cover with a damp towel and let it rise in a warm place for about 1-2 hours, until doubled in size.
- Once risen, shape it into a loaf and place it in a greased baking pan.
- Sprinkle with chopped parsley and chili flakes.
- Allow it to rest for an additional 30 minutes while you preheat the oven to 220°C (425°F).
- Bake for 25-30 minutes until golden brown.
Notes
Allow the dough ample time to rise to achieve the best results. Consider adding herbs or spices directly into the dough for added flavor.
