
📑 Table of Contents ▶
- Discovering the Basics of Magic Cookie Bars
- Fundamentals
- Preparation/Setup
- Directions
- Mastering the Technique of Magic Cookie Bars
- Technique
- Tips and Tricks
- Perfecting the Results of Magic Cookie Bars
- Perfecting Results
- Troubleshooting and Variations
- Serving and Presenting Magic Cookie Bars
- Serving and Presentation
- Pairings and Storage
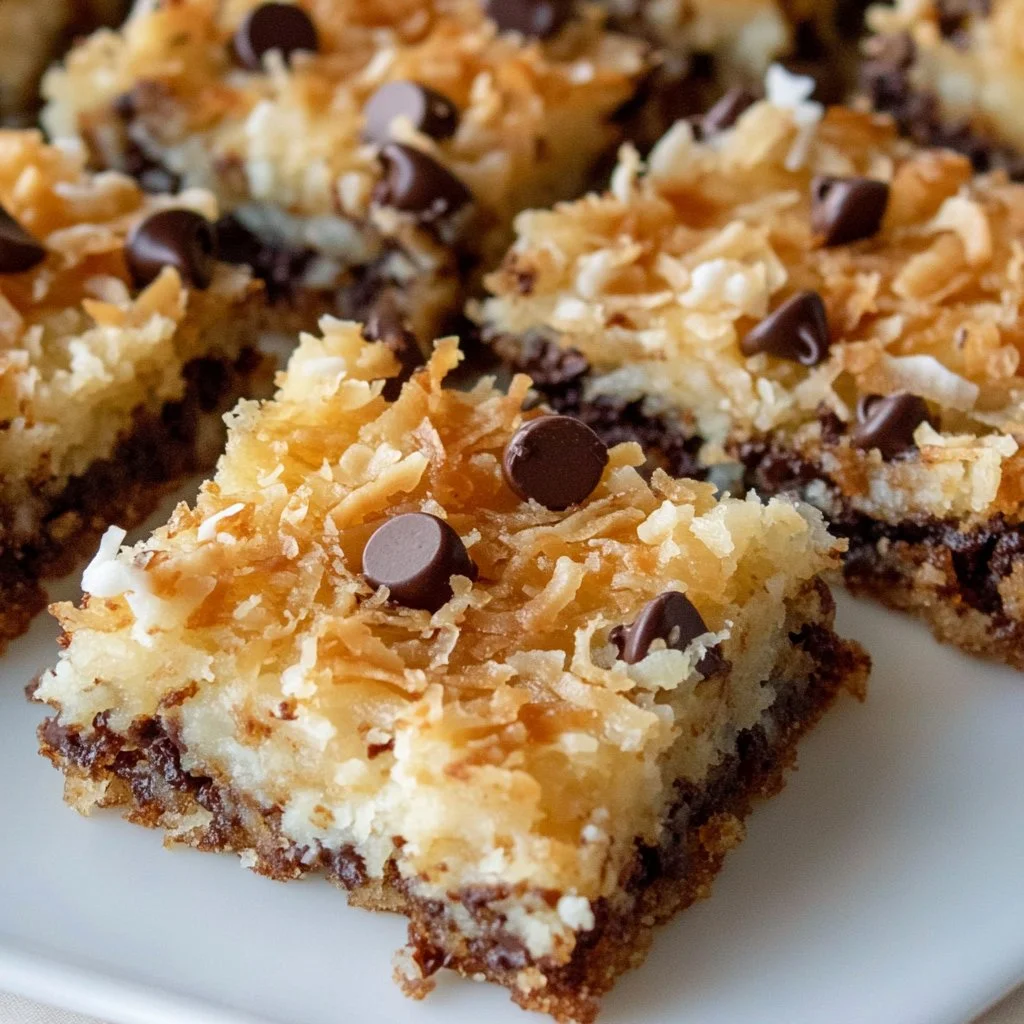
Magic Cookie Bars from Eagle Brand
Creating a memorable dessert can elevate any occasion, and Magic Cookie Bars from Eagle Brand do just that. I remember the first time I tasted these delightful treats at a family gathering. My aunt prepared them, and their sweet, rich flavors enchanted everyone. As a kid, I loved the layers of chocolate, coconut, and nuts that created such a perfect harmony. Since then, I often think of these bars when I want to impress friends and family with minimal effort.
Magic Cookie Bars not only satisfy a sweet tooth but also bring a sense of nostalgia. They blend simple ingredients into a treat that practically melts in your mouth. However, it’s the unique combination of graham cracker crumbs, sweetened condensed milk, and semisweet chocolate that brings these bars to life. Whenever I make these, memories flood back from family gatherings, as everyone loves diving into them.
Welcome the adventure of baking these exceptional bars. The infusion of textures and flavors captivates the taste buds and leaves a lasting impression. These bars embody effortless baking and will quickly become a favorite. Gather your ingredients and let’s embark on this sweet journey.
Discovering the Basics of Magic Cookie Bars
Fundamentals
Magic Cookie Bars from Eagle Brand showcase a delightful mix of accessible ingredients. The star of the show, sweetened condensed milk, combines seamlessly with the graham cracker crust and layers of delightful toppings. This dessert is not only easy to prepare but also offers versatility for your taste preferences.
As you think about the components, they unite to form the iconic layers. The graham cracker crumbs create a firm base, while the melted butter brings a richness that enhances the overall flavor. The sweetened condensed milk serves as the magical binding agent, ensuring every layer sticks together perfectly.
Versatile enough for any occasion, these bars satisfy sweet cravings without requiring complex techniques. Everyone can enjoy them, impressing guests at parties or offering comfort during quiet evenings at home. Embracing this recipe captures the spirit of baking—fun, delicious, and nostalgic.
Preparation/Setup
Before diving into mixing and baking, a little preparation goes a long way. Start by preheating your oven to the perfect temperature. If you’re using a glass dish, adjust the temperature slightly lower. This ensures even baking and prevents over-browning.
Coating your baking dish with cooking spray becomes crucial in ensuring easy removal after baking. Take a moment to gather all the ingredients. With graham cracker crumbs, butter or margarine, sweetened condensed milk, semisweet chocolate morsels, flaked coconut, and chopped nuts, your work will yield a scrumptious treat.
Once gathered, mixing becomes the next step. Combine the graham cracker crumbs and melted butter until well blended. Press this mixture firmly into the bottom of your greased baking dish, creating the foundational layer. From here, the fun begins as you pour sweetened condensed milk over the crust.
Ingredients
- 1.5 cups graham cracker crumbs
- 0.5 cup butter or margarine, melted
- 1 (14 ounce) can EAGLE BRAND® Sweetened Condensed Milk
- 2 cups semisweet chocolate morsels
- 1.333 cups flaked coconut
- 1 cup chopped nuts
Directions
- Gather all ingredients.
- Preheat the oven to 350 degrees F (175 degrees C). For a glass dish, preheat to 325 degrees F (165 degrees C). Coat a 9×13-inch baking dish with cooking spray.
- Mix graham cracker crumbs and melted butter in a bowl until well combined. Transfer the mixture to the prepared baking dish and press onto the bottom.
- Pour the sweetened condensed milk evenly over the graham cracker crust.
- Sprinkle an even layer of semisweet chocolate morsels, flaked coconut, and chopped nuts over the top.
- Press the toppings down firmly with the back of a fork to secure them into the layers.
- Bake in the preheated oven until lightly browned, approximately 25 minutes.
- Cool completely, then cut into 36 bars or diamonds.
Mastering the Technique of Magic Cookie Bars
Technique
Perfecting Magic Cookie Bars from Eagle Brand relies on mastering your technique. Begin by ensuring even mixing. Properly combine graham cracker crumbs and butter for a firm, cohesive crust. Avoid overdoing it, as you want the mixture to be crumbly yet hold together nicely when pressed into the dish.
When layering the sweetened condensed milk and toppings, aim for even distribution. This promotes a consistent flavor experience in each bite. After pouring the milk into the crust, take time to sprinkle your toppings: chocolate morsels, flaked coconut, and nuts. Their even distribution leads to a delightful blend of textures when you bite in.
Baking time is critical. Keep an eye on the bars as they bake, watching for a light golden brown on the top. If you overbake, the bars could become excessively dry. Engage your senses—take in the aromatic scents wafting through the kitchen as your delicious creation comes together.
Tips and Tricks
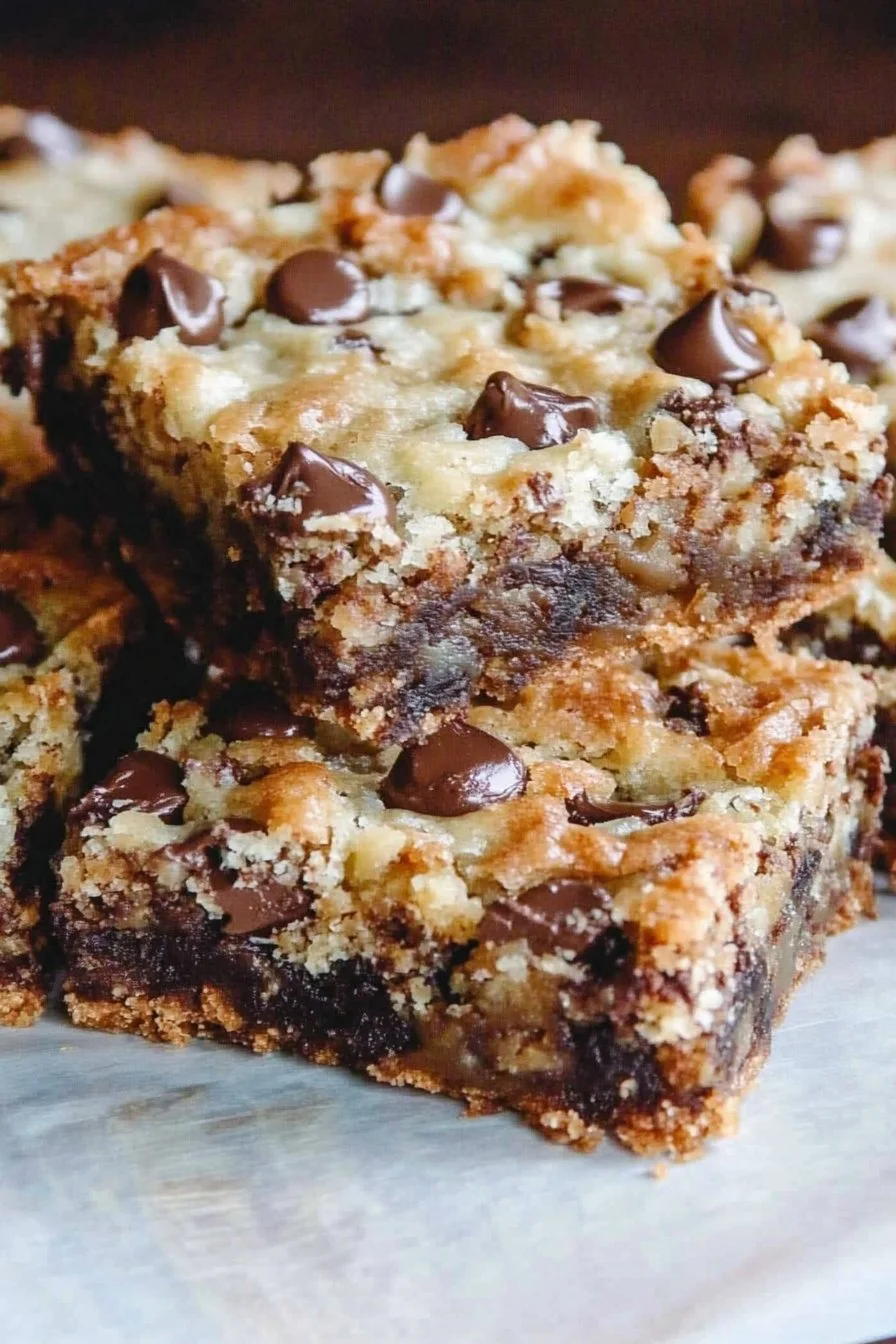
To take your Magic Cookie Bars to the next level, consider a few tips. If you prefer a richer chocolate flavor, opt for dark chocolate morsels instead of semisweet. You can easily customize the topping combinations with different nuts or even add dried fruit for a sweeter bite.
Storage plays an important role in preserving the bars. Keep them in an airtight container at room temperature for optimal freshness. They typically stay delicious for several days, but once family and friends taste them, they might disappear quickly.
Preparing the pan properly is essential for easy removal. Use aluminum foil to line the baking dish before adding the crust. This allows for easy lifting out afterward.
Perfecting the Results of Magic Cookie Bars
Perfecting Results
Timing your Magic Cookie Bars is essential for the perfect outcome. Bake them until the edges turn golden brown while avoiding overcooking. Cool them completely for the best cutting results. This helps them maintain their shape when you slice them into bars or diamonds.
By letting your bars rest before cutting, the layers continue to set. Adjust the size of your bars according to different occasions; slice them smaller for parties or larger for an after-dinner treat.
Assess the texture as well. A well-executed batch should showcase a perfect balance of rich and chewy, while the graham cracker layer remains sturdy enough to hold everything in.
Troubleshooting and Variations
Not every baking adventure goes perfectly the first time. If your bars turn out too crumbly, you may need to increase the amount of butter slightly. Conversely, if they are too sticky, slightly reduce the amount of sweetened condensed milk in your next attempt.
Want to switch things up? Try adding a layer of peanut butter or almond butter for an extra hint of flavor. The beauty of these bars lies in their adaptability—experiment with different toppings like toffee bits, butterscotch chips, or even a drizzle of melted chocolate on top after cooling.
Serving and Presenting Magic Cookie Bars
Serving and Presentation
Presentation elevates these delightful bars. Once cooled and cut, arrange the bars on a decorative platter or tiered cake stand. This adds an inviting appeal to any gathering. A simple dusting of powdered sugar over the top gives a final touch, enhancing the visual presentation.
Consider serving the bars with a side of fresh fruit. They complement each other perfectly, adding a refreshing balance to the sweetness of the cookies. Pair them with a scoop of vanilla ice cream for an indulgent dessert experience, ideal for gatherings or cozy nights at home.
Pairings and Storage
While these Magic Cookie Bars shine on their own, consider additional pairings like coffee, hot chocolate, or refreshing lemonade. These drinks enhance the dessert experience, making it an even more memorable occasion.
For storage, keep your bars in an airtight container at room temperature for freshness. You can refrigerate them for longer shelf life, but ensure they are well sealed. Cravings may arise, and having these delightful bars on hand provides a perfect solution for when the urge strikes.
Magic Cookie Bars from Eagle Brand blend simplicity and nostalgic flavors into irresistibly delicious treats. With such ease, you can impress family and friends, ensuring sweet memories for years to come.
Print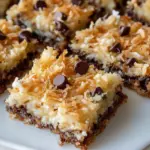
Magic Cookie Bars
- Prep Time: 10 minutes
- Cook Time: 25 minutes
- Total Time: 35 minutes
- Yield: 36 servings
- Category: Dessert
- Method: Baking
- Cuisine: American
- Diet: Vegetarian
Description
Delightful Magic Cookie Bars that combine chocolate, coconut, and nuts for a rich and nostalgic dessert.
Ingredients
- 1.5 cups graham cracker crumbs
- 0.5 cup butter or margarine, melted
- 1 (14 ounce) can EAGLE BRAND® Sweetened Condensed Milk
- 2 cups semisweet chocolate morsels
- 1.333 cups flaked coconut
- 1 cup chopped nuts
Instructions
- Gather all ingredients.
- Preheat the oven to 350°F (175°C). For a glass dish, preheat to 325°F (165°C). Coat a 9×13-inch baking dish with cooking spray.
- Mix graham cracker crumbs and melted butter in a bowl until well combined. Transfer the mixture to the prepared baking dish and press onto the bottom.
- Pour the sweetened condensed milk evenly over the graham cracker crust.
- Sprinkle an even layer of semisweet chocolate morsels, flaked coconut, and chopped nuts over the top.
- Press the toppings down firmly with the back of a fork to secure them into the layers.
- Bake in the preheated oven until lightly browned, approximately 25 minutes.
- Cool completely, then cut into 36 bars or diamonds.
Notes
To customize, try adding dark chocolate morsels or different nuts. Store in an airtight container for optimal freshness.
