
📑 Table of Contents ▶
- The Essentials of the Japanese Cotton Candy Cake Roll
- Fundamentals
- Preparation/Setup
- Directions
- Techniques for a Flawless Cotton Candy Cake Roll
- Technique
- Tips/Tricks
- Perfecting the Cotton Candy Cake Roll
- Perfecting Results
- Troubleshooting/Variations
- Serving and Storing the Japanese Cotton Candy Cake Roll
- Serving/Presentation
- Pairings/Storage
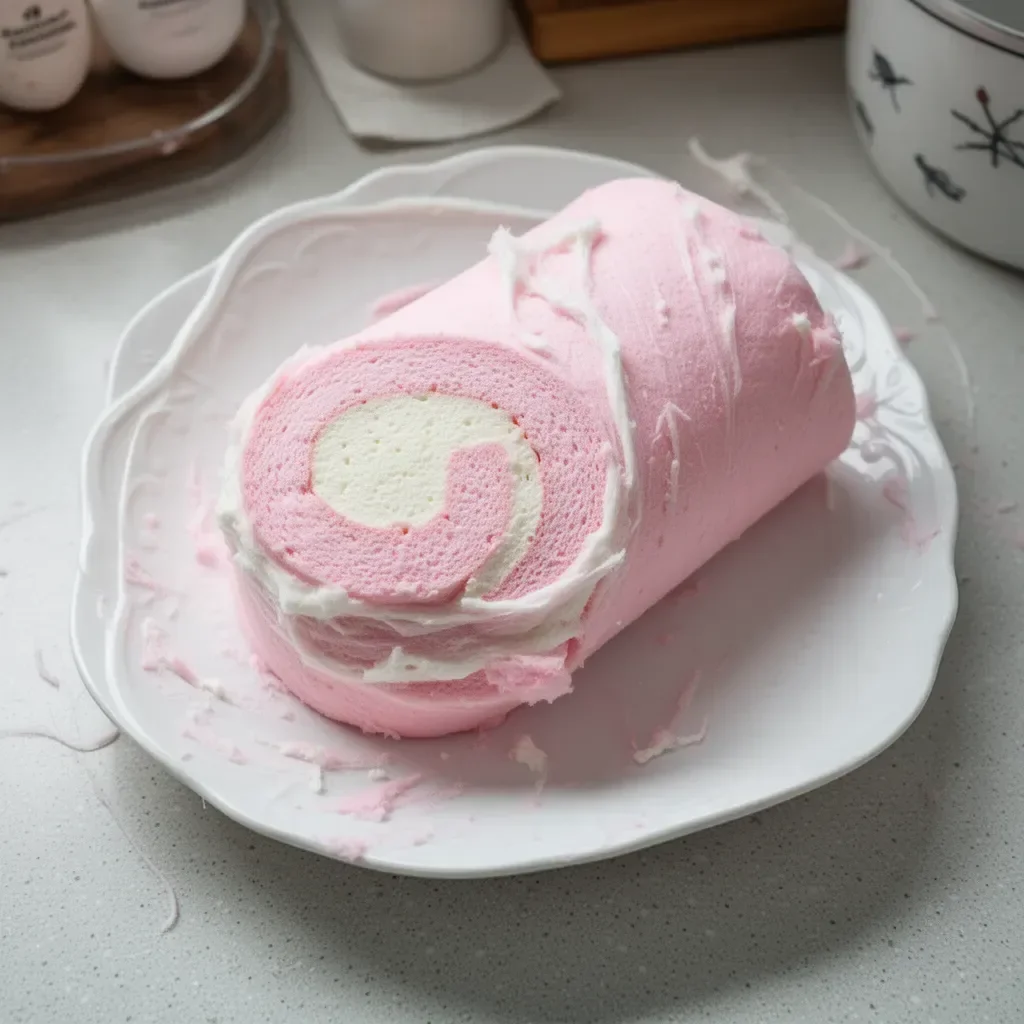
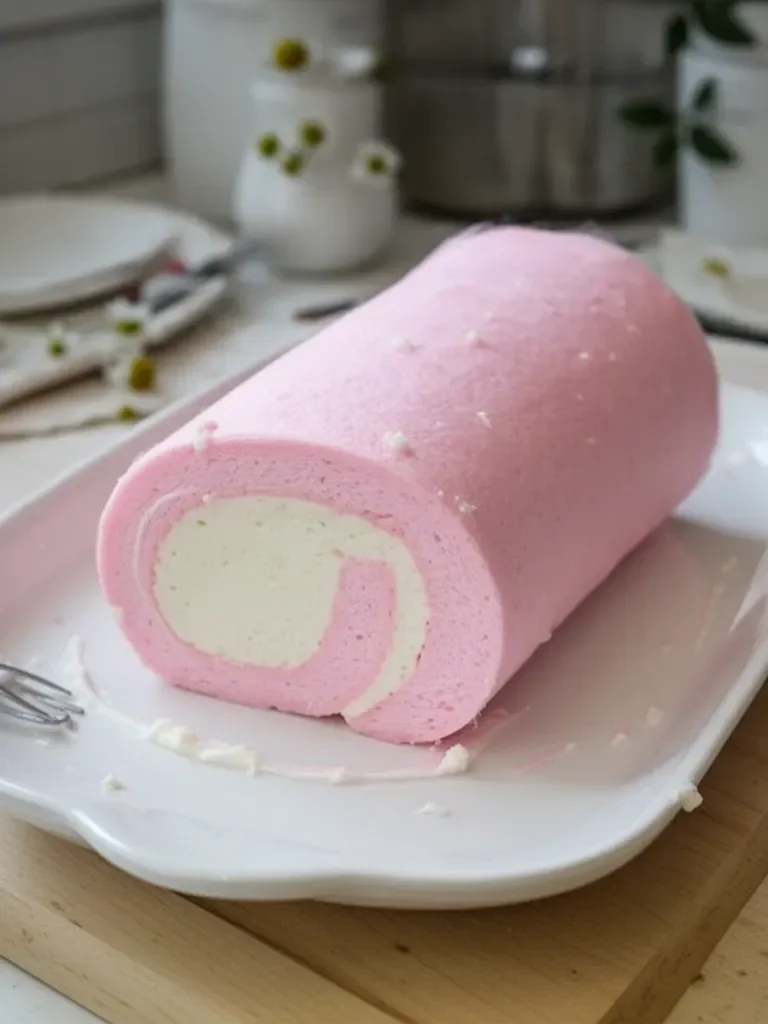
Japanese Cotton Candy Cake Roll
The first time I tasted a Japanese cotton candy cake roll, it felt like a trip back to childhood. The delightful sweetness of cotton candy danced on my tongue, evoking memories of summer fairs and bright carnival nights. The soft sponge cake wrapping creamy goodness was enchanting, leaving me yearning for more.
Whenever dessert calls, this cake roll emerges as the star of the show. Its whimsical appearance and delightful flavors captivate all who see it. The cotton candy extract elevates traditional flavors, adding an unexpected twist that sparks curiosity and joy at any gathering. While the cake roll looks intricate, it’s surprisingly simple to make, transforming the festive experience into something anyone can replicate in their kitchen.
For anyone who loves sweet treats, this Japanese cotton candy cake roll shines bright. It blends nostalgia with a modern twist, making it a perfect choice for birthday parties, family gatherings, or just because. The cake roll is a playful dessert that showcases creativity and brings smiles to faces young and old.
The Essentials of the Japanese Cotton Candy Cake Roll
Fundamentals
Creating a fluffy and flavorful Japanese cotton candy cake roll starts with understanding the key ingredients. The heavy cream, sugar, egg whites, and cake flour play pivotal roles in achieving the desired texture and taste. Heavy cream provides richness and keeps the cake moist. Granulated sugar sweetens each bite while helping the cake to rise properly.
Egg whites, when whipped to perfection, lend a light and airy quality to the cake. Cake flour adds a delicate crumb, ensuring a tender final product. By exploring these fundamentals, makers can understand better how each component contributes to the whole, ensuring their cotton candy cake roll turns out perfectly every time.
Preparation/Setup
Preparation is crucial in crafting this delightful dessert. Begin by aligning an 8 x 12" rectangular cake pan with parchment paper or a silicone baking mat. This step ensures the cake releases easily after baking. Preheating the oven to 325°F sets the stage for an ideal baking environment, creating an evenly cooked cake that springs back when gently pressed.
Next, gather all necessary ingredients. The precision of measurements—like 1 cup heavy cream and 70 grams cake flour—can make or break the recipe. Ensure your kitchen is tidy and all equipment is clean for the best result. This methodical approach will pave the way for a cake that not only looks beautiful but tastes divine too.
Ingredients
Here’s a breakdown of what you’ll need to craft this delicious Japanese cotton candy cake roll:
- 1 cup heavy cream (36% M.F.), chilled
- 1 tablespoon + 1 teaspoon granulated sugar (to taste)
- 1 teaspoon cotton candy extract
- 1 teaspoon unflavored gelatin powder
- 4 teaspoons water
- 6 egg whites, room temperature
- 55 grams granulated sugar (for egg whites)
- 1/4 teaspoon cream of tartar
- Gel color in desired colors
- 90 ml whole fat milk
- 20 ml vegetable oil
- 30 grams granulated sugar
- 1/2 teaspoon cotton candy extract
- 70 grams cake flour
- 1/4 teaspoon sea salt
Directions
- Line an 8 x 12" rectangular cake pan with a silicone baking mat or parchment paper.
- Preheat the oven to 325°F.
- In a small bowl, whisk together the wet ingredients, which include the first portion of the sugar. Set aside.
- In a large mixing bowl, sift in the dry ingredients and stir to combine.
- Create a well in the center of the dry mixture and add the wet ingredients.
- Combine until just incorporated, avoiding over-mixing.
- In a clean, dry mixing bowl, whip the egg whites on a slow speed until frothy, then add cream of tartar.
- Gradually increase the speed to medium and add the second tablespoon of sugar until soft peaks form.
- Once soft peaks form, continue whipping until stiff peaks are achieved, adding gel color as desired.
- Gently fold the meringue into the wet batter in three additions.
- Pour the batter into the prepared cake pan and spread it evenly with an angled spatula.
- Tap the pan on the counter to release air bubbles.
- Bake for 10-12 minutes until a skewer pulls out clean and the cake springs back in the center.
- Let the cake cool for 5 minutes before flipping it onto a cooling rack, removing the parchment paper carefully.
- Allow the cake to cool completely while preparing the cotton candy whipped cream.
Techniques for a Flawless Cotton Candy Cake Roll
Technique
Perfecting the Japanese cotton candy cake roll involves various techniques that ensure successful results. Whipping the egg whites to stiff peaks is essential, as this stage creates the airy structure needed for the cake. Pay close attention to this step while gradually adding sugar. The key is slow and steady integration, allowing the sugar to dissolve fully, which helps the meringue achieve its optimal texture.
Another technique involves the careful folding of the meringue into the flour mixture. Gently incorporating the two mixtures preserves the airiness of the egg whites. Over-mixing may deflate the batter, resulting in a dense cake instead of the desired lightness. Enjoy the process and take your time to achieve the perfect balance.
Tips/Tricks
Ensure success with a few handy tips and tricks. First, always use room-temperature egg whites; this significantly aids their volume when whipped. Similarly, a thoroughly chilled bowl and beaters will enhance the whipping process, helping achieve those beautiful stiff peaks more easily.
Experiment with gel colors but start with a small amount, adding to your liking until you achieve the desired shade. A playful combination of colors can make the final cake visually striking. Lastly, don’t rush the cooling phase of the cake. Ensure its complete coolness before spreading on the whipped cream, which also helps in preventing any melting or unwanted slippage in the cake roll.
Perfecting the Cotton Candy Cake Roll
Perfecting Results
To perfect your Japanese cotton candy cake roll, keep a close eye on baking times. Each oven is different, and the ideal bake time can vary. Make sure to check for a clean skewer pull before removing the cake from the oven.
When preparing the whipped cream, the technique and speed of whipping also impact the final texture. Whip just until the cream reaches stiff peaks, and avoid over-whipping, which can lead to a grainy texture.
Assembling the cake doesn’t just involve spreading the whipped cream. Be strategic about placing the cream: spreading more on the end that will roll first leads to a generous filling that will delight everyone.
Troubleshooting/Variations
If you encounter a cake that’s too dense or dry, it may be due to excessive mixing or too much baking time. Each step should be approached with a gentle hand. On the flip side, if the cake comes out too eggy, ensure that it is well-cooked and that all sugar incorporated is well dissolved.
For variations, consider infusing different flavors in the whipped cream. Adding vanilla extract or mixing in other flavors can create a new taste experience. Replacing cotton candy extract with flavors like strawberry or bubblegum can result in unique twists, keeping the cotton candy cake roll fresh and exciting.
Serving and Storing the Japanese Cotton Candy Cake Roll
Serving/Presentation
Presentation matters, especially for a dreamy dessert like the Japanese cotton candy cake roll. Once cooled and rolled, slice off the ends to create a clean, tidy appearance. The colorful layers will be revealed with each cut, making it an eye-catching treat for any occasion.
Using a serrated knife helps in achieving smooth cuts without squishing the cake. Arrange the slices on a platter, and feel free to garnish with fun toppings—sprinkles, edible glitter, or even more whipped cream can elevate the visual appeal and enjoyment.
Pairings/Storage
This delightful cake roll is best served chilled. Accompany it with fresh fruit, whipped cream or ice cream on the side. It pairs wonderfully with a cup of tea or coffee that balances its sweetness.
For storage, keep the cotton candy cake roll wrapped tightly in plastic wrap within an airtight container. It can remain fresh in the fridge for up to 2-3 days, maintaining its delicious texture and flavor.
The Japanese cotton candy cake roll is not just a dessert; it’s a delightful experience that ignites fond memories and brings people together. This playful cake will undoubtedly become a beloved favorite in any household.
Print
Japanese Cotton Candy Cake Roll
- Prep Time: 15 minutes
- Cook Time: 12 minutes
- Total Time: 27 minutes
- Yield: 8 servings
- Category: Dessert
- Method: Baking
- Cuisine: Japanese
- Diet: Vegetarian
Description
A whimsical dessert that combines nostalgia and modern flavors, this Japanese cotton candy cake roll is light, fluffy, and decorated with vibrant colors.
Ingredients
- 1 cup heavy cream (36% M.F.), chilled
- 1 tablespoon + 1 teaspoon granulated sugar (to taste)
- 1 teaspoon cotton candy extract
- 1 teaspoon unflavored gelatin powder
- 4 teaspoons water
- 6 egg whites, room temperature
- 55 grams granulated sugar (for egg whites)
- 1/4 teaspoon cream of tartar
- Gel color in desired colors
- 90 ml whole fat milk
- 20 ml vegetable oil
- 30 grams granulated sugar
- 1/2 teaspoon cotton candy extract
- 70 grams cake flour
- 1/4 teaspoon sea salt
Instructions
- Line an 8 x 12″ rectangular cake pan with a silicone baking mat or parchment paper.
- Preheat the oven to 325°F.
- Whisk together the wet ingredients in a small bowl, including the first portion of sugar. Set aside.
- Sift the dry ingredients into a large mixing bowl and stir to combine.
- Create a well in the center of the dry mixture and add the wet ingredients.
- Combine until just incorporated, avoiding over-mixing.
- Whip the egg whites in a clean bowl on a slow speed until frothy, then add cream of tartar.
- Gradually increase the speed to medium and add the second tablespoon of sugar until soft peaks form.
- Continue whipping until stiff peaks are achieved, adding gel color as desired.
- Fold the meringue into the wet batter in three additions.
- Pour the batter into the prepared cake pan and spread it evenly.
- Tap the pan on the counter to release air bubbles.
- Bake for 10-12 minutes until a skewer pulls out clean and the cake springs back in the center.
- Let the cake cool for 5 minutes before flipping it onto a cooling rack and removing the parchment paper carefully.
- Allow the cake to cool completely while preparing the cotton candy whipped cream.
Notes
Ensure to use room-temperature egg whites for better volume when whipped. Experiment with gel colors in small amounts for vibrant results.
