

📑 Table of Contents ▶
Homemade Breakfast Hot Pockets
Thinking back to my childhood mornings, few things sparked joy like the smell of fresh baked goods wafting through the kitchen. Homemade Breakfast Hot Pockets became a staple for our family, filling our bellies before the day’s excitement unfolded. Each pocket held a warm, comforting surprise that made waking up early a little easier.
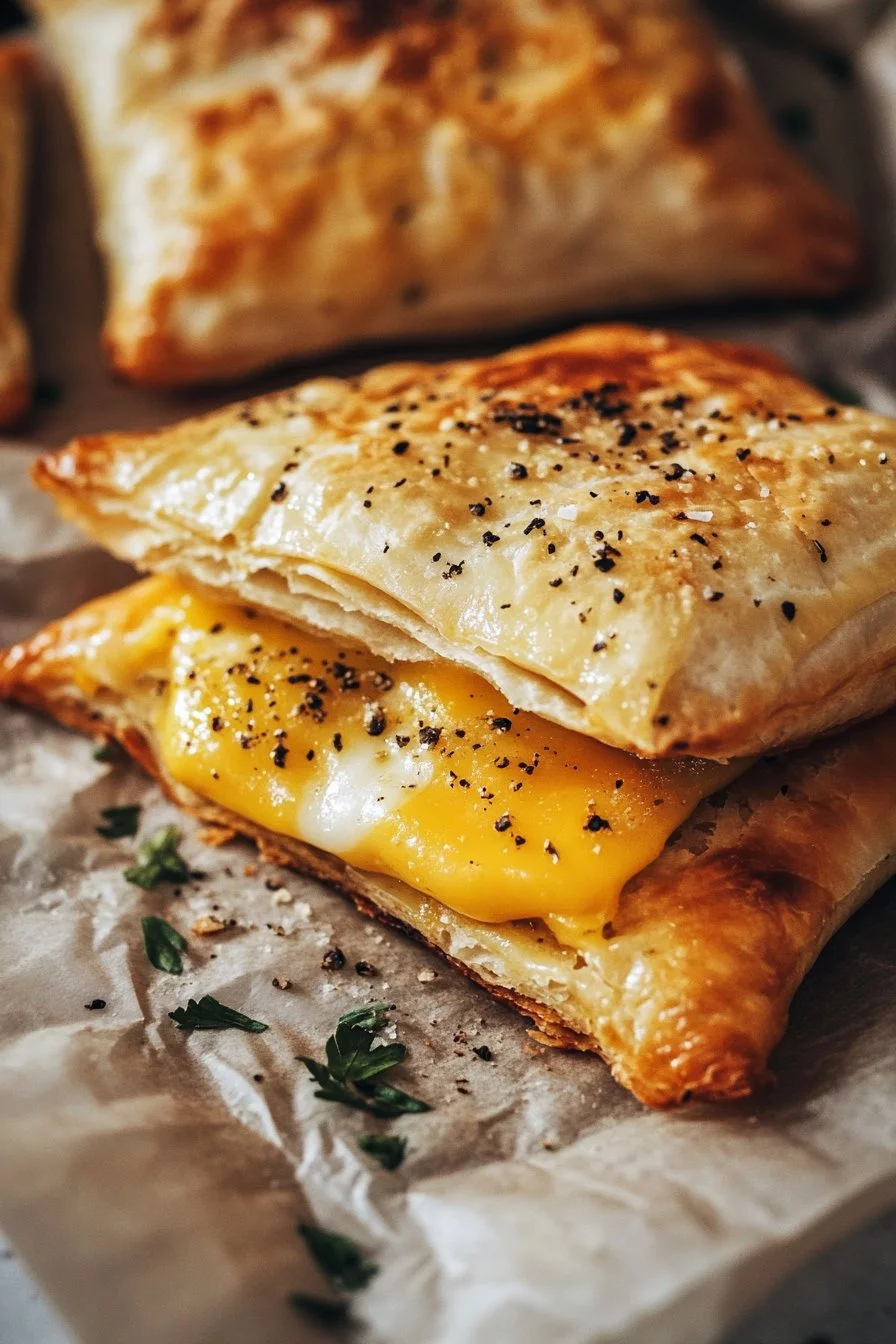
These delightful pastries offer a perfect balance of flaky crust and savory filling. Every bite delivers a burst of flavors from scrambled eggs, hearty ham, and melted cheese. With options for bell peppers and onions, you can customize these tasty pockets to match your family’s preferences. Homemade Breakfast Hot Pockets bring a sense of nostalgia, while also offering a quick meal option for busy mornings.
Preparing them is a fun kitchen activity, especially if you get the whole family involved. Children enjoy helping out, folding the pockets and picking their favorite fillings. Each time I make these, I’m reminded of the joy in sharing homemade food with loved ones.
Creating your own breakfast hot pockets is not only rewarding but also healthier and tastier than store-bought versions. Embrace the opportunity to bring this comforting classic into your own kitchen!
Homemade Breakfast Hot Pockets
Fundamentals
Making Homemade Breakfast Hot Pockets starts with understanding the essence of the dough. This dough requires a simple mix of all-purpose and whole wheat flour to create a balanced texture. Whole wheat adds a nutty flavor and is more nutrient-dense, making this dish a bit heartier.
The addition of salt enhances the flavors, while baking powder gives the dough its lift, resulting in a nice flaky texture when baked. Keep the butter chilled for the best results; it combines into the flour perfectly, creating that delightful crumbly texture that defines a great pastry.
Ice water is crucial at this stage; it brings the dough together without warming the butter. Note that the less you handle the dough, the flakier your pastry will be. Allowing the dough to rest before rolling it out ensures perfect pasties.
Preparation/setup
Before diving into the mixing and rolling, prepare your workspace. Clear off the counters and gather all necessary ingredients. Preheat your oven to 400°F (200°C) to ensure it’s ready when you finish assembling the hot pockets.
While the oven heats, combine the two types of flour, salt, and baking powder in a mixing bowl. Use a pastry cutter to cut in the chilled, diced butter. Continue until the mixture resembles coarse crumbs, which is a crucial step for achieving the ideal pastry texture.
Once mixed, slowly add in ice water, stirring until the dough holds together. Wrap the dough in plastic wrap and let it chill in the fridge while you prepare the filling. This allows the flavors to meld and makes it easier to work with later.
Ingredients
- 1 cup all-purpose flour
- 1/2 cup whole wheat flour
- 1/2 teaspoon salt
- 1/2 teaspoon baking powder
- 1/4 cup unsalted butter, chilled and diced
- 1/4 cup ice water
- 1 cup scrambled eggs
- 1/2 cup diced ham or cooked sausage
- 1/2 cup shredded cheese (cheddar, mozzarella, or your choice)
- 1/4 cup chopped bell peppers (optional)
- 1/4 cup chopped onions (optional)
Directions
- Preheat your oven to 400°F (200°C).
- In a bowl, mix the flours, salt, and baking powder.
- Cut in the butter until the mixture resembles coarse crumbs.
- Stir in the ice water gradually until the dough comes together.
- Roll out the dough on a floured surface and cut it into rectangles.
- In a separate bowl, combine scrambled eggs, ham or sausage, cheese, and vegetables.
- Place a spoonful of the filling on one half of each rectangle.
- Fold the dough over and seal the edges with a fork.
- Place the hot pockets on a baking sheet and bake for 15-20 minutes or until golden brown.
- Let cool slightly before serving.
Technique
Crafting Homemade Breakfast Hot Pockets requires precision but is primarily straightforward. The key is in the dough preparation. Ensure your butter remains cold to guarantee that classic, flaky crust; this is essential for a successful pastry.
Work your dough quickly. The less heat from your hands, the better the outcome will be. After rolling the dough, keep it slightly thicker for a heartier version. Thin dough can lead to a soggier bottom once filled. Therefore, aim for a thickness of about 1/8 inch.
Rolling the dough evenly prevents uneven cooking. Use a sharp knife or pizza cutter to slice the rectangles, ensuring uniformity helps with baking time and texture. Carefully place your filling, being cautious not to overfill. Leave room around the edges to properly seal, preventing any leaks during baking.
Tips/tricks
Experiment with different fillings! Use leftover vegetables or proteins you have on hand. The versatility of this dish allows for endless creativity. Try adding spices or herbs to enhance flavors. Consider adding fresh herbs to your eggs, like chives or parsley.
Ensure to press the edges of the dough to avoid any filling from spilling out during baking. A fork creates a nice decorative seal while adding extra security.
For an extra crunch, brush the tops of the hot pockets with a whisked egg before baking. This will create a golden sheen and add a delightful texture to each pocket. Always monitor the baking near the end, as oven temperatures vary and you want to catch them just at that perfect golden-brown color.
Perfecting results
To achieve the best Homemade Breakfast Hot Pockets, practice is essential. Each batch allows you to refine your technique, from dough mixing to sealing. If the dough feels too sticky, add a bit more flour next time. A little while the rolling surface should be floured generously to prevent sticking.
Choosing the right size for the rectangles is crucial. They should be large enough to hold a sufficient amount of filling without bulging. A good standard size is about 4 inches by 6 inches.
Baking times may vary based on the thickness of your dough or the amount of filling. Ensure your hot pockets feel firm to the touch and have that appealing golden color.
Troubleshooting/variations
If your hot pockets come out too dry, consider adjusting the amount of filling. Adding more cheese or incorporating ingredients like cream cheese or sour cream can enhance moisture.
If the dough becomes too tough or chewy, it may have been overworked. Make sure to handle it gently and avoid excessive kneading. When experimenting with vegetables, precooking bell peppers or onions can prevent excess moisture from making the pastry mushy.
Creating unique variations keeps the experience fresh. Consider a breakfast hot pocket filled with spinach, feta, and sun-dried tomatoes for an Italian twist.
Serving/presentation
When ready to serve Homemade Breakfast Hot Pockets, allow them to cool slightly before slicing. This helps maintain the integrity of the fillings and prevents burns from hot cheese.
Arrange them on a platter for a casual breakfast or brunch setting. Pair them with fresh fruit or a light salad for a complete meal. A simple side of Greek yogurt or salsa can elevate flavor profiles, adding a refreshing contrast to the savory pockets.
Feel free to sprinkle some fresh herbs on the plate for a touch of color and extra flavor. A little sprinkle of paprika or fresh herbs enhances the meal’s presentation and gives it an inviting atmosphere.
Pairings/storage
Serve Homemade Breakfast Hot Pockets straight from the oven for the best experience. Enjoy them with a warm beverage like coffee or tea to enhance the comforting meal.
For storage, let any leftovers cool completely, then place them in an airtight container. Refrigerate for up to three days. When reheating, an oven is preferable to maintain the crispness of the dough.
You can also freeze uncooked hot pockets, wrapping them well in plastic before storing them in a freezer bag. When ready to enjoy, bake them directly from the freezer, adding a few extra minutes to the cooking time for best results.
Creating Homemade Breakfast Hot Pockets is both fun and rewarding. They offer customization, flavor, and nostalgia, making them the ideal meal for anyone. Embrace the opportunity to share this delightful dish with family and friends, creating new memories in your kitchen.
Print
Homemade Breakfast Hot Pockets
- Prep Time: 15 minutes
- Cook Time: 20 minutes
- Total Time: 35 minutes
- Yield: 4 servings
- Category: Breakfast
- Method: Baking
- Cuisine: American
- Diet: Omnivore
Description
Delightful pastries filled with scrambled eggs, ham, and cheese, perfect for busy mornings.
Ingredients
- 1 cup all-purpose flour
- 1/2 cup whole wheat flour
- 1/2 teaspoon salt
- 1/2 teaspoon baking powder
- 1/4 cup unsalted butter, chilled and diced
- 1/4 cup ice water
- 1 cup scrambled eggs
- 1/2 cup diced ham or cooked sausage
- 1/2 cup shredded cheese (cheddar, mozzarella, or your choice)
- 1/4 cup chopped bell peppers (optional)
- 1/4 cup chopped onions (optional)
Instructions
- Preheat your oven to 400°F (200°C).
- In a bowl, mix the flours, salt, and baking powder.
- Cut in the butter until the mixture resembles coarse crumbs.
- Stir in the ice water gradually until the dough comes together.
- Roll out the dough on a floured surface and cut it into rectangles.
- In a separate bowl, combine scrambled eggs, ham or sausage, cheese, and vegetables.
- Place a spoonful of the filling on one half of each rectangle.
- Fold the dough over and seal the edges with a fork.
- Place the hot pockets on a baking sheet and bake for 15-20 minutes or until golden brown.
- Let cool slightly before serving.
Notes
Experiment with different fillings and consider brushing the tops with egg for extra crunch.
