
📑 Table of Contents ▶
- Understanding Gluten-Free Sourdough Starter
- Fundamentals
- Preparation/Setup
- Directions
- Mastering Gluten-Free Sourdough Techniques
- Technique
- Tips and Tricks
- Perfecting Gluten-Free Sourdough
- Perfecting Results
- Troubleshooting and Variations
- Serving and Storing Your Gluten-Free Sourdough
- Serving and Presentation
- Storage and Pairings
- Conclusion
Easy Gluten-Free Sourdough Starter Tips for Beginners
Making a gluten-free sourdough starter can feel like a daunting task, especially for those just beginning their baking journey. A few months ago, I stood in my kitchen, surrounded by jars and flours, almost convinced that creating a starter would end in disaster. I had seen countless posts showcasing the luscious, bubbly starters, but my attempts had yielded nothing but a thick, gluey mass.
Through trial and error, I discovered that making a gluten-free sourdough starter is a rewarding and surprisingly straightforward process. The thrill of finally seeing that greenish mix of water and flour bubbling away on my counter brought a smile to my face. Each feed filled the kitchen with a beautiful, tangy aroma that promised glory in the form of fresh-baked bread.
These easy gluten-free sourdough starter tips for beginners transform the fear of failure into excitement for baking. Let’s explore this incredible journey together, unlocking the secrets to a thriving starter and delicious gluten-free bread that brings everyone to the table.
Understanding Gluten-Free Sourdough Starter
Fundamentals
Gluten-free sourdough starter remains a unique concoction of flour, water, and the wild yeast that proliferates from the environment. The key lies in using gluten-free flours that can sustain the fermentation process, primarily those rich in starch and fiber. Almond flour, brown rice flour, and buckwheat flour all contribute to a lively starter, fostering that unmistakable tang.
When setting up your gluten-free sourdough starter, patience is crucial. Unlike traditional starters, gluten-free varieties may take a little longer to activate. Depending on your environment, it may take up to a week before your starter is robust enough for baking.
Preparation/Setup
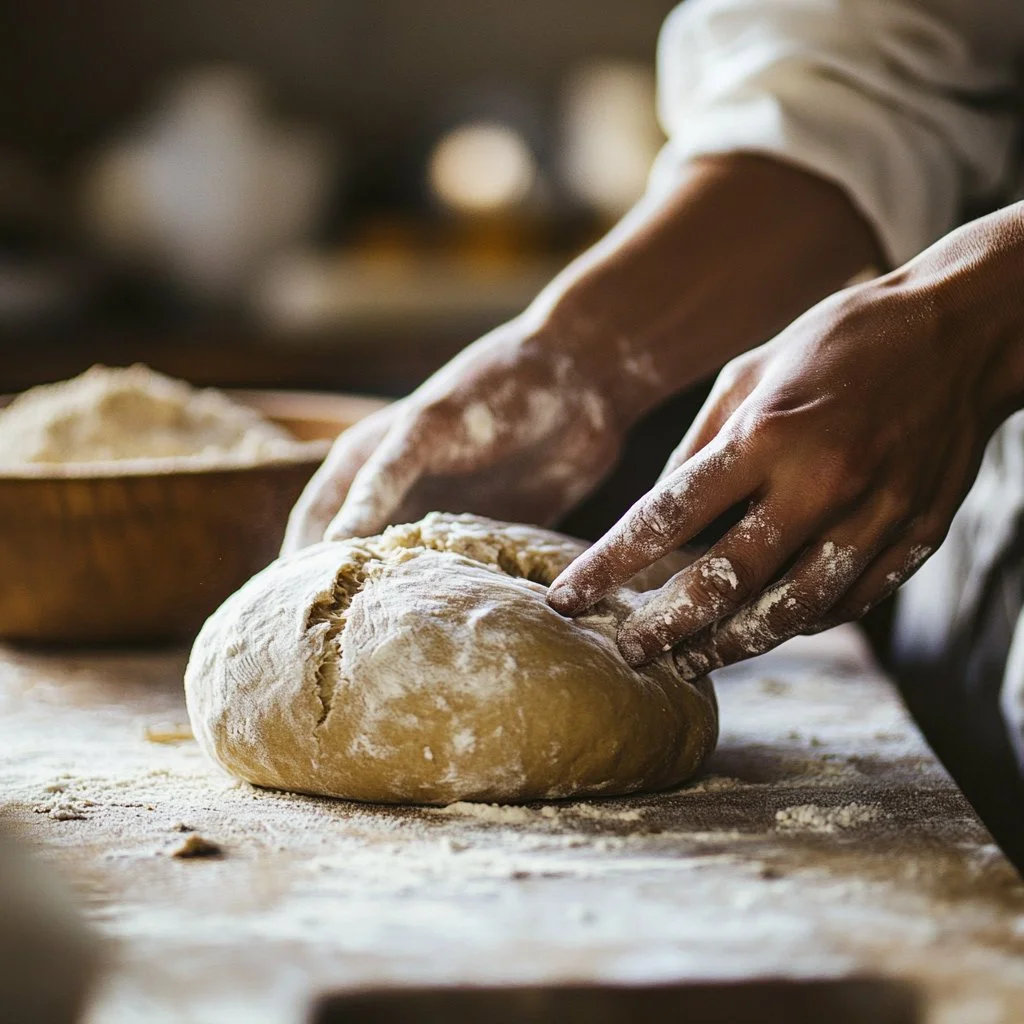
To get started, you’ll need a few basic supplies: clean jars, measuring cups, a mixing spoon, and, of course, your flour and water. Cleanliness plays a significant role in the process, so make sure every container is thoroughly sanitized to prevent unwanted bacteria.
Begin by mixing equal parts gluten-free flour and filtered water in a glass container. Use about half a cup of flour and half a cup of water to start. Stir the mixture until smooth, ensuring there are no dry clumps left. Cover the jar with a breathable material like cheesecloth or a loose lid, allowing air circulation while keeping out debris.
Ingredients
For your gluten-free sourdough starter, choose one of the following flours as your base:
- Brown rice flour
- Almond flour
- Buckwheat flour
Additionally, you will need filtered water. Tap water may contain chlorine, which can hinder yeast development. Using filter or spring water supports a healthier fermentation process.
Directions
-
Combine half a cup of gluten-free flour with half a cup of filtered water in a clean jar. Stir well until smooth.
-
Cover the jar with a breathable cloth or loose lid. Let it sit at room temperature for 24 hours.
-
Each day, discard half of the mixture, and feed it by adding another half cup of flour and half cup of water. Stir vigorously to introduce air.
-
After about five to seven days, bubbles should form, indicating that the fermentation process is underway. When it doubles in size and smells pleasantly sour, your starter is ready for baking.
Mastering Gluten-Free Sourdough Techniques
Technique
Perfecting the technique for creating a gluten-free sourdough starter involves understanding the relationship between flour, water, and time. Adjusting your flour types and water ratios can significantly impact the fermentation. For instance, mixing various gluten-free flours can enhance complexity and flavor.
Consider keeping a schedule as you nurture your starter. Regular feedings at the same times each day help build consistency and ensure a healthy fermentation cycle. Monitor temperature changes in your kitchen; if it is too hot, your starter may ferment too quickly, and if too cool, it may take longer to develop.
Tips and Tricks
Getting a healthy gluten-free sourdough starter requires a few insider tricks. First, keep your starter in a warm area of your kitchen. Ideal temperatures range from 75°F to 80°F. If your kitchen feels cool, consider placing it near an appliance that emits warmth, like the top of the refrigerator.
Another helpful tip includes using a kitchen scale for precise measurements, leading to more consistent results. Using your nose is also crucial; a starter that smells off or overly sour may indicate over-fermentation.
Perfecting Gluten-Free Sourdough
Perfecting Results
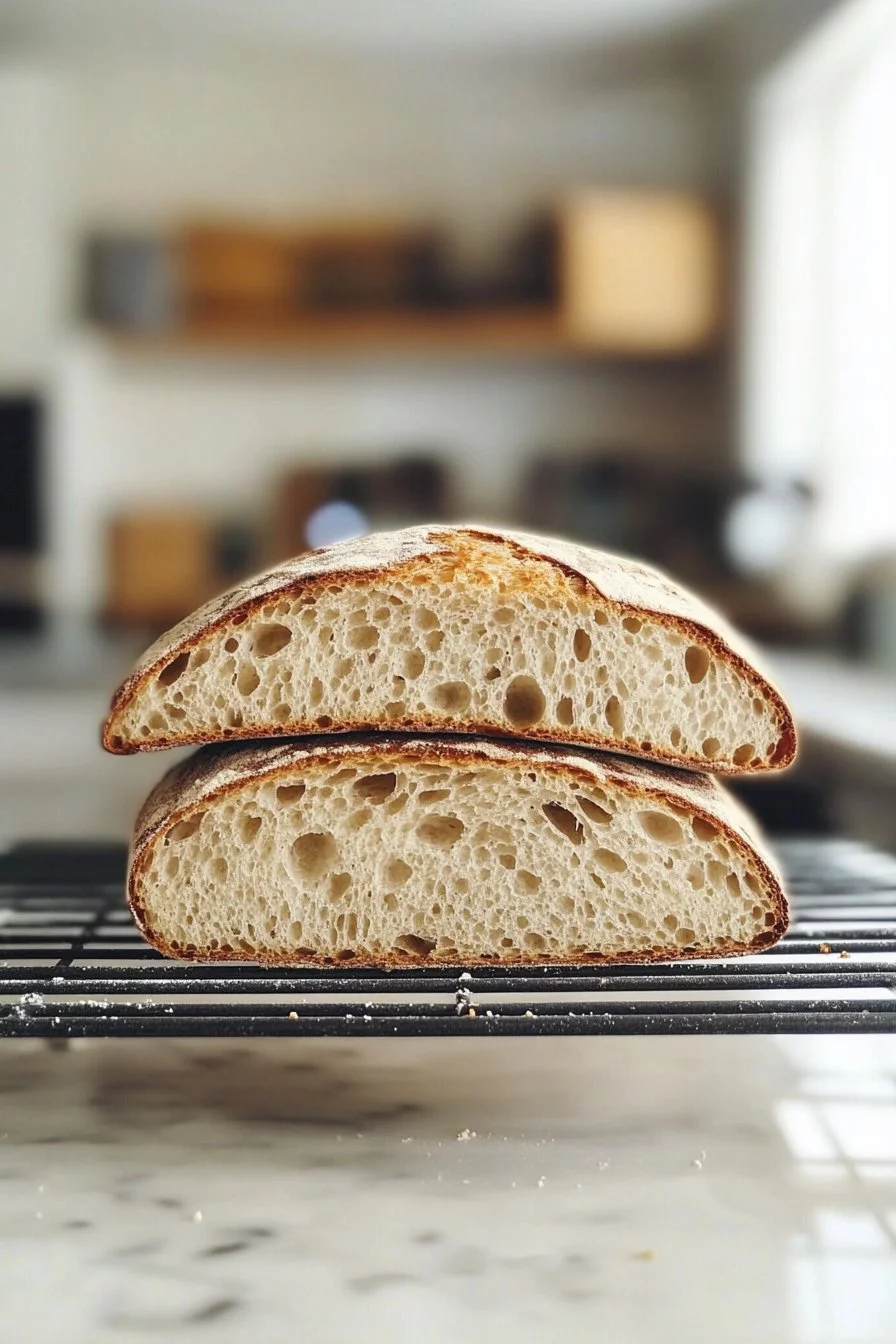
Once your gluten-free sourdough starter takes off, you can expect to experiment with various recipes. Understanding how to maintain and use your starter allows for delicious gluten-free loaves, pancakes, and even pizza crusts. The key lies in balancing the feeding schedule and recognizing when your starter peaks in activity.
When ready to bake, always ensure your starter is at its prime. A well-fed and active starter will yield lighter and airier textures in baked goods, making it well worth the effort.
Troubleshooting and Variations
If your starter does not bubble or rise, it might need some adjustments. Check the water temperature; too cold can stunt the yeast’s growth. Remember to feed it consistently and maintain cleanliness throughout the process.
For different flavors, experiment with other flours when feeding your starter. You might try mixing in a little tapioca flour or sorghum flour for complexity. This experimentation keeps your baking fresh and allows for custom flavors tailored to your palate.
Serving and Storing Your Gluten-Free Sourdough
Serving and Presentation
Once you have baked your gluten-free sourdough bread, presentation is key. Slices straight from the loaf will attract anyone’s attention, with its crusty exterior and soft, fluffy interior. Consider pairing with your favorite spreads, such as homemade jams or nut butters, for a delightful treat.
For an appealing display, serve alongside colorful fruits or a fresh salad. This simple touch enhances mealtime and creates a vibrant dining experience.
Storage and Pairings
Proper storage ensures that your baked gluten-free sourdough bread remains fresh. Consider wrapping it in a clean kitchen towel and storing it in a bread box or a paper bag to maintain texture.
For longer storage, freeze individual slices in sealed bags. Toasting them directly from the freezer makes for quick, delightful snacks. Pair with hearty soups or salads to round out meals without the hassle of extensive preparation.
Conclusion
Understanding and nurturing a gluten-free sourdough starter opens a world of baking possibilities. From gorgeous loaves to beautiful brunch items, the process promises satisfaction and delicious results. With these easy gluten-free sourdough starter tips for beginners, anyone can embark on their sourdough adventure, discovering the joy of baking from scratch.
Print
Easy Gluten-Free Sourdough Starter Tips for Beginners
- Prep Time: 10 minutes
- Cook Time: 0 minutes
- Total Time: 7 days
- Yield: 1 sourdough starter
- Category: Bread
- Method: Fermentation
- Cuisine: Global
- Diet: Gluten-Free
Description
A comprehensive guide for beginners to create and maintain a gluten-free sourdough starter, leading to delicious, homemade gluten-free bread.
Ingredients
- 1/2 cup gluten-free flour (brown rice flour, almond flour, or buckwheat flour)
- 1/2 cup filtered water
Instructions
- Combine half a cup of gluten-free flour with half a cup of filtered water in a clean jar. Stir well until smooth.
- Cover the jar with a breathable cloth or loose lid. Let it sit at room temperature for 24 hours.
- Each day, discard half of the mixture and feed it with another half cup of flour and half cup of water. Stir vigorously to introduce air.
- After about five to seven days, bubbles should form, indicating fermentation. When the mixture doubles in size and smells pleasantly sour, your starter is ready for baking.
Notes
Keep the starter in a warm area of your kitchen for optimal fermentation. Use a kitchen scale for precise measurements.
