
📑 Table of Contents ▶
Easy & Delicious Kimchi
A visit to my friend’s family in Korea introduced me to the vibrant world of kimchi. Sitting at their table, I watched as they eagerly prepared this beloved dish, transforming humble napa cabbage into something special. The rich aroma of garlic and ginger filled the air, building my anticipation. I recall how everyone gathered around, sharing stories and laughter as they savored the spicy, tangy goodness of freshly made kimchi.
That experience inspired me to learn the art of making kimchi myself. The burst of flavors from the simple ingredients tells a story that connects generations. Every bite offers a taste of culture, tradition, and love. Kimchi is more than just a condiment; it’s a celebration of food and community.
This easy, delicious kimchi recipe captures that essence, inviting you to embark on your own culinary adventure. With a few basic ingredients and simple steps, you can create your batch of this traditional staple. Embrace the joy of making kimchi in your kitchen, and experience the delightful connection it fosters.
Easy Kimchi Recipe
Fundamentals
Creating easy and delicious kimchi starts with understanding the fundamentals. Kimchi typically involves fermenting vegetables, granting them complex flavors while promoting gut health. Asian cuisine considers this dish a staple, valued for its taste and health benefits.
At the heart of this recipe is the crisp napa cabbage. It offers a tender crunch, making it a popular choice for kimchi. The fermentation process transforms the cabbage, infusing it with the savory tastes of garlic and ginger.
Using high-quality ingredients is key to achieving vibrant flavors. Iodine-free sea salt ensures effective fermentation, while fish sauce or salted shrimp paste adds depth. Gochugaru, or Korean red pepper flakes, introduces varying heat levels. Adjust the amount according to your preference—whether you enjoy a milder flavor or crave a spicy kick.
Preparation/setup
Preparing napa cabbage is the first step to crafting your homemade kimchi. Begin by cutting the cabbage into quarters lengthwise, then sprinkling salt on each piece. The salt aids in drawing moisture out of the cabbage, creating an ideal environment for fermentation.
After salting the cabbage, let it sit in a colander for 1 to 2 hours. This allows the cabbage to release excess water while gaining a bit of crunch from the salt. Rinse the cabbage thoroughly under cold, filtered water to remove the saltiness before draining it again. Pat the cabbage dry with a clean towel, and you’re ready to move on.
Ingredients
The vibrant flavors of kimchi stem from its varied ingredients. Here’s what you’ll need:
- 1 Medium Head Napa Cabbage
- 1/4 cup Iodine-free Sea Salt or Kosher Salt
- Water (Distilled or filtered)
- 1 tbsp Grated Garlic
- 1 tsp Grated Fresh Ginger
- 1 tsp Granulated Sugar
- 2 tbsp Fish Sauce or Salted Shrimp Paste
- 1 to 5 tbsp Korean Red Pepper Flakes (Gochugaru)
- 8 oz Korean Radish or Daikon Radish
- 4 Medium Scallions (Cut into 1-inch pieces)
Each element plays a vital role in establishing the signature taste and texture. The garlic and ginger introduce aromatic notes, while the Korean radish adds crunchy freshness. Enjoying the combination brings a delightful burst of flavor.
Directions
- Begin with preparing and salting the cabbage. Cut the napa cabbage into quarters, sprinkle with salt, and let it rest for 1 to 2 hours in a colander.
- Rinse and drain the salted cabbage thoroughly, ensuring you remove excess salt.
- In a mixing bowl, create the kimchi paste by combining grated garlic, grated ginger, granulated sugar, fish sauce or salted shrimp paste, and gochugaru. Adjust spice to taste, ensuring the paste suits your palate.
- Slice the Korean or daikon radish into thin strips. Add the radish and scallions to the bowl, ensuring an even distribution of flavors.
- Combine everything delicately, allowing the ingredients to blend harmoniously.
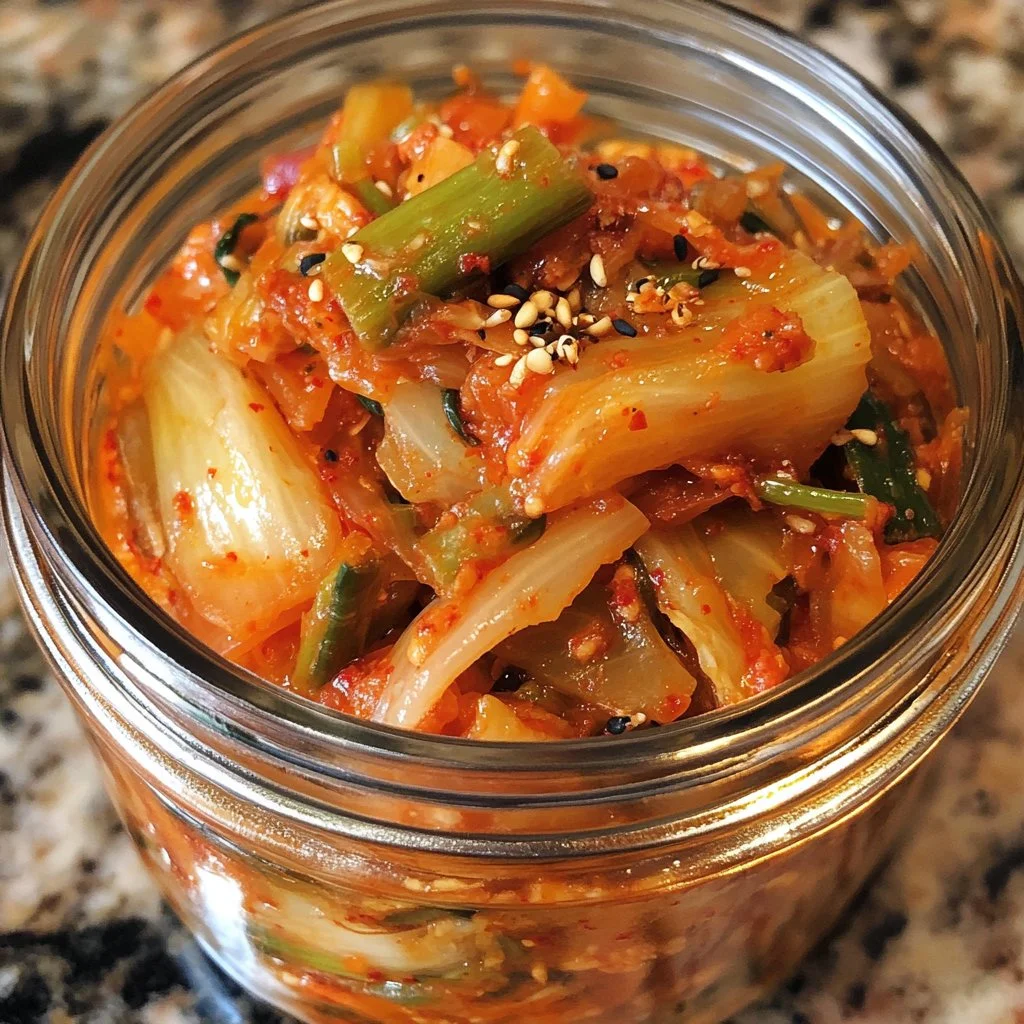
- Pack the mixture tightly into a clean jar, leaving some space at the top for the kimchi to expand as it ferments.
- Seal the jar and leave it to ferment at room temperature for 1 to 5 days, based on your flavor preference. Check daily, tasting a small amount to judge the fermentation level.
- Once ready, move your kimchi to the refrigerator for long-term storage.
Crafting Delicious Kimchi
Technique
When making kimchi, the technique remains critical for achieving the best flavor and texture. Begin with high-quality ingredients and prioritize the ratio of salt. Finding the right balance ensures your cabbage retains its crunch while allowing for effective fermentation.
Always mix your ingredients well. The garlic and ginger must evenly distribute their flavors throughout the cabbage. Layering your mixture helps ensure that each bite delights your taste buds with that signature spicy kick.
Consider using gloves while handling gochugaru. This pepper can stain your skin, but it also keeps the flavors consistent and helps avoid discomfort.
Tips and Tricks
Try experimenting with the spice levels of your kimchi. Gochugaru comes in different heat levels, so adjust based on your preference. Additionally, allowing your kimchi to ferment longer enhances the tanginess, resulting in a more robust flavor.
Consider these helpful tips:
- Taste during the fermentation to find your ideal flavor. Each batch may have different fermentation rates due to temperature and ingredient variations.
- If you enjoy added complexity, include vegetables such as carrots or cucumber.
- For a unique twist, add a splash of unseasoned rice vinegar to the paste for extra acidity.
Perfecting Kimchi
Perfecting results
Perfecting your kimchi takes practice, but small adjustments yield remarkable results. Maintain a consistent environment for fermentation, such as a cool spot in your kitchen. Conditions may vary, so monitoring your kimchi is crucial as fermentation times can change.
Once you’ve found your preferred flavor, consider bottling it in airtight containers. This prevents further fermentation while preserving freshness and taste for months. The longer you let it sit, the deeper those flavors will develop.
When it comes to fermentation, patience remains your best ally. Homemade kimchi improves significantly over time, making it well worth the wait.
Troubleshooting/variations
Those new to making kimchi might encounter a few challenges along the way. If your kimchi tastes overly salty, consider reducing the amount of salt in your next batch. Alternatively, adjust the fermentation time to suit your taste preferences.
In the event of unwanted odors, ensure your containers are clean and your ingredients are fresh. Odors typically originate from contamination, so prevention is vital.
Experimenting with variations can heighten the enjoyment of making your kimchi. Use different vegetables or spices, allowing for creative expression. The world of kimchi is vast, filled with endless possibilities.
Serving Kimchi
Serving/presentation
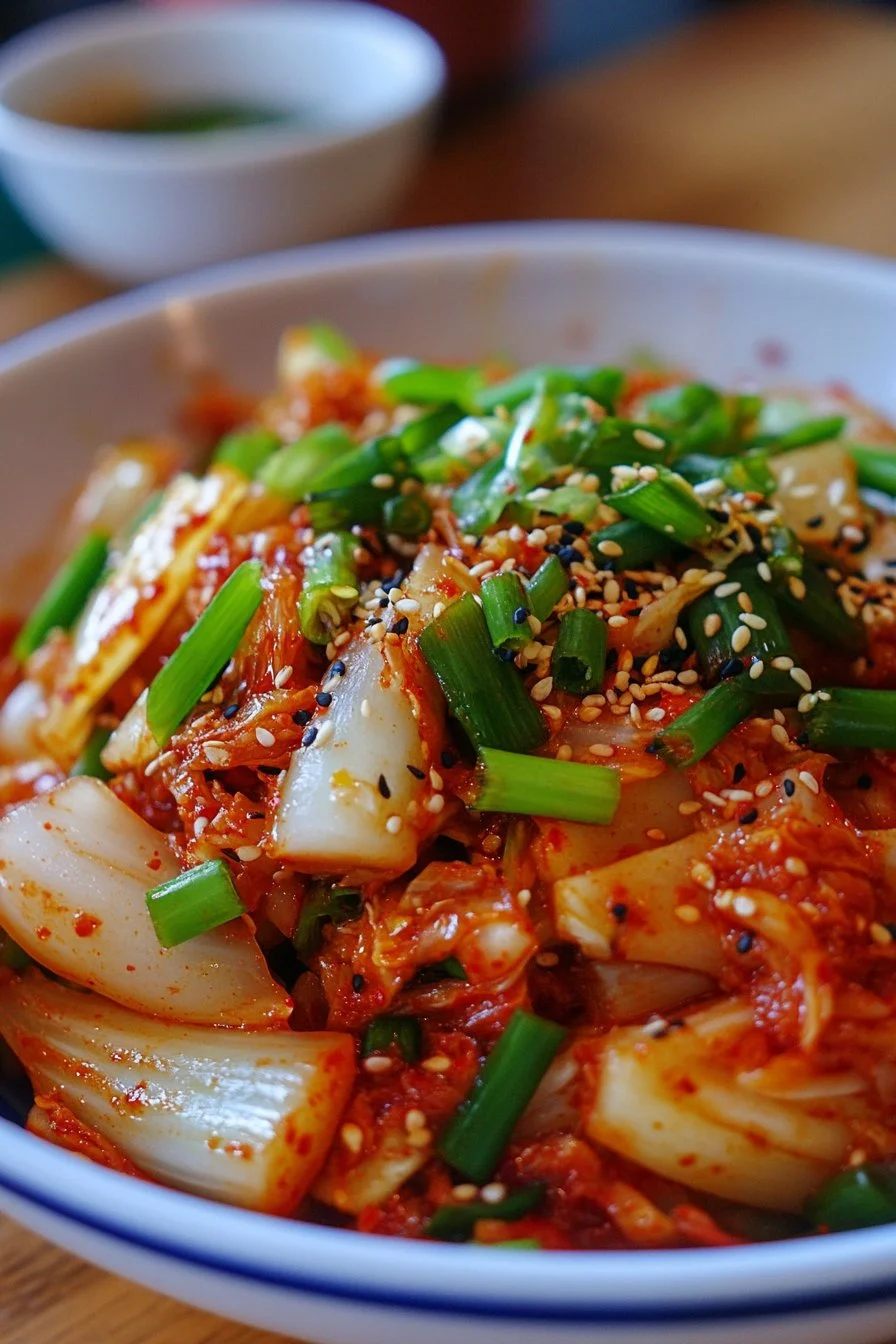
Once you achieve that perfect batch of kimchi, serving it can be just as enjoyable as making it. Present your kimchi in a small dish, allowing its vibrant colors and textures to shine. Pair it with rice or serve it as a side with grilled vegetables or proteins.
Kimchi complements an array of dishes. Whether enjoyed alone or as part of an elaborate meal, the tangy, spicy flavors always impress.
Pairings/storage
This delightful kimchi pairs perfectly with various dishes, enhancing their flavors. Serve alongside rice or noodles, or incorporate it into salads and sandwiches for added zest.
Store your kimchi in the refrigerator in an airtight container for long-lasting freshness. This method preserves the kimchi’s unique flavors while allowing it to continue developing. Over time, you’ll enjoy how flavor deepens, enhancing future meals.
Allow your creativity to flow as you find new ways to incorporate this fantastic dish into your meals. You’ll never tire of enjoying it.
Kimchi carries a rich history and tradition, making it a culinary adventure everyone can embrace in their kitchen. Making it your own can be not just easy and delicious but also an exciting journey into a world of flavor.
Print
Easy & Delicious Kimchi
- Prep Time: 120 minutes
- Cook Time: 5 days
- Total Time: 5 days
- Yield: 4 servings
- Category: Side Dish
- Method: Fermenting
- Cuisine: Korean
- Diet: Vegetarian
Description
A delicious and traditional recipe for kimchi that captures the essence of Korean cuisine with vibrant flavors and simple ingredients.
Ingredients
- 1 Medium Head Napa Cabbage
- 1/4 cup Iodine-free Sea Salt or Kosher Salt
- Water (Distilled or filtered)
- 1 tbsp Grated Garlic
- 1 tsp Grated Fresh Ginger
- 1 tsp Granulated Sugar
- 2 tbsp Fish Sauce or Salted Shrimp Paste
- 1 to 5 tbsp Korean Red Pepper Flakes (Gochugaru)
- 8 oz Korean Radish or Daikon Radish
- 4 Medium Scallions (Cut into 1-inch pieces)
Instructions
- Begin with preparing and salting the cabbage. Cut the napa cabbage into quarters, sprinkle with salt, and let it rest for 1 to 2 hours in a colander.
- Rinse and drain the salted cabbage thoroughly, ensuring you remove excess salt.
- In a mixing bowl, create the kimchi paste by combining grated garlic, grated ginger, granulated sugar, fish sauce or salted shrimp paste, and gochugaru. Adjust spice to taste, ensuring the paste suits your palate.
- Slice the Korean or daikon radish into thin strips. Add the radish and scallions to the bowl, ensuring an even distribution of flavors.
- Combine everything delicately, allowing the ingredients to blend harmoniously.
- Pack the mixture tightly into a clean jar, leaving some space at the top for the kimchi to expand as it ferments.
- Seal the jar and leave it to ferment at room temperature for 1 to 5 days, based on your flavor preference. Check daily, tasting a small amount to judge the fermentation level.
- Once ready, move your kimchi to the refrigerator for long-term storage.
Notes
Fermentation times can vary based on temperature. Taste during the fermentation to find your ideal flavor.
