
📑 Table of Contents ▶
Beef and Cheddar Sliders
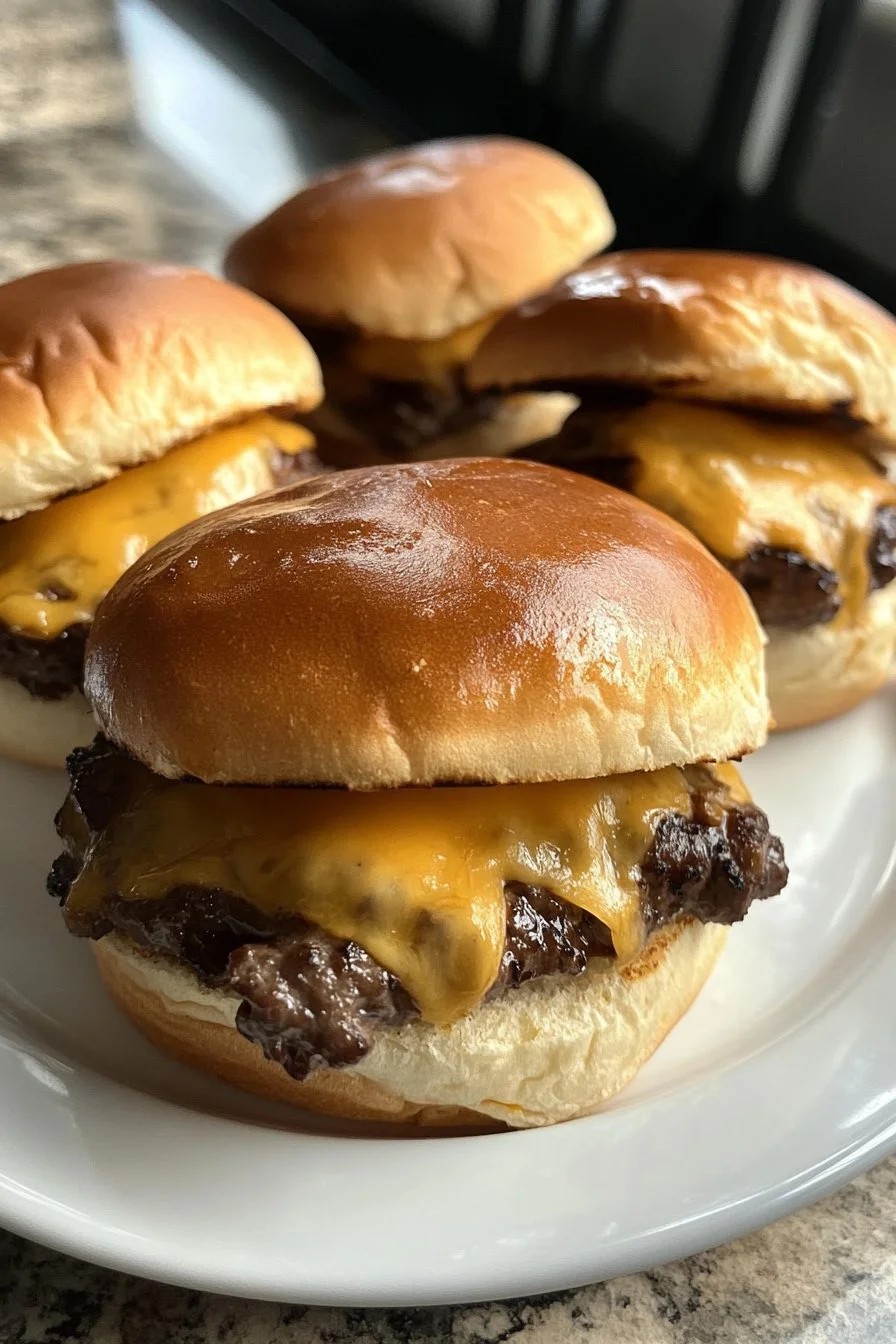
Sinking your teeth into a juicy, cheesy slider evokes memories of game nights filled with laughter and excitement. These moments often center around delicious food that brings everyone together. One standout dish that always seems to steal the show is the beef and cheddar slider. It embodies comfort food, simplicity, and that irresistible combination of flavors.
The first time I made beef and cheddar sliders, I had friends over for a movie night. The aroma wafting from the oven had everyone wandering into the kitchen, eagerly anticipating that first bite. The golden, buttery rolls and savory roast beef melted away any fatigue from the week. This dish quickly became a staple on our weekends—fun to make and even more fun to enjoy with good company.
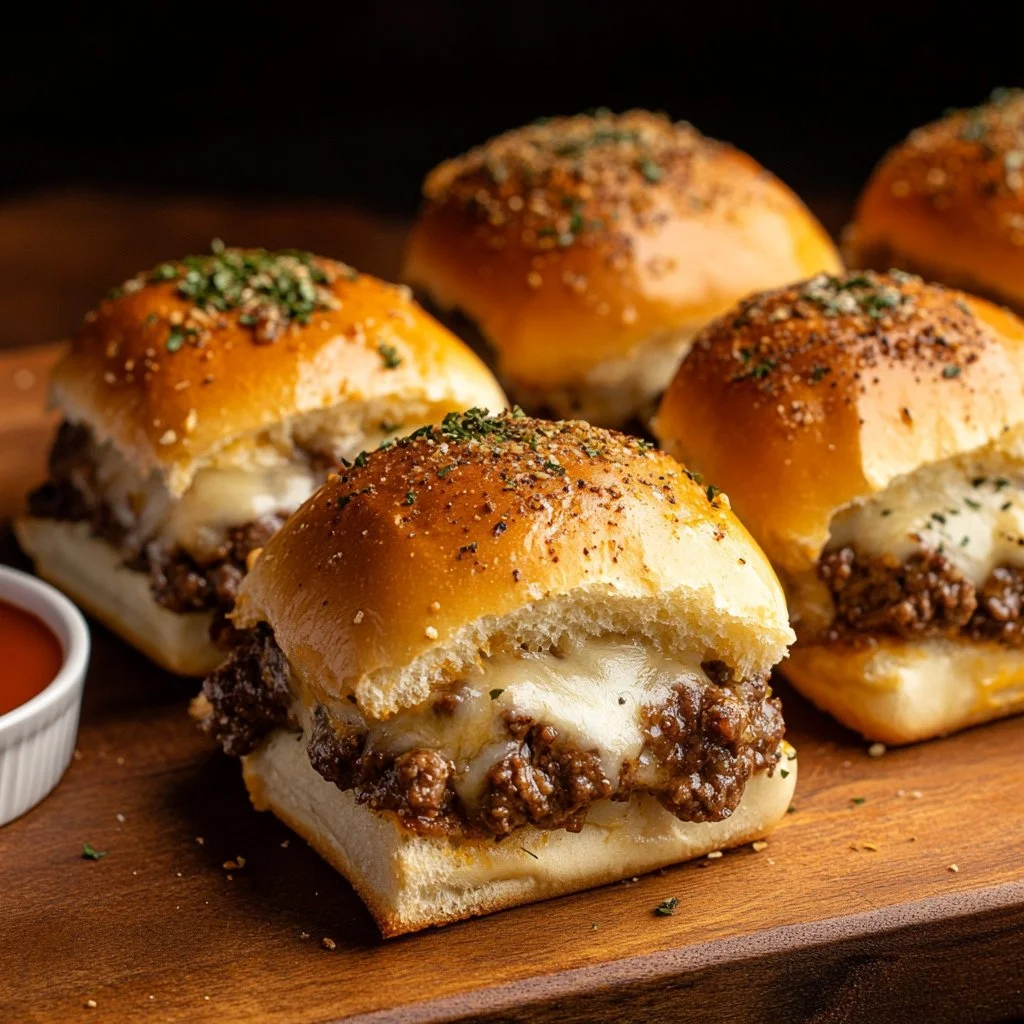
Crafting these sliders is a simple process that yields delightful results. They work well for any gathering or even for a cozy night in. Fluffy Hawaiian rolls sandwich a hearty layer of roast beef, topped with mouthwatering cheese sauce. Generous dashes of garlic and onion add a burst of flavor, making each bite unforgettable. With a side of Arby’s sauce for dipping, every slider delivers joy.
Beef and Cheddar Sliders
Fundamentals
Understanding the fundamentals of making beef and cheddar sliders provides a foundation for creating this crowd-pleasing dish. The key ingredients come together to form layers of flavor, making these sliders a hit at any meal.
Start with Hawaiian rolls, known for their sweetness and soft texture, which create the perfect vessel for the other ingredients. The roast beef serves as the star of the show. Opt for a juicy cut that can withstand baking in the oven.
Essential to the flavor profile are the melted cheese sauce, minced onion, poppy seeds, and garlic powder. These elevate the basic sliders into something extraordinary.
Even though the dish looks fancy, it requires little skill or effort. Simple preparation allows anyone to become a master in the kitchen with this recipe.
Preparation/Setup
Preparation is the first step to achieving slider happiness. Begin by gathering all your ingredients: Hawaiian rolls, roast beef, cheese sauce, and seasonings.
Slice the Hawaiian rolls in half, ensuring the tops remain slightly thicker than the bottoms. This helps keep the fillings from spilling out during the cooking process. After slicing, spray your baking dish with cooking spray to prevent sticking. Lay the bottom halves of the rolls in the dish, creating a perfect base.
Next, pile on the sliced roast beef. Aim for a thick layer, as this will ensure every bite remains hearty and satisfying. Pour the melted cheese sauce evenly over the roast beef, smoothing it out with a spatula. Finally, place the tops of the rolls over the cheese and beef, ready to be transformed in the oven.
Ingredients
Gather your ingredients to make a mouthwatering batch of beef and cheddar sliders:
- 1 package Hawaiian Rolls
- 6 tablespoons Melted Butter
- 2 tablespoons Minced Onion
- 1 teaspoon Poppy Seeds
- ½ teaspoon Garlic Powder
- 1 lb. Roast Beef
- ¾ cup Melted Cheese Sauce (like Ragu)
- Store Bought Arby’s Sauce for dipping
Having these ingredients ready makes the cooking process efficient and enjoyable.
Directions
Follow these simple directions to create your delicious beef and cheddar sliders:
-
Start by slicing your Hawaiian rolls in half. Maintain slightly thicker tops than bottoms.
-
Spray your baking dish with cooking spray and lay the bottom half of your rolls inside.
-
Generously top with roast beef, aiming for a full pound to make for a thick, satisfying layer.
-
Pour the melted cheese sauce on top of the roast beef. Smooth it out evenly for consistent flavor.
-
Cover everything with the tops of your rolls, forming mini sandwiches ready for flavors to mingle.
-
In a separate bowl, mix together the melted butter, minced onion, poppy seeds, and garlic powder until well combined.
-
Using a basting brush, generously coat the top of the rolls with the butter mixture.
-
Place the dish in the oven preheated to 275 degrees for 10 to 15 minutes or until golden brown.
-
Once cooked, slice into 12 sliders and serve with Arby’s sauce for dipping.
Mastering Beef and Cheddar Sliders
Technique
Mastering the technique involved in making beef and cheddar sliders can help elevate your cooking game. The beauty of this recipe lies in its simplicity, yet attention to detail makes all the difference.
To achieve the perfect texture, watch the baking time closely. Overbaking may lead to tough rolls, while underbaking may result in sogginess. Adjust your baking time depending on your oven’s performance.
Also, layering is critical. Ensure the roast beef is spread evenly to provide consistent flavor. This helps avoid a situation where one slider is overloaded while another has too little filling.
Tips/Tricks
A few tips and tricks can improve your beef and cheddar sliders. First, use quality roast beef. Sliced deli meat works, but selecting a fresh cut from the deli counter ensures depth of flavor.
Consider experimenting with different melted cheese sauces. A spicy version might add an exciting kick, while a classic cheddar enhances the traditional flavor profile.
Lastly, don’t be shy with the butter mixture. Coating the tops generously adds flavor and contributes to that desired golden finish.
Perfecting the Beef and Cheddar Experience
Perfecting Results
Achieving perfect beef and cheddar sliders involves fine-tuning your approach. Start with consistent slicing of your rolls. Equal thickness allows them to cook evenly, preventing any soggy or overly crunchy sections.
Pay attention to the cheese sauce. When using Ragu or similar products, heat it beforehand for smoother application. This ensures an even melt throughout the assembly process. Consider adjusting proportions based on personal taste; some might prefer lighter cheese or more beef.
Experimenting with the baking time also helps perfect results. Each oven varies, so manage temperatures according to your appliance.
Troubleshooting/Variations
Sometimes, even with precise steps, sliders don’t turn out as expected. If they come out mushy, excess moisture may be the culprit. Make sure to avoid overloading them with sauce or letting them sit too long before baking.
If you’re looking for variations, consider adding sautéed peppers or different cheeses for a flair. For a spicy kick, try adding jalapeños or hot sauce to the cheese mixture.
These small tweaks can create different flavor profiles while maintaining the essence of the sliders.
Serving and Storing Beef and Cheddar Sliders
Serving/Presentation
Presentation plays a vital role in impressing your guests when serving beef and cheddar sliders. Arrange them neatly on a platter, showcasing the golden tops and oozy cheese.
Think about garnishing with fresh herbs or additional poppy seeds for a pop of color. This adds visual appeal, making the dish appear even more appetizing.
Accompany the sliders with bowls of Arby’s sauce. This allows guests to dip at their leisure, adding a personalized touch to every slider experience.
Pairings/Storage
These sliders pair well with many sides, including crispy fries, fresh salad, or veggie sticks for a crunchy contrast.
When it comes to storage, leftover sliders can be wrapped and stored in the refrigerator for a couple of days. Reheat in the oven to restore that delightful crispiness.
Freezing is also an option! Wrap individual sliders and place in a freezer-safe container for future use. When ready, pop them into the oven directly from the freezer, adjusting for cooking time.
Enjoy crafting mouthwatering beef and cheddar sliders for any occasion. With their warm, cheesy goodness, they are sure to become a cherished favorite in your household.
Print
Beef and Cheddar Sliders
- Prep Time: 15 minutes
- Cook Time: 15 minutes
- Total Time: 30 minutes
- Yield: 12 sliders
- Category: Appetizer
- Method: Baking
- Cuisine: American
- Diet: None
Description
Juicy beef and cheesy sliders on sweet Hawaiian rolls, perfect for gatherings and game nights.
Ingredients
- 1 package Hawaiian Rolls
- 6 tablespoons Melted Butter
- 2 tablespoons Minced Onion
- 1 teaspoon Poppy Seeds
- ½ teaspoon Garlic Powder
- 1 lb. Roast Beef
- ¾ cup Melted Cheese Sauce (like Ragu)
- Store Bought Arby’s Sauce for dipping
Instructions
- Start by slicing your Hawaiian rolls in half, maintaining slightly thicker tops than bottoms.
- Spray your baking dish with cooking spray and lay the bottom half of your rolls inside.
- Generously top with roast beef, aiming for a full pound to make for a thick, satisfying layer.
- Pour the melted cheese sauce on top of the roast beef, smoothing it out evenly.
- Cover everything with the tops of your rolls, forming mini sandwiches.
- In a separate bowl, mix together the melted butter, minced onion, poppy seeds, and garlic powder until well combined.
- Using a basting brush, generously coat the top of the rolls with the butter mixture.
- Place the dish in the oven preheated to 275°F (135°C) for 10 to 15 minutes or until golden brown.
- Once cooked, slice into 12 sliders and serve with Arby’s sauce for dipping.
Notes
Adjust baking time as each oven may vary. Consider adding sautéed peppers or jalapeños for an extra kick.
