
📑 Table of Contents ▶
- Understanding Banana Pudding Easter Truffles
- Fundamentals
- Preparation/setup
- Directions
- Perfecting Banana Pudding Easter Truffles
- Technique
- Tips/tricks
- Exploring Variations with Banana Pudding Easter Truffles
- Perfecting results
- Troubleshooting/variations
- Final Touches for Banana Pudding Easter Truffles
- Serving/presentation
- Pairings/storage
- Conclusion
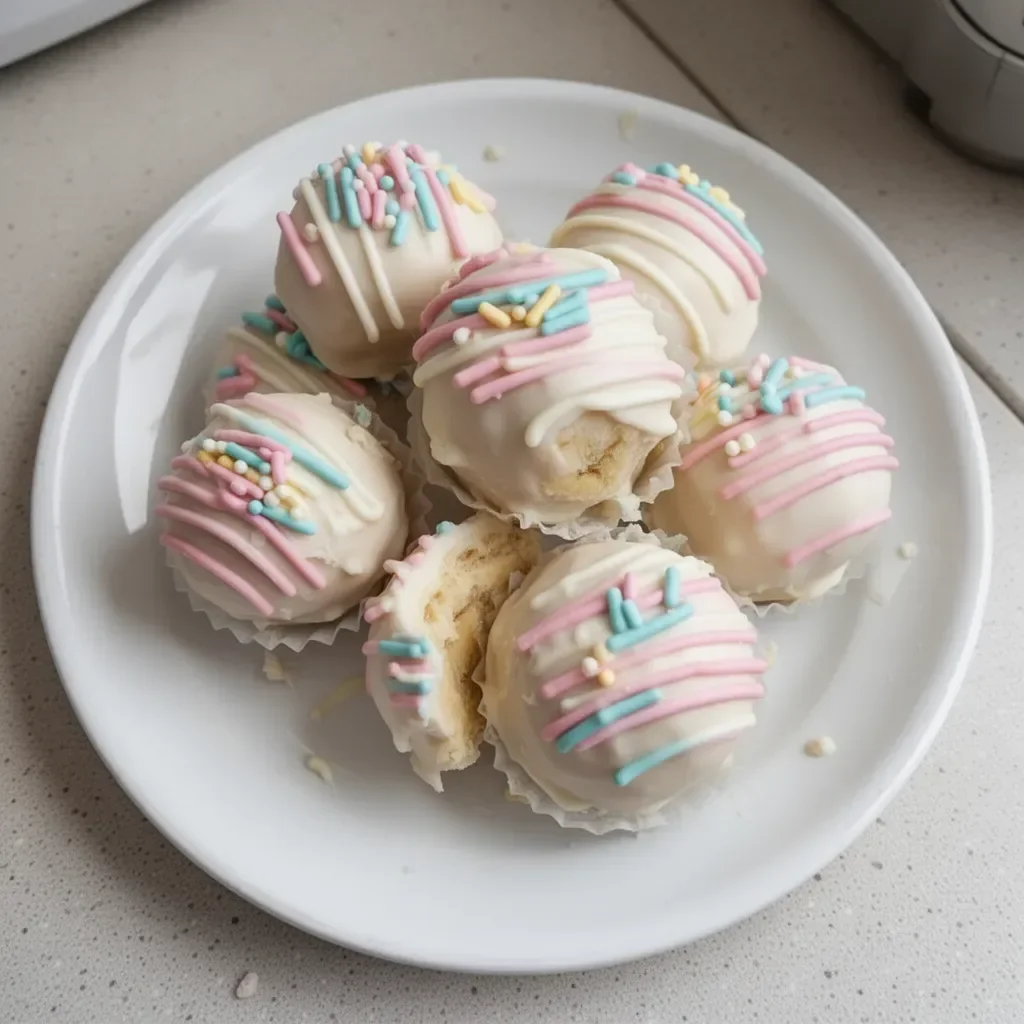
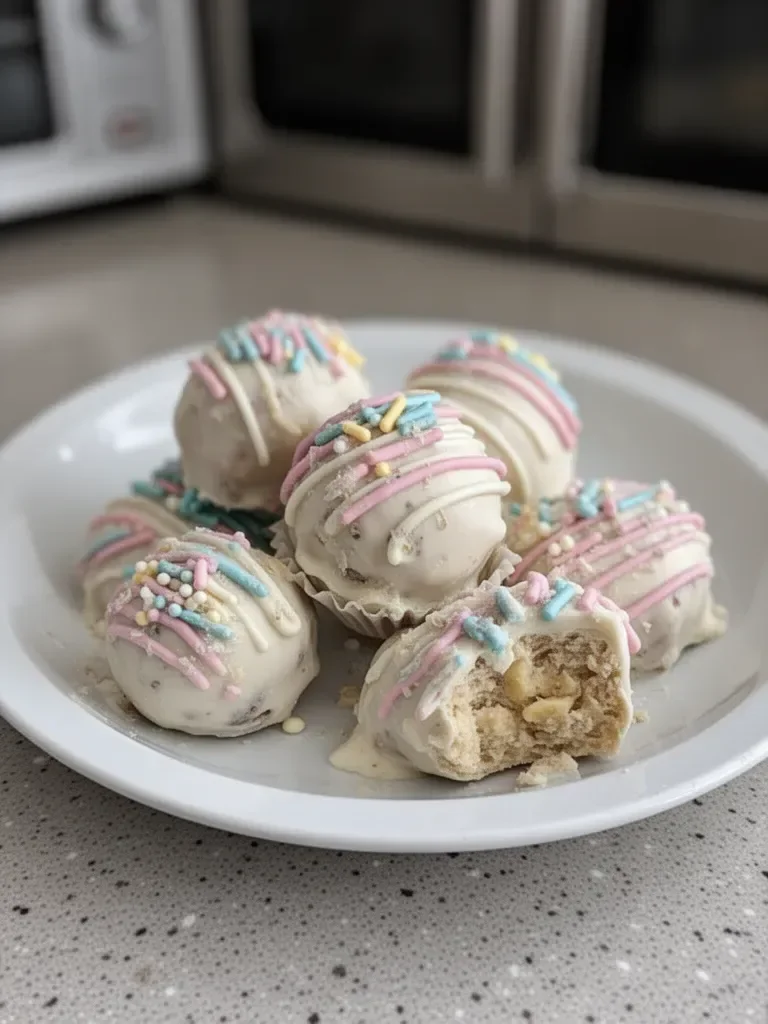
Banana Pudding Easter Truffles
Banana pudding holds a special place in memories. During festive gatherings, the creamy dessert made everyone smile. Bringing that nostalgia to life, the idea of crafting Banana Pudding Easter Truffles emerged. Each bite captures the delightful flavor of banana pudding in a playful, portable form.
Imagining family and friends savoring these truffles during Easter creates excitement. The chewy texture of crushed vanilla wafers combines beautifully with the smoothness of whipped cream and banana pudding. Hiding them among Easter treats adds an element of surprise, making the festivities even more memorable.
These truffles also symbolize togetherness, making any occasion brighter. The joy of biting into a chocolate-covered ball filled with familiar flavors brings warmth and a sense of belonging. As Easter approaches, the thought of creating and sharing these Banana Pudding Easter Truffles is irresistible.
The beauty of this recipe lies in its simplicity. With just a few ingredients and straightforward steps, these truffles come together effortlessly. The blend of textures and flavors takes the classic banana pudding to new heights, inviting everyone to indulge in a delightful treat.
Understanding Banana Pudding Easter Truffles
Fundamentals
Banana Pudding Easter Truffles transform a beloved dessert into a fun and sharable treat, perfect for spring celebrations. This inventive recipe captures the essence of banana pudding while providing a unique twist. Instead of serving pudding in a bowl, these truffles offer a delicious and decorative bite-sized option.
A balanced combination of flavors and textures characterizes these treats. The creamy banana pudding, airy whipped cream, and crunchy vanilla wafers create a delightful treat for everyone. Coating each ball in chocolate not only adds a rich flavor but also enhances the presentation.
These truffles elevate any gathering, from Easter brunch to casual get-togethers. Enjoy them as a sweet snack or as part of a festive dessert table. The process of making these treats invites creativity, whether you choose to customize the toppings or perfect your coating technique.
Preparation/setup
Before diving into the recipe, gathering all necessary ingredients and tools is essential. Ensure the workspace is clean and organized. The preparation process is straightforward, making it accessible for bakers and novices alike.
Having all ingredients lined up makes the cooking process smooth. You’ll need a bowl, a spatula for folding, and a baking sheet lined with parchment paper for the truffles. Having your melting chocolate ready to go is also crucial for a hassle-free experience. By keeping everything within reach, you’ll move from mixing to rolling efficiently.
Ingredients
For this mouthwatering treat, prepare the following ingredients:
- 1 cup banana pudding mix
- 1/2 cup milk
- 1 teaspoon vanilla extract
- 2 cups whipped cream
- 1 cup crushed vanilla wafers
- Chocolate coating or melting chocolate
- Sprinkles (optional)
These ingredients provide a simple yet rich flavor profile, making each truffle a delightful discovery. The banana pudding mix rules the flavor, while the crushed vanilla wafers offer texture and a hint of crunch.
Directions
- In a bowl, mix the banana pudding mix with milk and vanilla extract until well combined.
- Fold in the whipped cream until smooth.
- Stir in the crushed vanilla wafers.
- Refrigerate the mixture for about 30 minutes to firm up.
- Once chilled, scoop out small portions and roll them into balls.
- Dip each ball in melted chocolate to coat them.
- Place the truffles on a baking sheet lined with parchment paper.
- If desired, sprinkle with extra crushed wafers or sprinkles before the chocolate hardens.
- Refrigerate until the chocolate is set, then serve.
Perfecting Banana Pudding Easter Truffles
Technique
Mastering the technique behind these Banana Pudding Easter Truffles is key to achieving that perfect bite. The most critical step involves ensuring the mixture is chilled adequately before rolling it into balls. This process allows for easier handling and ensuring that the truffles hold their shape during coating.
While dipping in chocolate, use a fork or toothpick for smoother handling. Quickly covering each truffle in chocolate helps create an even layer. Waiting too long may result in clumping, so coordinate those steps seamlessly.
If you want a thicker chocolate coating, consider repeating the dipping process once the first layer sets. This technique adds a more substantial chocolatey crunch that contrasts beautifully with the creamy filling.
Tips/tricks
Creating delicious truffles requires attention to detail; however, some tips can enhance your results. Start by using a high-quality chocolate for melting. Premium chocolate not only tastes better, but it also melts smoothly, making it easier to dip the truffles correctly.
Chill the prepared mix for an adequate amount of time. If you find that the mixture is too soft to handle, refrigerate it for an additional few minutes until it firms up. Alternatively, if you’re short on time, you can place the mixture in the freezer for a brief chilling period; just keep an eye on it to prevent freezing.
For added creativity, experiment with toppings! Utilize crushed candies, chocolate sprinkles, or even a drizzle of white chocolate for an appealing design. Personalizing the decorations can make these truffles even more inviting and festive.
Exploring Variations with Banana Pudding Easter Truffles
Perfecting results
Perfecting Banana Pudding Easter Truffles involves adjusting the ingredients for different flavor profiles. For a chocolate banana twist, consider using chocolate pudding mix in place of banana pudding. The result will still be familiar but offer a new taste sensation.
Additionally, adding peanut butter or almond extract can enhance the complexity of flavors. Substitute some whipped cream with cream cheese for a richer filling; mixing it all together creates an unforgettable truffle experience.
When coating, try different types of chocolate. Use white, dark, or even flavored chocolates to add a unique touch. Each variation offers a distinct taste and visual appeal, making the treat more fun and exciting.
Troubleshooting/variations
If you face issues during preparation, don’t worry; troubleshooting is part of the process! If the mixture is too runny, ensure you measure the ingredients accurately, especially the pudding mix. Adjusting the ratio of whipped cream or vanilla wafers can help achieve that perfect consistency.
Should the chocolate coating become too thick to work with, a gentle reheating can help restore the ideal texture. Conversely, if it’s too thin, consider adding more melting chocolate or cocoa powder to achieve the desired thickness for coating.
For variations on flavor, think of substituting different extracts or blending fresh fruit into the banana mixture. Adding diced strawberries, for instance, could provide delightful bursts of flavor throughout each truffle while still embracing the banana pudding essence.
Final Touches for Banana Pudding Easter Truffles
Serving/presentation
Presentation makes a significant difference when serving Banana Pudding Easter Truffles. Arrange the truffles neatly on a serving platter or in decorative boxes for gifting. Line the platter with colorful tissue paper or festive decorations to enhance the Easter theme.
For a brunch display, consider pairing these truffles with other sweet treats. They fit well alongside mini cupcakes or fruit arrangements, creating a dessert table that appeals to various tastes.
Additionally, serving these truffles with fun picks can make them easy and enjoyable to grab. Presentation matters, so allow creativity to shine during setup.
Pairings/storage
Storing Banana Pudding Easter Truffles correctly helps retain their freshness. After coating, place them in an airtight container lined with parchment paper to avoid sticking together. The refrigerator keeps them in great shape for days, allowing the chocolate to retain its perfect texture.
For maximum freshness, enjoy them within a week. These truffles remain a delightful treat, so don’t hesitate to share them during any gathering or holiday celebration, enhancing the joy of togetherness.
Conclusion
Banana pudding remains a nostalgic dessert that brings happiness, especially during festive seasons. Transforming it into Banana Pudding Easter Truffles creates the perfect made-for-sharing treat, merging fun with flavor. By following simple steps and being open to creative variations, anyone can successfully whip up these delightful truffles at home. The joy of sharing and indulging in them unites everyone around the table, making every Easter celebration even more special. Enjoy each bite as these truffles encapsulate the essence of spring and the warmth of togetherness, spreading smiles with every taste.
Print
Banana Pudding Easter Truffles
- Prep Time: 15 minutes
- Cook Time: 15 minutes
- Total Time: 30 minutes
- Yield: 24 truffles
- Category: Dessert
- Method: Chilling
- Cuisine: American
- Diet: Vegetarian
Description
Transforming the classic banana pudding into delightful, bite-sized truffles, perfect for festive celebrations.
Ingredients
- 1 cup banana pudding mix
- 1/2 cup milk
- 1 teaspoon vanilla extract
- 2 cups whipped cream
- 1 cup crushed vanilla wafers
- Chocolate coating or melting chocolate
- Sprinkles (optional)
Instructions
- Mix the banana pudding mix with milk and vanilla extract until well combined.
- Fold in the whipped cream until smooth.
- Stir in the crushed vanilla wafers.
- Refrigerate the mixture for about 30 minutes to firm up.
- Scoop out small portions and roll them into balls.
- Dip each ball in melted chocolate to coat them.
- Place the truffles on a baking sheet lined with parchment paper.
- If desired, sprinkle with extra crushed wafers or sprinkles before the chocolate hardens.
- Refrigerate until the chocolate is set, then serve.
Notes
Use high-quality chocolate for melting for the best flavor. You can customize toppings to add a unique touch.
