
📑 Table of Contents ▶
Artisan Pizza Dough – Crispy, Chewy, Bubbly Crust
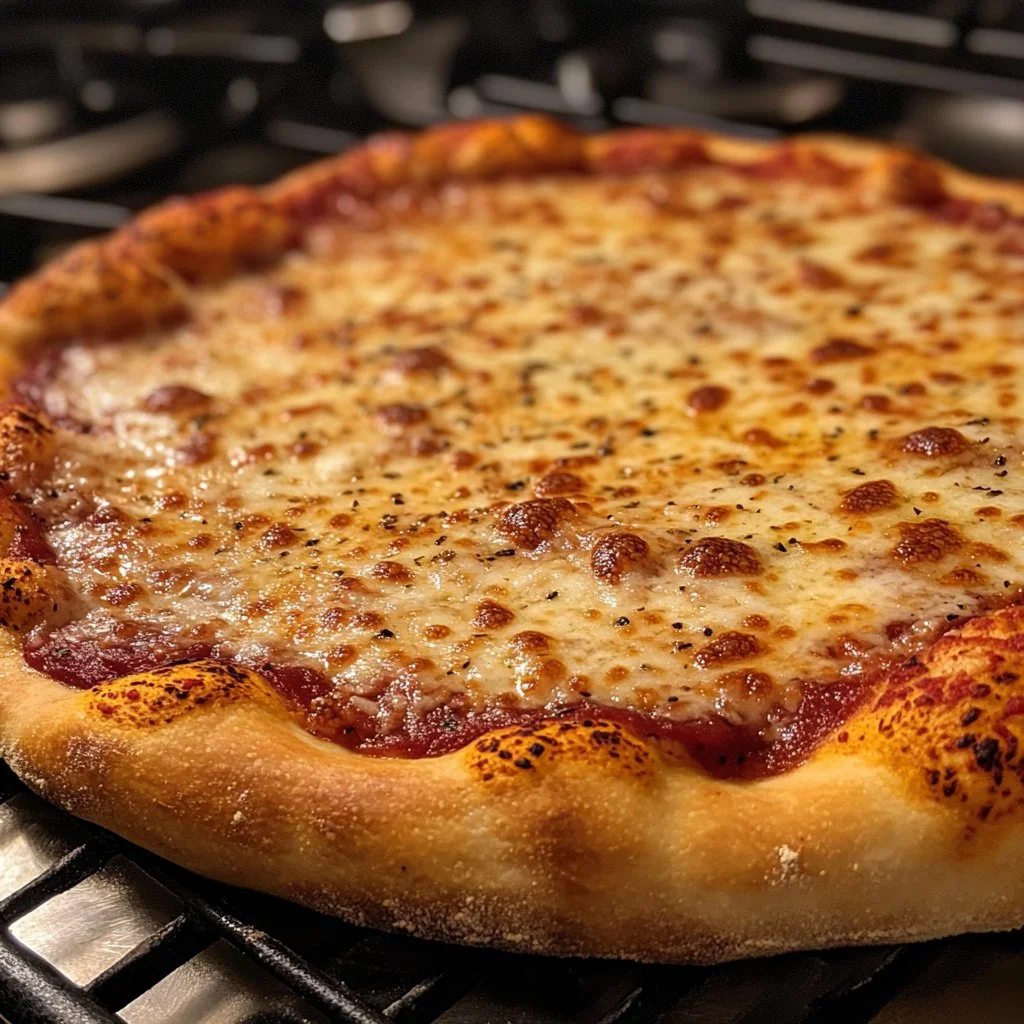
There’s something magical about the smell of fresh, homemade pizza dough. Years ago, I stood in my tiny kitchen, attempting to channel my inner chef. As I mixed flour and water, I felt an exhilarating sense of possibility. Little did I know that mastering artisan pizza dough would transform my culinary skills and weekend gatherings. Pizza nights went from ordinary to extraordinary, thanks to the crispy, chewy, and bubbly crust that emerged from my oven.
With each batch, I learned the nuances of the dough, discovering how to achieve that perfect combination of flavors and textures. Each pie became a canvas for creativity, inviting friends and family to join in on the fun. This artisan pizza dough, made with just a handful of ingredients, quickly became the star of our household events. Its versatility allows for endless toppings, and each bite brings everyone together.
Let’s dive into the fundamentals of crafting an exceptional artisan pizza dough that promises to elevate your pizza game. The journey of creating this delightful crust begins with understanding the fundamentals, preparation, and method.
Fundamentals
Artisan pizza dough is all about simplicity. You don’t need fancy ingredients or elaborate tools to get started. The beauty of this dough lies in its integrity, relying on basic components that most kitchens already have.
Flour forms the backbone of the dough. All-purpose flour provides flexibility and yields great texture, while yeast brings life, allowing the dough to rise and develop a pleasant chewiness. Water hydrates the flour, creating a bond essential for gluten formation. Lastly, salt enhances flavor and controls yeast activity. Getting the ratios right is crucial for achieving a memorable crust.
The simplicity in crafting artisan pizza dough is what makes it so appealing. The magic happens through the process, where you engage with each ingredient and realize how they come together to create something greater than their individual parts.
Preparation/setup
Setting up for dough-making involves a few straightforward steps. Start with a clean, flat surface and gather your ingredients. Measuring your flour, water, yeast, and salt accurately helps ensure perfect dough consistency. By working with the right proportions, you’ll achieve a silky, pliable dough that bakes beautifully.
Mixing is the first hands-on step. Combine all the flour with the majority of the water and stir gently until just blended. Allowing the dough to rest for 20 minutes allows time for the flour to absorb water, making it easier to handle later. During this resting phase, the flour starts to hydrate, laying the groundwork for a robust dough.
After resting, dissolve the yeast in the reserved warm water. It is vital to let the yeast activate properly, which ensures a bubbly crust during baking. Once dissolved, sprinkle salt over your dough, pour in the yeast mixture, and start the folding process to mix everything uniformly.
Ingredients
To create artisan pizza dough, gather these simple ingredients:
- 500g (3 3/4 cups plus 2 tbsp) all-purpose flour
- 375g (1 1/2 cups water plus 2 tbsp) warm water, divided
- 1g (1/4 tsp) active dry yeast
- 10g (1 1/2 tsp) fine salt
These quantities will yield enough dough for two large pizzas, letting you experiment with various toppings while mastering your pizza-making skills.
Directions
- In a large bowl, mix the flour with all but 1 tablespoon of the warm water until just combined.
- Cover the bowl and let rest for 20 minutes.
- Sprinkle the yeast over the reserved warm water, allowing it to dissolve.
- After the resting period, sprinkle salt over the surface of the dough.
- Stir the yeast mixture and pour it over the dough.
- Wet your hand lightly and fold the dough over itself, continuing to do this until a shaggy dough forms.
- Cover the bowl and let the dough rest for about an hour.
- After resting, gently fold the dough to develop gluten. Invert the dough into a lightly greased bowl, seam side down, cover, and let it rise until doubled in size (5-6 hours).
- Once risen, turn the dough out onto a floured surface and cut in half.
- Shape each piece into a ball, resting for about an hour before using.
Technique
Creating artisan pizza dough requires mastering a few essential techniques that make a significant difference. The key to a great crust lies in proper mixing, folding, and resting times. Emphasizing these techniques during your preparation stage ensures that you develop the dough’s texture and flavor fully.
When mixing the dough, aim for uniform moisture distribution. Avoid over-mixing; combining until just integrated allows for the dough to develop a nice texture during the resting phase. Remember, gluten develops not only during mixing but also during the resting periods.
Folding is an important technique that allows air to push into the dough, enhancing its rise during fermentation. With each fold, you strengthen gluten structure, creating a light, airy texture when baked. Encourage a good balance of moisture and resistance to create surface tension while shaping your dough balls.
Tips/tricks
Mastering artisan pizza dough can take time, but a few tips can help streamline your process.
-
Temperature Matters: Ensure your water is warm but not hot. Too much heat can kill the yeast, while too cool water may not activate it properly.
-
Don’t Rush the Rise: Allow your dough to rise adequately. The long fermentation time develops the flavors and texture distinctive of artisan-style crust.
-
Maintain a Humid Environment: Cover your dough while it rises. A damp cloth or plastic wrap helps prevent the surface from drying out, leading to a smoother dough.
-
Experiment with Hydration: You can play with your water amounts to adjust the dough’s hydration level. A wetter dough can yield a crust with more holes and airiness, while a drier dough can be easier to work with.
-
Use a pizza stone: Preheating a pizza stone can significantly improve crust texture. It helps achieve that crispy base that everyone loves.
Perfecting results
Achieving the perfect artisan pizza dough is a rewarding journey that focuses on achieving the right balance of flavors and textures. Each time you make pizza, note any adjustments in rising times and rest periods to help you identify what works best for your palate.
Texture is a critical factor in determining success. Aim for a well-aerated dough that retains some elasticity. This results in a chewy crust with a crisp exterior when baked correctly. The key lies in paying attention to the nuances of each batch you work with.
Furthermore, don’t hesitate to experiment with local ingredients or artisan flours. Incorporating different types of flour, like whole wheat or bread flour, can yield unique and delightful flavors. Remember to adjust hydration levels accordingly, as they can vary between flour types.
Troubleshooting/variations
Even seasoned bakers face challenges with dough-making. When encountering issues, the best approach is to identify and rectify them early.
If you notice your dough isn’t rising as expected, this can indicate an issue with the yeast. Double-check its freshness and ensure proper activation by not using hot water. Additionally, consider adjusting your proofing time if the ambient temperature in your kitchen is too cold or too warm.
In case the dough feels too sticky, incorporate a bit more flour during the folding process. This can help improve its structure, making it easier to work with. On the flip side, if your dough seems too dry or crumbly, adding a tiny amount of water during the resting process can help hydrate it better.
Serving/presentation
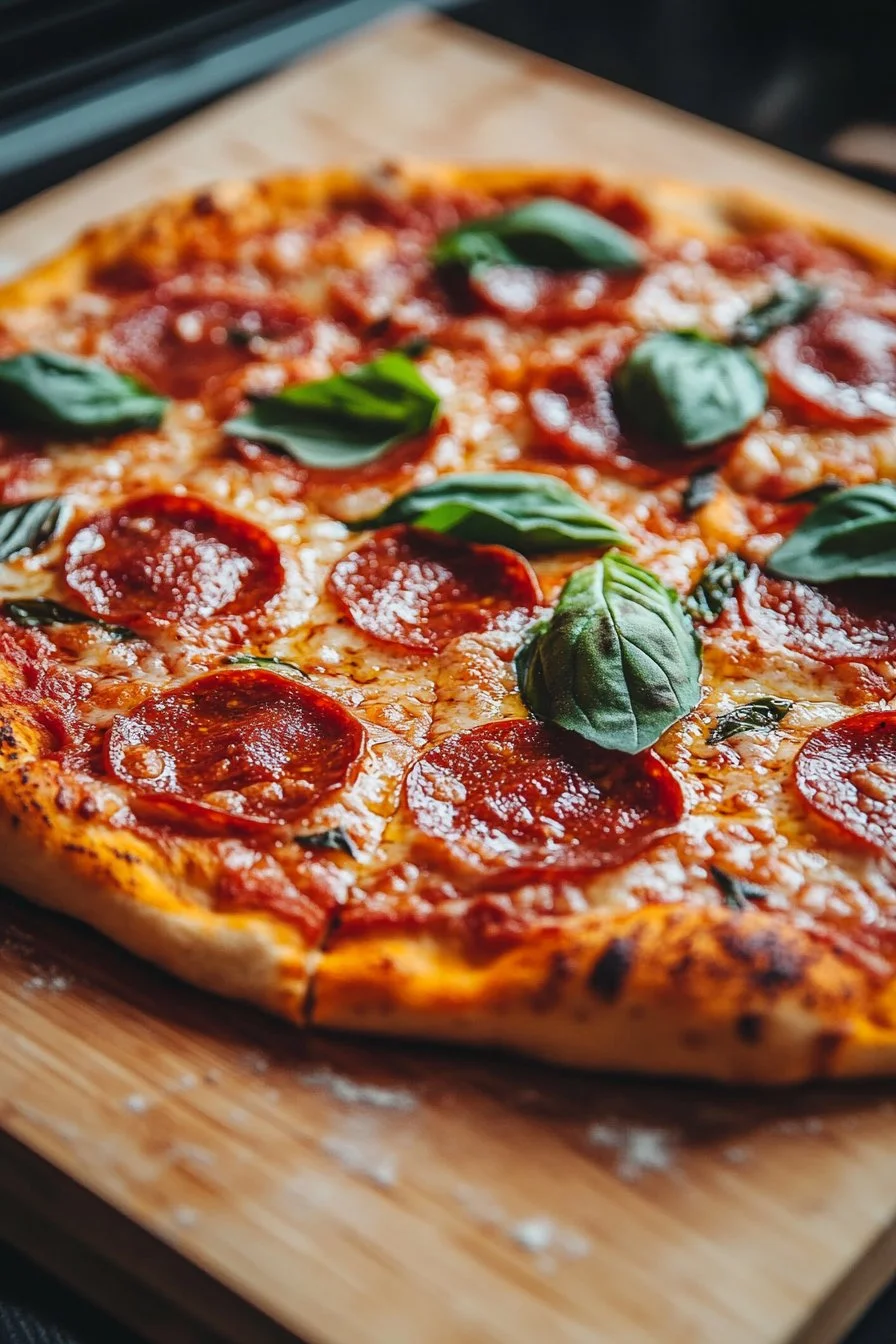
Once you’ve mastered the artisan pizza dough, serving your creations can be as exciting as making them. Fresh, homemade pizza deserves to shine. After pre-baking, you can dress your pizza with vibrant, colorful toppings that reflect your personality – the options are endless. Think fresh basil, rich tomato sauce, creamy mozzarella, and seasonal vegetables.
Slicing your pizza into equal portions ensures that everyone can enjoy a piece. Spread the joy of homemade pizza by sharing warm slices with friends and family at gatherings or cozy nights in. Using parchment paper or a wooden peel makes transferring your pizza a breeze, keeping your work surface clean.
Pairings/storage
Accompanying your pizza crust with the right ingredients can elevate the experience. Roasted garlic, fresh herbs, or even a sprinkle of cheese can enhance each bite. If you’ve made more dough than you can use in one go, simply cover it tightly with plastic wrap and refrigerate it for up to two days.
For longer storage, freezing the dough can be a convenient option. Divide your dough into manageable portions, wrap them well, and store them in an airtight container. When you’re ready to make pizza, allow the dough to thaw in the fridge overnight, then follow the shaping instructions before baking.
Conclusion
Creating artisan pizza dough brings joy to both the cook and the diner. The simplicity of flour, water, salt, and yeast transforms into a delightful crust that elevates any meal. Each step in the process, from mixing to rising, plays an integral role in developing the qualities that make your pizza extraordinary.
As you continue to explore the world of homemade pizza, embrace the creativity and freedom it provides. The delicious, crispy, chewy, and bubbly crust will undoubtedly impress your family and friends, making pizza night a truly special occasion. Enjoy the journey of perfecting artisan pizza dough, and let your culinary creations take center stage.
Print
Artisan Pizza Dough
- Prep Time: 25 minutes
- Cook Time: 0 minutes
- Total Time: 360 minutes
- Yield: 2 large pizzas
- Category: Dough
- Method: Mixing & Rising
- Cuisine: Italian
- Diet: Vegetarian
Description
Learn to craft exceptional artisan pizza dough that results in a crispy, chewy, and bubbly crust perfect for any toppings.
Ingredients
- 500g (3 3/4 cups plus 2 tbsp) all-purpose flour
- 375g (1 1/2 cups plus 2 tbsp) warm water, divided
- 1g (1/4 tsp) active dry yeast
- 10g (1 1/2 tsp) fine salt
Instructions
- In a large bowl, mix the flour with all but 1 tablespoon of the warm water until just combined.
- Cover the bowl and let rest for 20 minutes.
- Sprinkle the yeast over the reserved warm water, allowing it to dissolve.
- After the resting period, sprinkle salt over the surface of the dough.
- Stir the yeast mixture and pour it over the dough.
- Wet your hand lightly and fold the dough over itself, continuing to do this until a shaggy dough forms.
- Cover the bowl and let the dough rest for about an hour.
- After resting, gently fold the dough to develop gluten. Invert the dough into a lightly greased bowl, seam side down, cover, and let it rise until doubled in size (5-6 hours).
- Once risen, turn the dough out onto a floured surface and cut in half.
- Shape each piece into a ball, resting for about an hour before using.
Notes
Experiment with hydration levels and flour types to achieve different textures and flavors. Use a pizza stone for a better crust.
