
📑 Table of Contents ▶
Apple Slab Pie
The aroma of baked apples fills the kitchen, creating a warm and welcoming atmosphere. Memories flood back of afternoons spent peeling and chopping apples, surrounded by family laughter. Preparing an apple slab pie feels like a rite of passage, one that ties together generations over simple ingredients and sweetness.
The making of an apple slab pie captures the essence of home. Each layer—flaky crust, tender apples, and that perfect hint of spice—brings deeper connections to cherished moments. When the pie emerges from the oven, golden brown and bubbling, anticipation fills the air, making the wait all worthwhile.
Whether it’s a holiday gathering or a casual family dinner, apple slab pie is a delightful centerpiece, inviting everyone to share a slice. The joy of serving this pie transforms a simple gathering into an occasion, as everyone reaches for their fork to savor each bite.
Creating something so comforting with just a handful of basic ingredients feels magical. This apple slab pie delivers not just flavor but also a sweet reminder of home and togetherness.
Apple Slab Pie Basics
Fundamentals
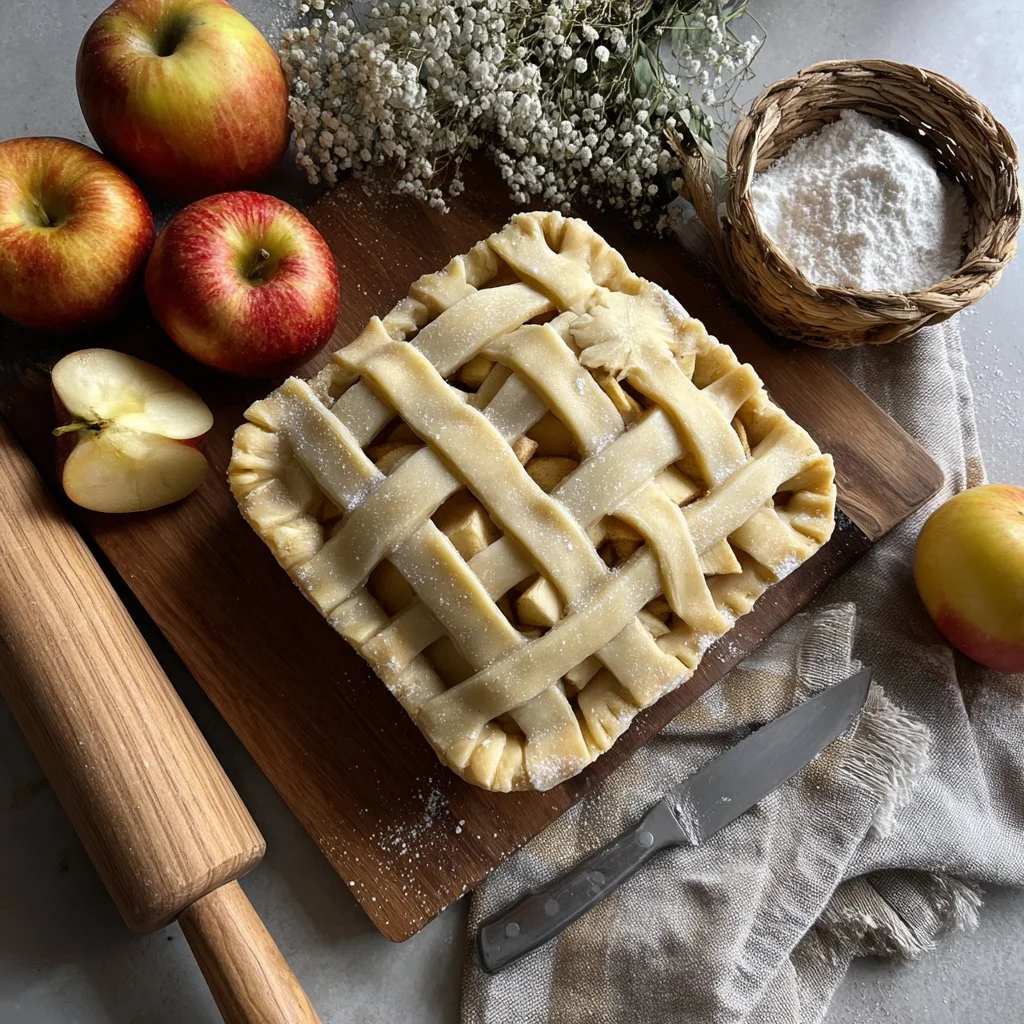
An apple slab pie offers a delightful way to enjoy the classic flavors of a traditional apple pie in a larger, more shareable format. Unlike standard pies, which typically fit into a round pan, the slab pie allows for a larger serving size without sacrificing taste. The key to a delicious apple slab pie lies in the balance of sweet and tart apples, complemented by spices that elevate the filling.
Choosing the right apples is crucial. A mixture of tart Granny Smith and sweet Fuji or Honeycrisp apples creates a harmonious flavor profile. The cooling process of the pie after baking also helps to meld the flavors together, making each slice a burst of autumnal joy.
Preparation/Setup
Preparing an apple slab pie requires a well-organized setup. Gather all your ingredients on the counter before starting. This not only streamlines the process but also makes pie-making less daunting. Ensure your butter is very cold; this ensures a flakier crust as it melts during baking, creating steam pockets. Prepping the apples by peeling, coring, and chopping beforehand simplifies the filling assembly.
Once the crust is made, the assembly becomes the fun part. Preheat your oven ahead of time to allow the crust to achieve that perfect golden hue. Using parchment paper ensures an easy release after baking, while also catching any juicy spills.
Ingredients
For the crust:
- 3 ¾ cups (470 grams) all-purpose flour
- 1 ½ tbsp sugar
- 1 ½ tsp table salt
- 3 sticks (12 oz or 340 grams) unsalted butter, cubed and very cold
- ¾ cup very cold water
For the filling:
- 3 ½ to 4 pounds apples, peeled, cored, and chopped into ½-inch chunks (approximately 10 cups)
- Squeeze of lemon juice
- ⅔ to ¾ cup sugar (adjust to desired sweetness)
- 3 tbsp cornstarch
- 1 rounded tsp ground cinnamon
- ¼ tsp ground nutmeg
- ¼ tsp ground allspice
- ⅛ tsp table salt
- 2 tbsp heavy cream or 1 egg beaten with 1 tbsp water (for egg wash)
Directions
Start by preparing the crust. In a large bowl, measure out the flour. Whisk in the sugar and salt, ensuring it is even. Add the very cold butter cubes, coating them with the flour mixture. Use your fingers to mash the butter into smaller pieces, resembling the size of peas. This step is integral for achieving that classic flaky texture.
Once the mixture looks uniformly crumbly, add ½ cup of the very cold water. Stir with a rubber spatula until absorbed. If the dough remains too crumbly, continue to add water a tablespoon at a time until it barely comes together. Form the dough into a loose ball and divide it into two pieces: one larger for the bottom and one smaller for the top. Wrap each piece in plastic and refrigerate for at least two hours.
Prepare the filling while the dough chills. In a large bowl, toss the chopped apples with a squeeze of lemon juice to prevent browning. In a separate bowl, mix the sugar, cornstarch, cinnamon, nutmeg, allspice, and salt. Pour this mixture over the apples, tossing well to coat. Set aside.
To assemble, preheat the oven to 375° F. Line a 10×15×1-inch baking sheet with parchment paper. Roll out the larger dough piece into an 18×13-inch rectangle. Transfer it carefully to the pan, letting the edges drape over the sides. Chill while rolling out the smaller piece into a 16×11-inch rectangle.
Remove the pan from the refrigerator, pour the apple filling into the crust, and drape the second piece of dough over the top. Trim the edges, leaving about a ¾-inch overhang. Seal the edges together with your fingers. Brush the top with either the heavy cream or egg wash and slice slits in the crust to allow steam to escape.
Place the assembled pie on a larger baking sheet. Bake for 40 to 45 minutes, until the top is golden brown and the filling bubbles through the slits. Allow the pie to cool for at least 45 minutes before slicing.
Crafting the Perfect Apple Slab Pie
Technique
Crafting an apple slab pie hinges on mastering a few techniques. The key to a flaky crust lies in how you handle the butter. Keeping it cold and incorporating it gently prevents the dough from becoming tough. Heat activates gluten, which can lead to dough that is chewy rather than crisp.
Rolling the dough can be tricky; use plenty of flour on the surface and the rolling pin. This will help prevent sticking and ensure an even thickness. When transferring the rolled dough to the pan, handle it gently to maintain its shape.
For the filling, the choice of apples can significantly impact the flavor. A blend of sweet and tart apples not only enhances taste but also creates a more complex texture. For extra flavor, consider adding a splash of vanilla extract.
Tips/Tricks
Mastering the apple slab pie can be easier with a few handy tips. First, prep the apples and filling ingredients in advance. This minimizes kitchen chaos and allows you to focus on pie assembly. Assembling the pie while keeping the dough cold also contributes to a superior texture.
If you notice your dough is becoming warm during the rolling process, chill it for a few minutes before continuing. This ensures the butter remains cold, which is crucial for forming that flaky crust.
Additionally, adjust the sugar in the filling based on the sweetness of your apples. If using naturally sweet apples, stick to the lesser amount of sugar. For tart apples, you may want to go towards the higher end.
Perfecting the Outcome
Perfecting Results
Achieving the perfect apple slab pie is an art and a science. Baking times can vary based on the oven, so keep a close eye on the pie as it approaches the end of the baking time. The goal is a golden crust with a filling that bubbles enticingly through the slits.
Cooling is just as important as baking. Allow the pie to sit for at least 45 minutes before cutting. This waiting time helps the filling set and makes for cleaner slices. When it finally comes time to serve, remember that presenting the pie on a simple, clean platter keeps the focus on that deliciously inviting crust and tantalizing filling.
Troubleshooting/Variations
If your pie crust doesn’t seem as flaky as desired, ensure your butter was suitably cold during mixing. Another common pitfall is a soggy bottom crust. To prevent this, bake the crust for about 10 minutes before adding the filling, allowing it to set slightly.
For variations, consider adding nuts, like chopped pecans or walnuts, for additional texture. You can also play around with spices by introducing ginger or cloves for a more distinctive flavor profile.
Serving and Storing Your Apple Slab Pie
Serving/Presentation
Serving apple slab pie can be a delightful experience. Allow each slice to showcase its beautiful layers, and accompany it with a scoop of vanilla ice cream or a dollop of whipped cream. The contrast of warm pie with cold toppings creates a wonderful sensory experience.
For regular gatherings, keep it simple by cutting the pie into square pieces for easy serving.
Pairings/Storage
Storing your apple slab pie is straightforward. Cover it with plastic wrap or foil at room temperature, where it can keep for about two days. For longer storage, refrigerate it; this can keep your pie fresh for up to a week.
If you’re planning to enjoy your pie later, reheating slices in the oven briefly brings back that fresh-out-of-the-oven taste. Simply place slices on a baking sheet at 350° F for about 10 minutes.
When storing the pie, avoid placing it in the fridge right after baking to prevent condensation on the crust. Instead, let it cool completely before covering for storage.
Print
Apple Slab Pie
- Prep Time: 120 minutes
- Cook Time: 45 minutes
- Total Time: 165 minutes
- Yield: 12 servings
- Category: Dessert
- Method: Baking
- Cuisine: American
- Diet: Vegetarian
Description
A delightful take on traditional apple pie, this apple slab pie features a flaky crust and a perfectly spiced apple filling, ideal for any gathering.
Ingredients
- 3 ¾ cups (470 grams) all-purpose flour
- 1 ½ tbsp sugar
- 1 ½ tsp table salt
- 3 sticks (12 oz or 340 grams) unsalted butter, cubed and very cold
- ¾ cup very cold water
- 3 ½ to 4 pounds apples, peeled, cored, and chopped into ½-inch chunks (approximately 10 cups)
- Squeeze of lemon juice
- ⅔ to ¾ cup sugar (adjust to desired sweetness)
- 3 tbsp cornstarch
- 1 rounded tsp ground cinnamon
- ¼ tsp ground nutmeg
- ¼ tsp ground allspice
- ⅛ tsp table salt
- 2 tbsp heavy cream or 1 egg beaten with 1 tbsp water (for egg wash)
Instructions
- Prepare the crust by whisking together flour, sugar, and salt in a large bowl. Add cold butter and use fingers to mash it into smaller pieces.
- Gradually add cold water until the mixture starts to hold together. Form into a loose ball, divide, and refrigerate for at least 2 hours.
- While dough chills, prepare filling by tossing chopped apples with lemon juice. In another bowl, mix sugar, cornstarch, cinnamon, nutmeg, allspice, and salt before coating apples.
- Preheat oven to 375°F. Roll out larger dough piece and transfer to a baking sheet lined with parchment paper, then chill.
- Roll out smaller dough piece and pour apple filling into the crust. Cover with second piece, seal edges, and cut slits in the top.
- Bake for 40 to 45 minutes until golden brown. Cool for at least 45 minutes before slicing.
Notes
Serve warm with vanilla ice cream or whipped cream for a delightful contrast. Allow pie to cool thoroughly before covering for storage.
