
➤ Table of Contents
Hi, I’m Chloe—welcome to my kitchen! I started this blog to share the joy, comfort, and creativity that cooking brings into my life. Some of my best memories were made while stirring a pot, baking something sweet, or sneaking a taste of cookie dough. Each recipe I post is something I’ve truly loved making and eating, from cozy weeknight dinners to nostalgic desserts. I believe cooking shouldn’t be perfect—it should be fun, heartfelt, and full of little happy messes. This space is for inspiration, connection, and delicious moments shared with others. I’m so glad you’re here—let’s make something wonderful together.
Print
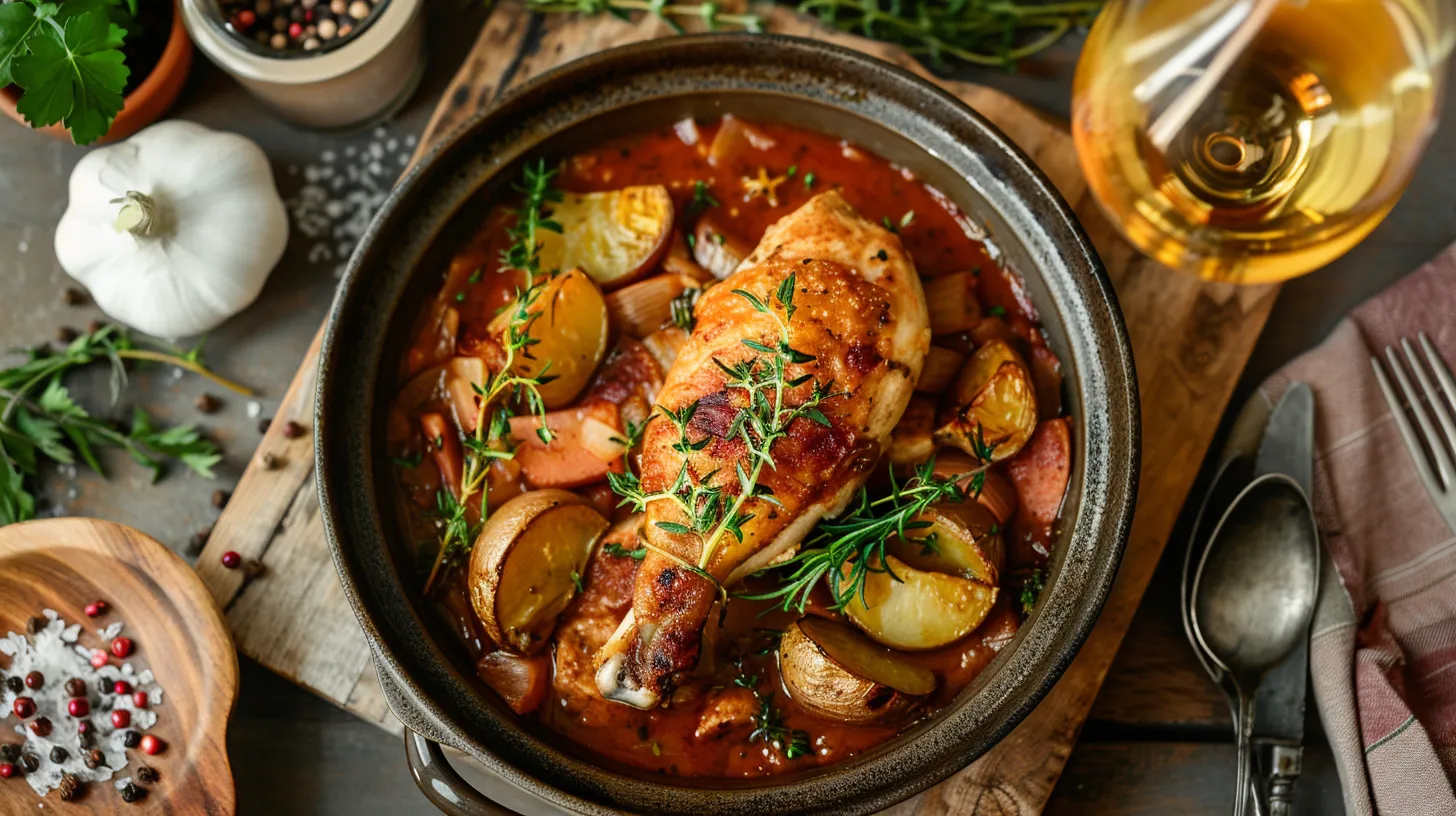
Braised Chicken Breast Recipe
- Prep Time: 10 minutes
- Cook Time: 20 minutes
- Total Time: 30 minutes
- Yield: 4 servings
- Category: Soup
- Method: Boiling
- Cuisine: Mediterranean
Description
Discover our Braised Chicken Breast Recipe, a step-by-step guide to achieving tender, flavorful chicken every time. Perfect for home cooks seeking a delicious meal.
Ingredients
2 Tablespoons olive oil, divided
3 large chicken breasts fillet into 6 thin cuts of chicken breast
1 teaspoon Kosher salt to taste
¼ teaspoon Ground black pepper to taste
1 medium onion sliced into thin rings
3 cloves fresh garlic, peeled and smashed
1 cup red grape juice
14.5 ounces chicken broth (you can also use beef broth if that’s what you have on hand)
2 Tablespoons tomato paste
Water (optional)
Instructions
1. In a wide pan, warm 2 tablespoons of olive oil over medium-high heat.
2. Dry the chicken breast slices with a paper towel and generously sprinkle both sides with Kosher salt and ground black pepper.
3. Cook the chicken slices in groups, browning each side for 1-2 minutes, then transfer them to a separate plate. Avoid overcrowding the pan.
4. After browning all the chicken, add the onion rings and smashed garlic to the pan. Season with salt and pepper to your liking, and stir them for a minute or two.
5. Push the onion and garlic to the sides of the pan and put the tomato paste in the center. Cook for a few minutes while stirring frequently, then mix it into the onions and garlic.
6. Pour the red grape juice into the pan and use a wooden spoon to scrape any brown bits from the bottom of the pan.
7. Once the juice has simmered for two minutes, pour in the chicken broth. Mix well, then return the chicken pieces to the pan. Bring the mixture to a boil.
8. When it starts boiling, lower the heat to medium, cover the pan, and let it simmer for an hour, stirring occasionally. If the mixture becomes too dry, add a bit of water. Serve right after an hour.
Braising Chicken Breasts: An Unforgettable Recipe
There’s something truly magical about a well-prepared braised chicken breast recipe. Growing up, braised chicken was a Sunday dinner staple in my family. The rich aromas filled the house, creating an atmosphere of warmth and comfort. The first time I successfully cooked braised chicken, it brought back those cherished memories, reminding me of family gatherings around our dining table. This braised chicken breast recipe embodies that nostalgia, with its tender, succulent meat and flavorful sauce. Cooking this dish is not just about following steps; it’s about creating a connection to those cherished moments and flavors.
Fundamentals
To get started with this braised chicken breast recipe, first gather your ingredients. You will need 2 tablespoons of olive oil, divided, 3 large chicken breasts fillet into 6 thin cuts, 1 teaspoon of Kosher salt, and ¼ teaspoon of ground black pepper. These ingredients lay the foundation for a dish that is both simple and satisfying. The use of olive oil not only helps in browning the chicken but also adds a subtle richness to the overall flavor.
For the aromatic base, slice 1 medium onion into thin rings and peel and smash 3 cloves of fresh garlic. These will infuse the chicken with depth and complexity, creating a fragrant and inviting aroma that sets the stage for the braising process. With this combination, you’ll experience a delightful balance of flavors.
Preparation/Setup
In a wide pan, warm the 2 tablespoons of olive oil over medium-high heat. As the oil heats, dry the chicken breast slices with a paper towel and generously sprinkle both sides with Kosher salt and ground black pepper. This step is crucial for achieving a beautiful golden-brown crust. Cook the chicken slices in groups, browning each side for 1-2 minutes. Avoid overcrowding the pan, as it prevents proper browning. Once browned, transfer the chicken to a separate plate. This preparation ensures that the chicken retains its juices while developing a robust flavor.
After browning all the chicken, add the onion rings and smashed garlic to the pan. Season with additional salt and pepper if desired, and stir them for a minute or two. This step releases the natural sweetness of the onions while allowing the garlic’s pungency to mellow and blend with the other ingredients.
Indulge in a comforting and savory dinner with this delicious cheesy garlic parmesan chicken pasta skillet recipe that’s perfect for busy weeknights.
Mastering the Braised Chicken Breast Recipe Technique
Technique
To perfect the braised chicken breast recipe, push the onion and garlic to the sides of the pan and place 2 tablespoons of tomato paste in the center. Cook the paste for a few minutes while stirring frequently, then mix it into the onions and garlic. This method enhances the tomato’s natural sweetness and creates a rich base for the sauce. Next, pour 1 cup of red grape juice into the pan and use a wooden spoon to scrape any brown bits from the bottom. These bits add depth to the sauce, making it more flavorful.
Once the juice has simmered for two minutes, pour in 14.5 ounces of chicken broth. Mix well, then return the chicken pieces to the pan. Bring the mixture to a boil. When it starts boiling, lower the heat to medium, cover the pan, and let it simmer for an hour, stirring occasionally. This slow cooking technique allows the chicken to absorb all the aromatic flavors, resulting in moist and tender meat.
Tips/Tricks
If the mixture becomes too dry during the simmering process, add a bit of water. This simple adjustment ensures that the chicken stays moist and the sauce remains luscious. To enhance the final flavor, consider adjusting the seasoning to your preference. A touch more salt or pepper can bring out the best in your braised chicken breast recipe. Mastering these techniques will make this dish a standout at any meal.
Optimizing the Braised Chicken Breast Recipe for Perfect Results
Perfecting Results
Achieving perfection in your braised chicken breast recipe requires attention to detail and patience. Ensure the chicken is fully submerged in the sauce during simmering. This allows each piece to absorb all the flavors, resulting in a harmonious blend of tastes. The slow cooking process is key, allowing the chicken to become tender without losing its structure.
Monitor the simmering process closely and stir occasionally to prevent sticking. Use a spoon to taste the sauce and adjust the seasoning if necessary. This proactive approach guarantees a balanced flavor profile. By focusing on these aspects, your braised chicken breast will be a culinary triumph.
Troubleshooting/Variations
Occasionally, the sauce may become too thick or too thin. If too thick, add a small amount of water and stir until reaching your desired consistency. If too thin, let it simmer uncovered for a few minutes to reduce. These adjustments ensure your braised chicken breast recipe remains delightful.
For a variation, consider experimenting with different broths such as beef broth, which can add a robust flavor. This simple change can offer a new dimension to the dish while maintaining its core essence. By being resourceful and adaptable, you can tailor this recipe to suit your preferences.
Bring tropical flavors to your table with this juicy and flavorful Hawaiian Huli Huli chicken that’s perfect for grilling season.
Serving and Completing Your Braised Chicken Breast Recipe
Serving/Presentation
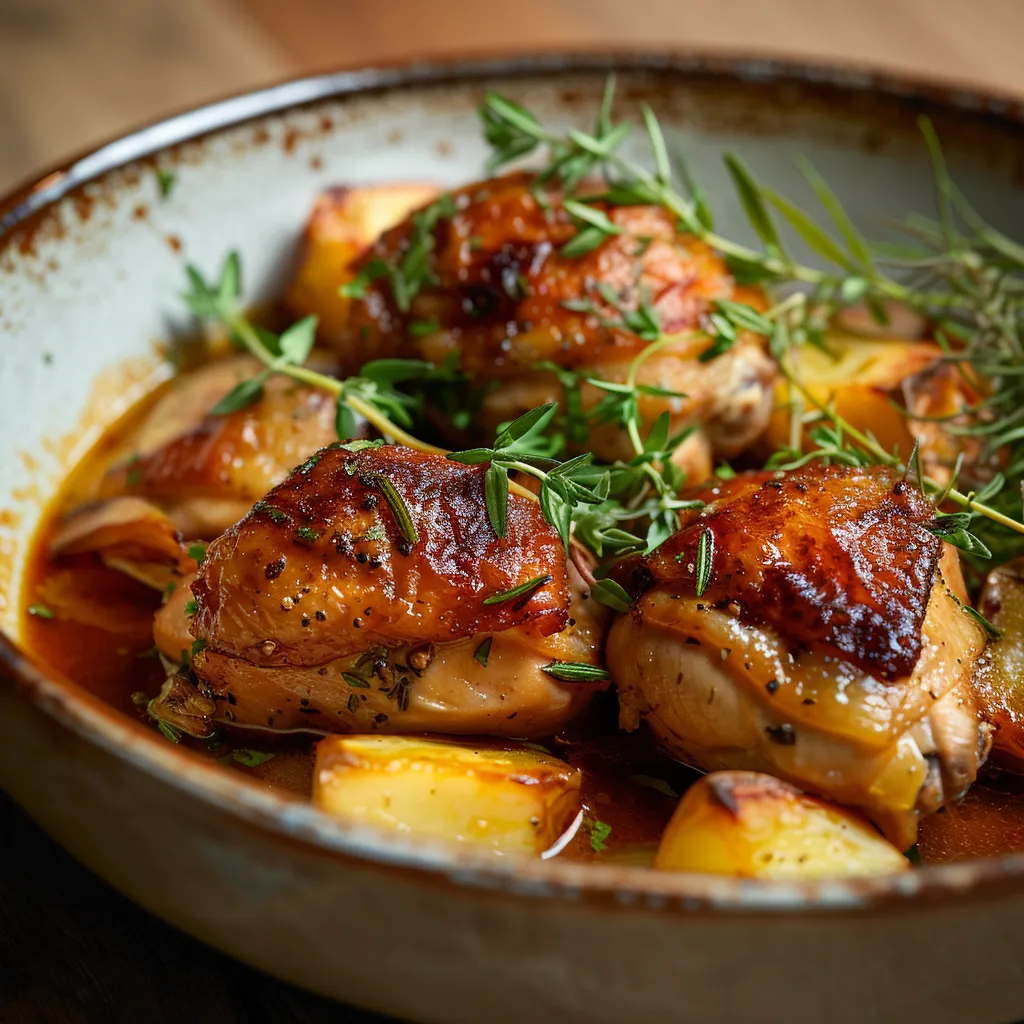
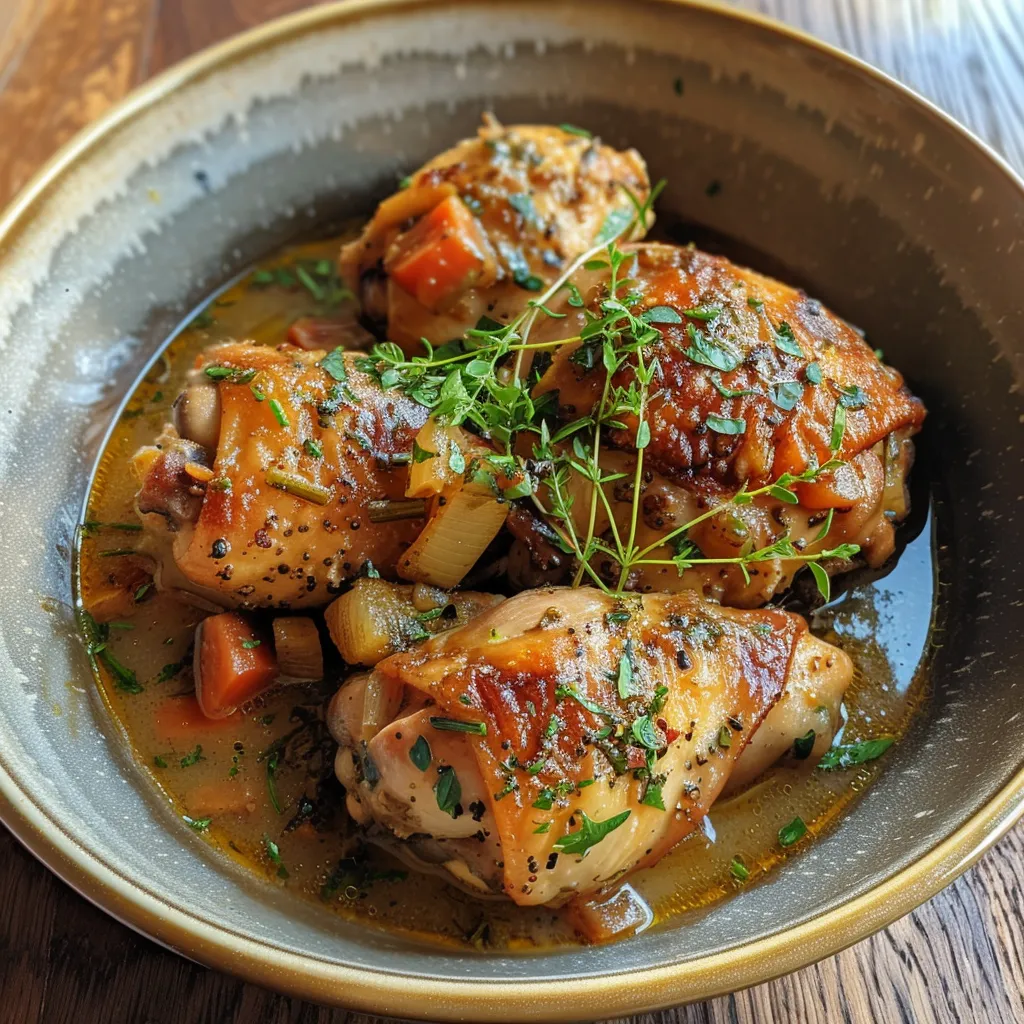
Once the braised chicken breast recipe is complete, serve it straight from the pan to ensure the chicken remains warm and the sauce stays rich and flavorful. Plate the chicken pieces first, then generously spoon the sauce over them. The vibrant color of the sauce creates an appealing contrast with the golden-brown chicken, making it visually enticing. This simple presentation highlights the careful preparation and attention to detail that went into creating your dish.
Pairings/Storage
Pair your braised chicken breast with a side of steamed vegetables or a light salad to complement the rich flavors. The freshness of the sides enhances the overall dining experience, creating a well-rounded meal. Store any leftovers in an airtight container in the refrigerator, where they will keep for up to three days. When reheating, do so gently on the stovetop to preserve the texture and flavor of the chicken.
Explore more on braising techniques and flavor combinations by visiting our Sous Vide Chicken Breast Guide or learn more about enhancing flavors in our Flavor Infusion Techniques. These resources provide additional insights and ideas to elevate your cooking skills.
For more delicious recipes, check out our Easy Chicken Recipes and Quick Dinner Solutions. These sections offer a variety of options to suit any taste or occasion.
Conclusion
The braised chicken breast recipe is more than just a meal; it’s a journey through flavors and memories. With its tender texture and savory sauce, this Braised Chicken Breast Recipe dish is a testament to the power of simple, well-executed cooking techniques. By following these steps, you’ll create a dish that not only satisfies the palate but also evokes cherished memories. Embrace the joy of cooking, and let this recipe become a staple in your culinary repertoire.
For more culinary inspiration and to expand your cooking horizons, visit SousVideRecipe.com, where you’ll find a wealth of recipes and tips. Dive into the world of flavorful creations and discover the magic of cooking with precision.
