
📑 Table of Contents ▶
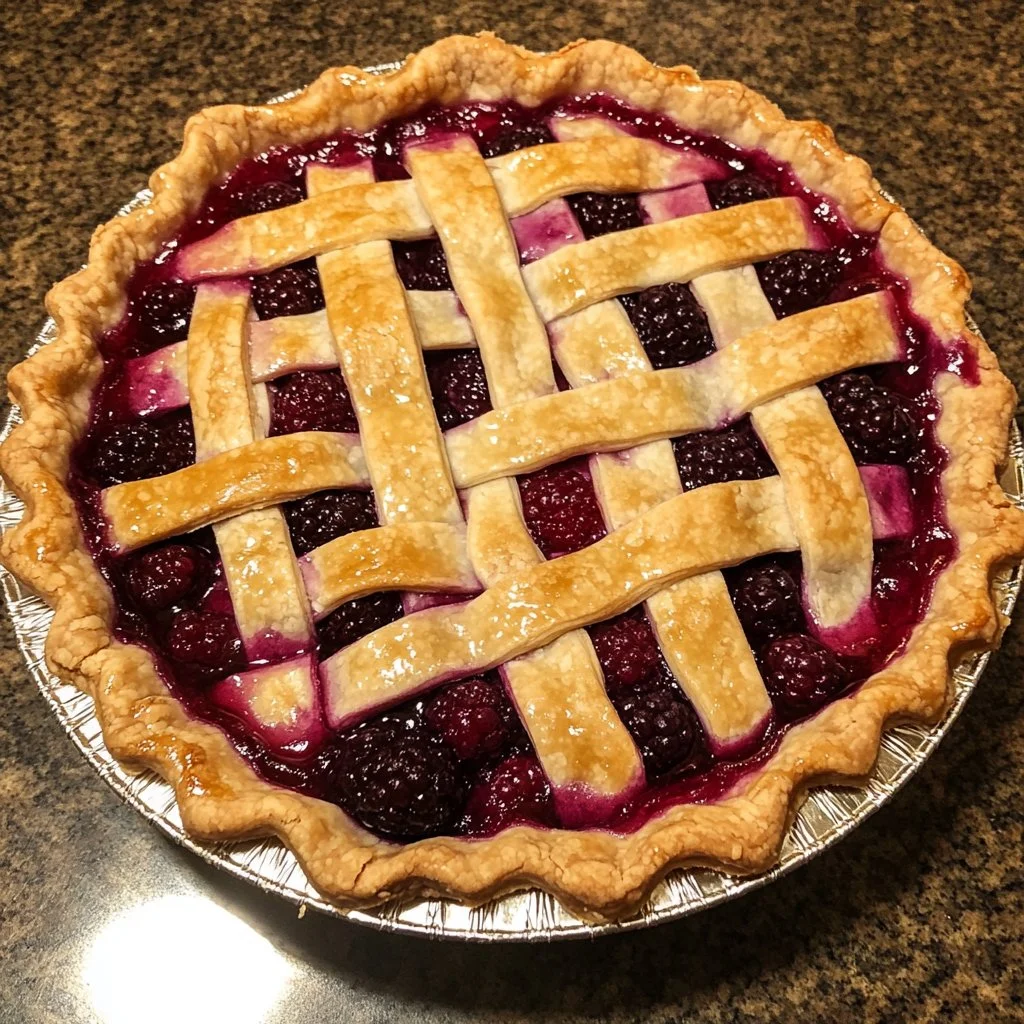
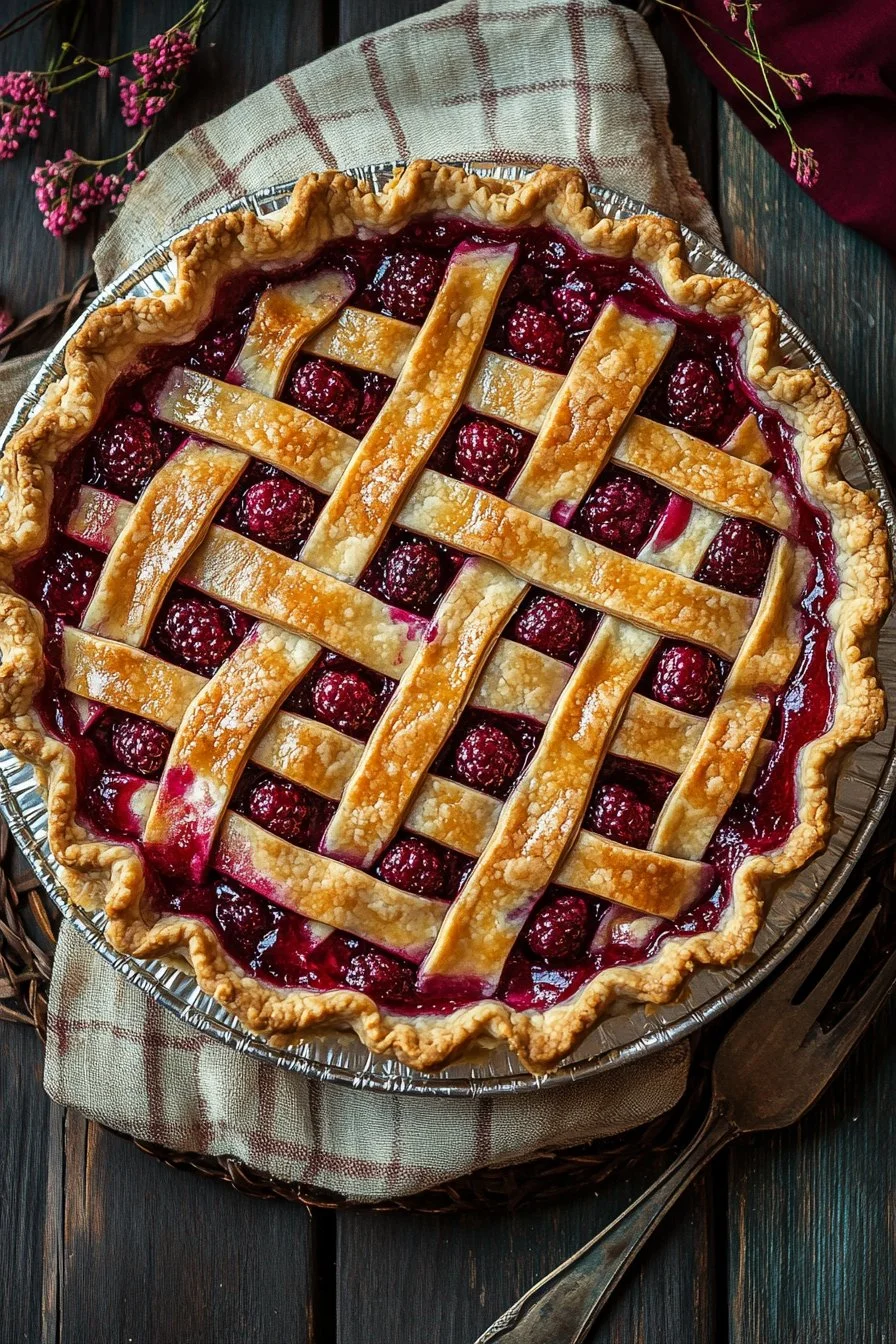
Homemade Razzleberry Pie Recipe
Razzleberry pie has a way of transforming any gathering into a celebration. The vibrant colors of fresh raspberries and blackberries coupled with the flaky, buttery crust create an irresistible dessert that invites smiles all around. One crisp autumn afternoon, my family gathered in the kitchen, the sweet aroma of soft berries and bubbling sugar filling the air. As we shared stories while preparing the pie, laughter echoed, and the kitchen felt alive.
That day, I discovered the magic of homemade razzleberry pie. The blend of tart raspberries and sweet blackberries swirled together makes every bite memorable. This pie, rich in flavor and nostalgia, has since become a staple at family gatherings, birthday celebrations, and even quiet evenings on the porch.
Crafting a razzleberry pie isn’t just about following a recipe. It’s a chance to bond with loved ones, create delicious memories, and enjoy the beauty of simple ingredients transforming into something extraordinary. This homemade razzleberry pie recipe celebrates those moments, bringing joy to your table with every slice.
The Magic of Razzleberry Pie
Fundamentals
Creating the perfect razzleberry pie starts with understanding the fundamentals of pie crust. This essential component sets the stage for the flavor explosion that follows. Achieving that flaky texture requires the right balance of ingredients and technique.
Using chilled vegetable shortening and salted butter produces a crust that’s rich and tender. The chilled fats cut into the flour easily, creating those lovely layers that deliver that signature flaky bite. Maintaining a cool environment as you work prevents the fats from melting too soon, ensuring optimal texture.
Preparation/Setup
Before diving into baking, preparation is key. Begin by gathering all necessary ingredients and tools. You’ll need a mixing bowl, pie dish, pastry cutter or fork, and measuring cups. Setting up your workstation helps streamline the process.
Clear some counter space and line up the ingredients: unbleached all-purpose flour, granulated sugar, salt, vegetable shortening, chilled butter, and ice water. Ensure your butter and shortening remain cold, which is vital for a flakier crust.
Ingredients
For the pie crust:
- 2 1/2 cups unbleached all-purpose flour (+ extra for the work surface)
- 2 Tablespoons granulated sugar
- 1 teaspoon table salt
- 1/2 cup vegetable shortening (chilled)
- 12 Tablespoons salted butter (cut into 1/4-inch pieces and chilled)
- 6-8 Tablespoons ice water
For the filling:
- 3 cups raspberries (fresh or frozen)
- 3 cups blackberries (fresh or frozen)
- 1 cup granulated sugar
- 4 Tablespoons cornstarch
- 1 teaspoon lemon juice
- 1 egg (lightly beaten)
- Sugar (for sprinkling)
Directions
-
Prepare the crust: In a bowl, combine the flour, sugar, and salt. Add the chilled vegetable shortening and butter. Use a pastry cutter or fork to blend until the mixture resembles coarse crumbs. Gradually add ice water, 1 tablespoon at a time, mixing until the dough forms.
-
Chill the crust: Divide the dough in half. Flatten each half into a disc, wrap in plastic wrap, and refrigerate for at least one hour.
-
Make the filling: In a separate bowl, gently toss together the raspberries, blackberries, sugar, cornstarch, and lemon juice. Allow the mixture to sit for about 15 minutes.
-
Preheat the oven: Preheat your oven to 425°F (220°C).
-
Roll the dough: On a floured surface, roll out one disc of chilled dough to fit your pie dish. Place it in the pie dish and fill it with the berry mixture.
-
Top the pie: Roll out the second disc of dough and gently place it over the filling. Trim and crimp the edges, then cut slits to create vents.
-
Finish with egg wash: Brush the top with the lightly beaten egg and sprinkle sugar over it.
-
Bake: Place the pie on a baking sheet and bake for 20 minutes. Reduce the temperature to 350°F (175°C) and bake for an additional 30-35 minutes, or until the crust is golden and the filling is bubbly.
-
Cool: Allow the pie to cool completely before serving.
Techniques for the Best Razzleberry Pie
Technique
Achieving perfection with your razzleberry pie hinges on mastering a few techniques. First, ensure your butter and shortening remain thoroughly chilled as you prepare the crust. Warm fats will make the crust tough, robbing it of its flaky, melt-in-your-mouth texture.
When rolling out the dough, sprinkle flour on your work surface to prevent sticking. Use a light touch and gently roll from the center outward. This approach maintains the structure of the dough while ensuring an even thickness.
Tips and Tricks
-
Chill everything: Keep all your ingredients chilled until you’re ready to use them. This keeps your crust flaky.
-
Don’t overwork the dough: Mix just until combined to avoid toughening the crust.
-
Let the filling rest: Allowing the berry mixture to sit helps release juices, intensifying the flavor and ensuring an even spread throughout the pie.
-
Use a baking sheet: Place your pie on a baking sheet while it bakes. This catches any drips and saves you from a mess in the oven.
Perfecting Razzleberry Pie
Perfecting Results
To perfect your razzleberry pie, focus on precision. Measuring ingredients accurately ensures consistent results each time you bake. For the best texture, consider weighing your flour instead of using measuring cups. A standard cup of flour can vary significantly in weight based on how it’s scooped.
Experiment with the ratios of raspberries to blackberries. Adjusting the sweetness by modifying the sugar can also help balance the tartness of the berries, tailoring the pie to suit your preferences.
Troubleshooting and Variations
If you encounter a soggy crust, consider pre-baking the crust slightly before adding the filling. This creates a barrier that helps maintain crispness.
Should the filling bubble over, using a pie shield can prevent over-browning of the edges while allowing the filling to cook thoroughly.
Variations abound! Experiment with additional spices like cinnamon or nutmeg for a flavor twist. Adding a touch of almond extract to the berry filling will also create depth, enhancing the overall profile of your razzleberry pie.
Serving Your Razzleberry Pie Right
Serving and Presentation
Presentation elevates your homemade razzleberry pie. Slice it into generous wedges and serve warm or at room temperature. Pair it with a scoop of vanilla ice cream or a dollop of whipped cream for an added touch of indulgence. Fresh mint leaves placed on top can provide a lovely pop of color.
If you have extra berries on hand, use them to create a vibrant fruit garnish on the plate.
Pairings and Storage
This delicious pie pairs wonderfully with various beverages. Enjoy it alongside a cup of coffee or tea for a delightful afternoon treat. For a light touch, serve with sparkling water or freshly squeezed lemonade.
Proper storage is essential for maintaining the pie’s freshness. Keep the pie covered at room temperature for up to two days. For longer storage, place it in the refrigerator, where it can last for up to a week. Alternatively, you can freeze the pie, covering it tightly with plastic wrap and aluminum foil. It will maintain its quality for up to three months, allowing you to savor your homemade razzleberry pie at a later date.
Embrace the joy of making this homemade razzleberry pie, where each slice is an invitation to gather, share, and create cherished memories.
Print
Homemade Razzleberry Pie
- Prep Time: 60 minutes
- Cook Time: 50 minutes
- Total Time: 110 minutes
- Yield: 8 servings
- Category: Dessert
- Method: Baking
- Cuisine: American
- Diet: Vegetarian
Description
A delightful homemade razzleberry pie made with fresh raspberries and blackberries, featuring a flaky, buttery crust.
Ingredients
- 2 1/2 cups unbleached all-purpose flour (+ extra for the work surface)
- 2 tablespoons granulated sugar
- 1 teaspoon table salt
- 1/2 cup vegetable shortening (chilled)
- 12 tablespoons salted butter (cut into 1/4-inch pieces and chilled)
- 6-8 tablespoons ice water
- 3 cups raspberries (fresh or frozen)
- 3 cups blackberries (fresh or frozen)
- 1 cup granulated sugar
- 4 tablespoons cornstarch
- 1 teaspoon lemon juice
- 1 egg (lightly beaten)
- Sugar (for sprinkling)
Instructions
- Prepare the crust: In a bowl, combine the flour, sugar, and salt. Add the chilled vegetable shortening and butter. Use a pastry cutter or fork to blend until the mixture resembles coarse crumbs. Gradually add ice water, 1 tablespoon at a time, mixing until the dough forms.
- Chill the crust: Divide the dough in half. Flatten each half into a disc, wrap in plastic wrap, and refrigerate for at least one hour.
- Make the filling: In a separate bowl, gently toss together the raspberries, blackberries, sugar, cornstarch, and lemon juice. Allow the mixture to sit for about 15 minutes.
- Preheat the oven: Preheat your oven to 425°F (220°C).
- Roll the dough: On a floured surface, roll out one disc of chilled dough to fit your pie dish. Place it in the pie dish and fill it with the berry mixture.
- Top the pie: Roll out the second disc of dough and gently place it over the filling. Trim and crimp the edges, then cut slits to create vents.
- Finish with egg wash: Brush the top with the lightly beaten egg and sprinkle sugar over it.
- Bake: Place the pie on a baking sheet and bake for 20 minutes. Reduce the temperature to 350°F (175°C) and bake for an additional 30-35 minutes, or until the crust is golden and the filling is bubbly.
- Cool: Allow the pie to cool completely before serving.
Notes
Chill all ingredients before use for a flakier crust. Adjust sweetness by modifying sugar based on your taste preference.
