
📑 Table of Contents ▶
How to Make an Easy Sourdough Loaf (Step by Step)
The first time I tackled sourdough, I felt part scientist, part artist. My kitchen became a transformation zone, as flour, water, and a bubbling starter blended into something magical. Watching the dough rise felt like witnessing a miracle unfold. The incredible aroma that filled the room made every moment worthwhile.
Crafting an easy sourdough loaf embodies patience and passion. With each step, you immerse yourself in the process. This journey teaches the beauty of simplicity and the joy of nurturing something from scratch. For me, each loaf becomes a conversation starter, a centerpiece at gatherings, and a comfort on quiet evenings. What began as a challenge sparked an ongoing love affair with sourdough.
In this guide, we’ll dive into crafting your own easy sourdough loaf. You’ll explore the fundamentals, techniques, and tips to help you create that perfect crust and delightful interior. Let’s embark on this sourdough adventure.
Understanding Sourdough Bread
Fundamentals
To grasp the concept of sourdough, one must understand its minimalistic nature. Sourdough bread relies on just four key ingredients: flour, water, salt, and a lively starter. This simplicity is its strength. Bread-making becomes a dance between ingredients, time, and technique.
Your active starter is a powerhouse of flavor and fermentation. It’s a blend of wild yeasts and bacteria that create the bread’s characteristic tang and texture. Flour provides the structure, while water hydrates the mixture and activates the gluten. Salt enhances flavor and controls fermentation, ensuring balance in the final product.
Preparation/Setup
Before diving into the bread-making process, gather your ingredients and tools. You need a large glass bowl for mixing, a floured surface for shaping, and a Dutch oven for baking. Measure out 125 grams of active starter, 325 grams of room temperature filtered or bottled water, 500 grams of flour, and 10 grams of salt.
Getting your workspace organized will streamline the process. Set aside a few hours for the dough to ferment, rise, and bake. Plan around the temperature of your kitchen, as it affects rising times. Warm environments speed things up, while cooler spaces slow down the fermentation.
Ingredients
- 125 grams (or 1 cup) of active starter
- 325 grams (or 1 1/4 cup) of room temperature filtered or bottled water
- 500 grams (or 4 cups) of flour
- 10 grams (or 2 tsp) of salt
These four ingredients unite to create a loaf bursting with flavor. The star of this show is the active starter, your fermentation agent. When used properly, it elevates the bread to new heights of deliciousness.
Directions
- In a large glass bowl, mix the flour and water until a sticky dough forms. Cover with bowl cover, plastic wrap, or a wet towel. Let it rest for one hour.
- Add the active starter and salt to the dough. Mix with wet hands until fully combined. The dough will appear shaggy.
- Cover the bowl and allow the dough to rest for another hour.
- Perform four sets of stretch and folds, spaced 30 minutes apart. This builds the dough’s strength.
- Cover the bowl and let the dough sit on the counter until it doubles in size. This timing varies with home temperature, sometimes taking several hours.
- Once doubled, turn the dough onto a floured surface (rice flour is ideal). Shape it into a ball using the push-and-pull technique.
- Place the dough into a floured banneton or a bowl lined with a floured tea towel, seam-side up. Optional: Cover and refrigerate overnight or proceed to baking.
- Preheat your Dutch oven to 475°F (245°C).
- Flip the dough onto parchment paper or a dough sling and sprinkle the top with rice flour.
- Use a lame to score the top of the dough.
- Place the dough in the preheated Dutch oven, cover it with the lid, and bake for 30 minutes.
- After 30 minutes, remove the lid and reduce the temperature to 425°F (220°C). Bake for an additional 20 minutes. The bread should reach an internal temperature of at least 200°F (93°C).
- Let the loaf cool for at least 2 hours before slicing. Enjoy the beauty of your creation!
Mastering Sourdough Techniques
Technique
Successful sourdough baking hinges on mastering a few key techniques. The initial mixing and subsequent stretch and folds develop gluten, creating structure. When shaping the dough, be gentle yet firm. The push-and-pull method helps maintain the dough’s gas bubbles, crucial for that airy crumb.
Another vital technique is proper scoring. It controls the dough’s expansion during baking. A sharp lame creates a clean cut that allows the loaf to rise beautifully. Practice makes perfect, and you’ll soon develop your signature scoring style.
Tips and Tricks
-
Hydration Level: Adjust flour and water quantities for the desired hydration. Adding less water creates a firmer dough, while more water can lead to a wetter, more open crumb.
-
Temperature: If your dough is not rising, consider its environment. Warmer temperatures accelerate fermentation, while cooler spaces slow it down. Use this to your advantage!
-
Overnight Refrigeration: If time is short, let your shaped dough rest in the fridge overnight. This slow fermentation enhances flavor and eases baking the next day.
-
Practice Patience: Sourdough baking takes patience. Allow the gluten to develop through folding and resting. Trust the process!
Perfecting Your Sourdough Results
Perfecting Results
Perfecting your sourdough loaf takes time and practice. Each loaf is a learning opportunity, revealing the effects of temperature, hydration, and timing. Don’t be afraid to experiment. Adjust your process based on what works best in your kitchen.
Consistency is key. Take notes on each bake and identify what leads to your preferred flavor and texture. As you uncover what makes your loaf shine, you establish a baking routine.
Troubleshooting/Variations
Not every loaf will turn out as expected, and that’s okay! If your bread does not rise well, double-check the activity of your starter. An inactive starter leads to lackluster loaves. Always refresh it before baking.
For variations, consider incorporating seeds, herbs, or spices. These additions can elevate your sourdough loaf, adding unique flavors and textures. Play with inclusions to make each loaf a delightful surprise.
Serving Your Sourdough
Serving and Presentation
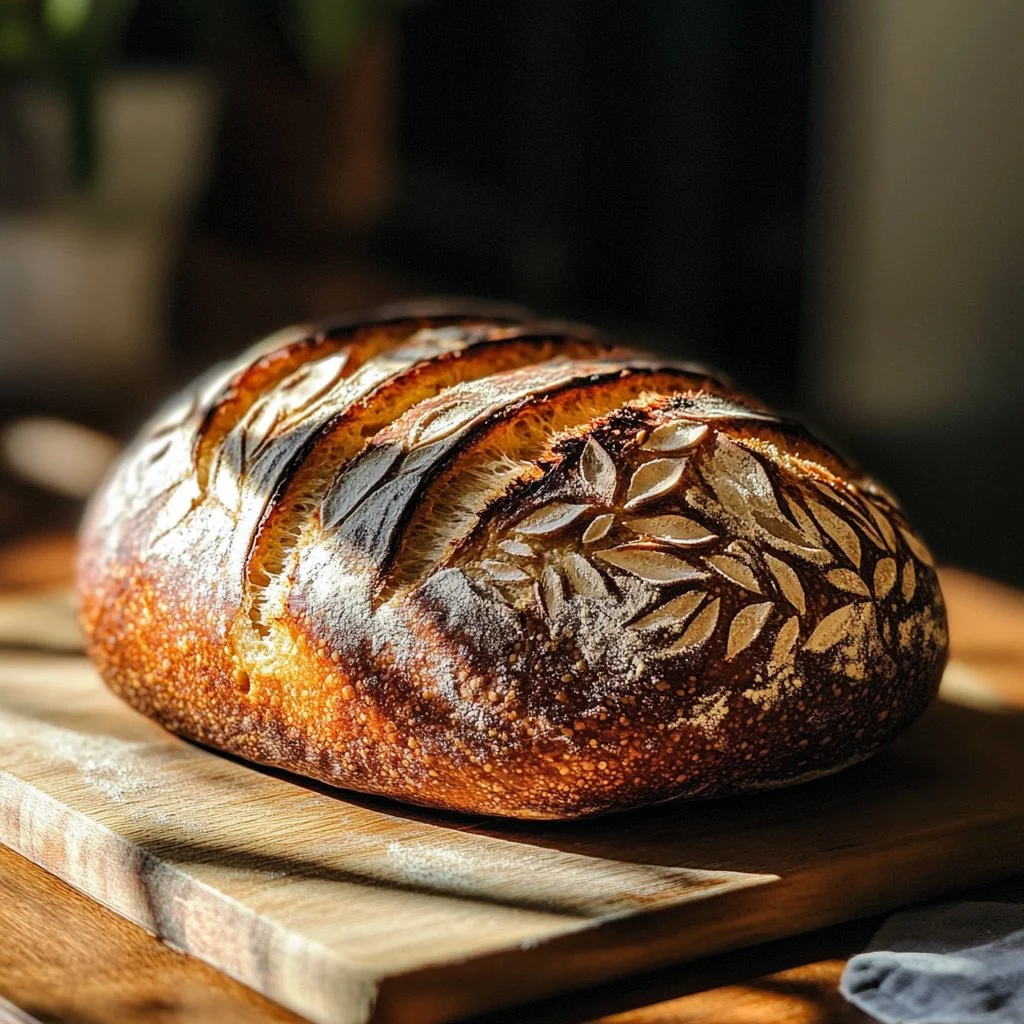
Once cooled, your sourdough loaf is ready for serving. Slicing it reveals the beautiful crumb structure and crust you worked hard to achieve. It’s best served fresh but can easily complement meals or standalone as a snack.
Create a stunning display by pairing slices with butter, cheese, or spreads. A rustic wooden board creates an inviting presentation, showcasing your beautiful loaf among accompaniments.
Pairings and Storage
Enjoy your sourdough on its own or alongside a spread. It also pairs well with hearty soups and salads, bringing a satisfying crunch to each bite. Store any leftover bread in a paper bag or a bread box to maintain its crust.
If you anticipate not consuming the loaf within a few days, slice and freeze it. This way, you can enjoy fresh toasted slices later. Let the loaf cool completely before freezing to preserve its texture.
Conclusion
The journey of making an easy sourdough loaf empowers and delights. With a few ingredients and some patience, anyone can create a nourishing bread that enriches their table. As you explore the fundamentals, techniques, and serving suggestions, embrace the joy of this age-old craft. Each loaf tells a story of simplicity, flavor, and connection.
Print
Easy Sourdough Loaf
- Prep Time: 120 minutes
- Cook Time: 50 minutes
- Total Time: 170 minutes
- Yield: 1 loaf
- Category: Baking
- Method: Baking
- Cuisine: Bread
- Diet: Vegetarian
Description
A simple guide to crafting a delicious and airy sourdough loaf using just four key ingredients.
Ingredients
- 125 grams (1 cup) of active starter
- 325 grams (1 1/4 cup) of room temperature filtered or bottled water
- 500 grams (4 cups) of flour
- 10 grams (2 tsp) of salt
Instructions
- In a large glass bowl, mix the flour and water until a sticky dough forms. Cover and let it rest for one hour.
- Add the active starter and salt to the dough. Mix until fully combined.
- Cover the bowl and let the dough rest for another hour.
- Perform four sets of stretch and folds, spaced 30 minutes apart.
- Cover the bowl and let the dough rise until doubled in size.
- Turn the dough onto a floured surface and shape it into a ball.
- Place the dough into a floured banneton or a bowl lined with a floured tea towel. Optionally, refrigerate overnight.
- Preheat your Dutch oven to 475°F (245°C).
- Flip the dough onto parchment paper and score the top.
- Place the dough in the preheated Dutch oven, cover it, and bake for 30 minutes.
- Remove the lid, reduce the temperature to 425°F (220°C), and bake for an additional 20 minutes.
- Let the loaf cool for at least 2 hours before slicing.
Notes
Experiment with hydration levels and temperatures, and don’t hesitate to incorporate seeds or herbs for variations.
