

📑 Table of Contents ▶
My Favorite Easy Sandwich Bread
There’s nothing quite like walking into a kitchen that smells of freshly baked bread. The warm, comforting scent instantly transforms the room into a cozy haven. My favorite easy sandwich bread recipe has become a staple in my home, invoking fond memories of family gatherings and simple Sunday lunches.
Every bite of this homemade bread carries with it a sense of nostalgia, as it brings back moments spent around the table. Whether it’s a classic peanut butter and jelly or a hearty turkey club, this bread serves as the perfect foundation for any sandwich you can dream up.
This recipe complements winter evenings with homemade soup or summer afternoons with grilled cheese. The versatility of this bread makes it an essential part of my kitchen repertoire. With just a few basic ingredients, you can create a loaf that is soft, slightly chewy, and delicious. Embracing the process of bread-making allows anyone to add a touch of homemade goodness to their meals.
Easy Sandwich Bread Basics
Fundamentals
Easy sandwich bread stands out for its straightforward preparation and delightful taste. The combination of water, yeast, sugar, flour, salt, and butter works harmoniously to create a smooth, elastic dough. This dough rises beautifully, resulting in a loaf that’s airy yet substantial enough to hold plenty of fillings.
The magic lies in the fermentation process. As yeast ferments and produces gas, it creates bubbles in the dough, leading to that light, fluffy texture we love. Mastering the basics of this bread-making technique opens a world of possibilities, from classic sandwiches to flavorful toast.
Understanding the fundamentals of easy sandwich bread also involves recognizing the role of each ingredient. Yeast acts as the leavening agent, while flour provides the structure. Sugar feeds the yeast, and salt enhances flavor. Butter contributes moisture and richness. Together, these ingredients form the foundation of a perfect loaf.
Preparation/setup
Preparing easy sandwich bread begins with gathering all the essential ingredients. Begin with lukewarm water, ensuring it’s neither too hot nor too cold, to activate the yeast effectively. Next, combine the yeast and sugar in a bowl with the water and wait for it to froth. This step is crucial, as it shows that the yeast is alive and ready to work its magic.
Once the yeast mixture is frothy, add flour, salt, and softened butter to your mixing bowl. If you’re using a stand mixer, fit it with the dough hook and start mixing at low speed. A hand mixer or by hand can also work if you prefer a more traditional approach. Knead the dough until it forms a slightly sticky but smooth texture. Completion of this step sets the stage for a beautifully risen loaf.
After kneading, transfer the dough to a greased bowl, cover it with a damp cloth, and set it aside in a draft-free area to rise. A warm spot helps the dough to double in size, creating a deliciously airy loaf that is perfect for sandwiches.
Ingredients
To make this easy sandwich bread, you will need the following ingredients:
- 3/4 cup lukewarm water
- 1 1/4 teaspoons dried active yeast
- 1.5 teaspoons sugar
- 2 3/4 cups all-purpose flour
- 1 teaspoon salt
- 3 tablespoons softened butter
Each ingredient serves its purpose, working together to produce a memorable loaf of bread.
Directions
- In a small bowl, combine the lukewarm water, yeast, and sugar.
- Stir the mixture and let it sit in a draft-free place for 5-10 minutes until it becomes frothy.
- In a large bowl or stand mixer, mix together the flour, salt, and the yeast mixture.
- Knead the dough at low speed for 2-3 minutes, then switch to medium speed for 8-9 minutes until you have a smooth, slightly sticky dough.
- Transfer the dough into a lightly greased bowl. Cover it with a damp kitchen towel and allow it to rise for about 1.5 hours or until it has doubled in size.
- Gently take the dough out of the bowl on a work surface and degas it while shaping it into a rough rectangle (around 12" x 8").
- Fold the top third of the rectangle over the bottom and then fold the bottom third to create layers.
- Roll out the dough into a larger rectangle, approximately 16" x 8".
- Roll the dough tightly and crimp the edges to seal securely.
- Place the shaped dough in a lightly greased 8" x 4" loaf pan.
- Cover once more with a damp kitchen towel and let it rise for 35-45 minutes until puffy.
- While the dough rises, preheat your oven to 250 C.
- Bake the risen loaf at 180 C for 30-35 minutes, until the top turns golden brown and sounds hollow when tapped.
- Allow the bread to cool for 2-3 hours before slicing.
Mastering Easy Sandwich Bread
Technique
Mastering the technique of making easy sandwich bread requires a few essential skills. Proper kneading plays a crucial role in developing gluten, which gives the dough its strength and structure. Knead the dough until it becomes elastic; this creates the perfect texture for sandwiches.
In addition to kneading, shaping the dough correctly ensures even rising. After the initial rise, degassing the dough gently is key to preventing large air pockets. By folding and rolling the dough, you create layers essential for a great rise.
Another important technique lies in the bread’s final rise. Covering the loaf with a damp towel helps retain moisture while it puffs up. This step is vital; a well-risen loaf bakes more evenly and has a better texture.
Tips/Tricks
A few tips can elevate your bread-making experience. First, pay attention to moisture levels; slightly wetter doughs yield softer loaves. If your dough feels too dry, adding a splash of lukewarm water can help.
Feel free to experiment with different flours, such as whole wheat or bread flour, to add more flavor and nutrition to your easy sandwich bread. Keep in mind that while using alternative flours may alter texture, adjusting the hydration helps maintain the dough’s ideal consistency.
Another trick is to create a steam effect while baking. Slightly open your oven during the first 10 minutes of baking to allow steam to escape. This technique enhances crust development, providing extra texture to the loaf.
Perfecting Your Easy Sandwich Bread
Perfecting results
Achieving consistent results in easy sandwich bread requires practice. Don’t be discouraged if your first loaf doesn’t turn out perfectly; respond by adjusting kneading times or fermentation periods in future batches.
Using a kitchen thermometer can help with accuracy. A fully baked loaf should reach an internal temperature of around 90 C. When it sounds hollow when tapped on the bottom, that’s another sign of doneness.
Also, let the bread cool completely before slicing. Cutting too soon allows steam to escape, leading to a denser texture. Waiting enhances the overall crumb structure.
Troubleshooting/variations
If your bread doesn’t rise, it may result from inactive yeast. Always check the expiration date before use, and ensure the water temperature is lukewarm. If your dough is too sticky, gradually sprinkle in a little more flour while kneading.
You can also customize the flavor of your easy sandwich bread. Adding herbs, spices, or seeds allows for a touch of personal flair. Just ensure to maintain the proportions outlined in the recipe for the best results.
Serving and Storage
Serving/presentation
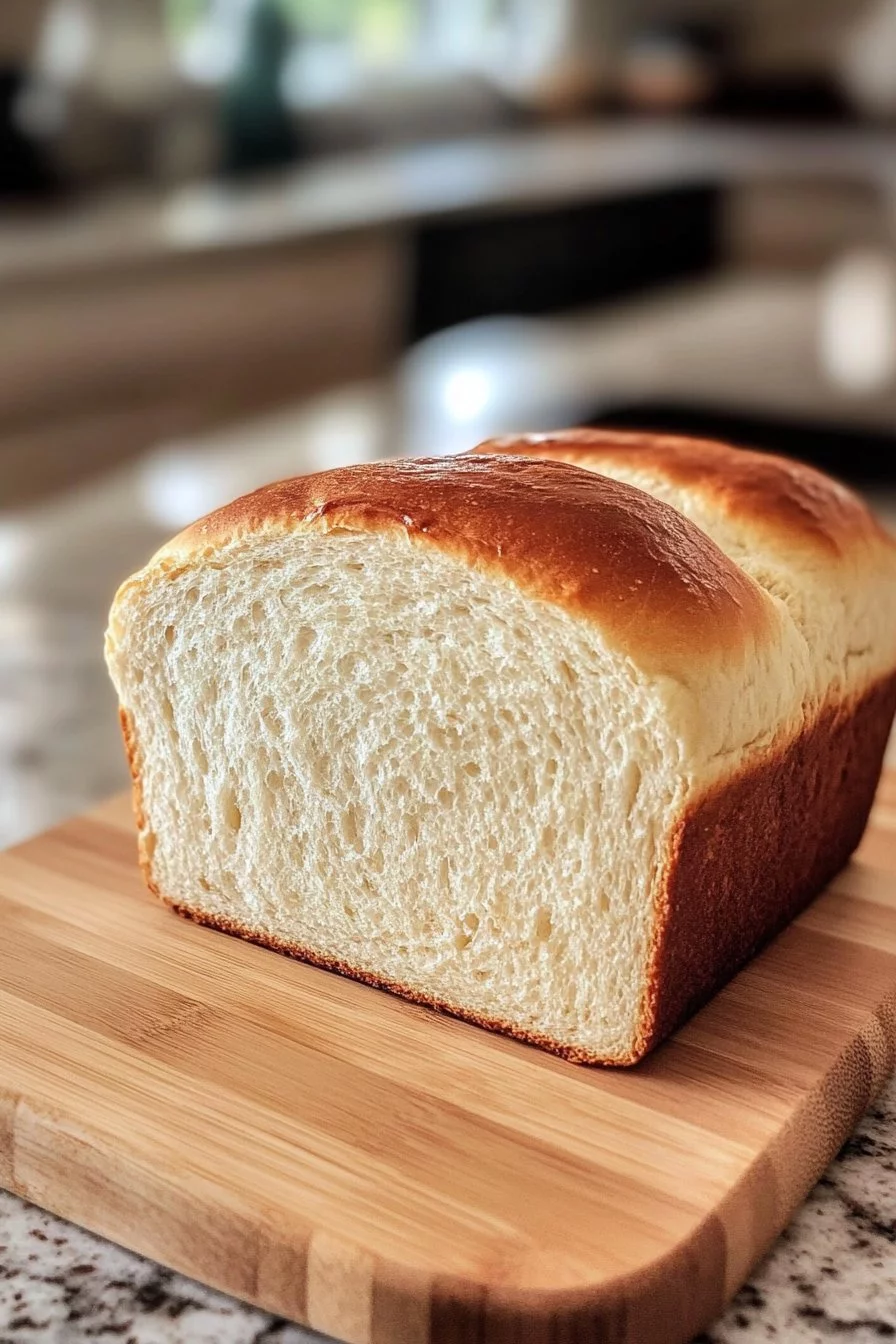
Slicing your freshly baked easy sandwich bread presents a beautiful golden loaf ready to embrace your favorite fillings. The soft interior makes it perfect for all types of sandwiches. Arrange the slices on a rustic wooden board for an inviting display that showcases your homemade creation.
Consider serving with a variety of spreads and toppings to please everyone’s palate. Homemade butter, creamy avocado, or fresh greens offer delightful complements. This bread can effortlessly transition from a simple sandwich to a gourmet experience.
Pairings/storage
Storing your easy sandwich bread properly ensures it stays fresh for days. After cooling completely, wrap the loaf in plastic wrap or aluminum foil, or place it in a sealed container.
For extended storage, consider freezing slices for later use. Thaw them at room temperature and toast for added texture. You can also revive stale slices in the oven for a bit, making them pleasantly warm again.
With proper storage, you’ll find that it’s hard to resist reaching for just one more slice of your favorite easy sandwich bread.
The allure of homemade bread resonates deeply, blending taste and nostalgia into unforgettable meals. As this simple loaf finds its way into countless sandwiches, it becomes a cherished part of everyday life.
Print
My Favorite Easy Sandwich Bread
- Prep Time: 15 minutes
- Cook Time: 30 minutes
- Total Time: 105 minutes
- Yield: 1 loaf
- Category: Baking
- Method: Baking
- Cuisine: American
- Diet: Vegetarian
Description
A simple and delicious homemade sandwich bread that is soft and perfect for various fillings.
Ingredients
- 3/4 cup lukewarm water
- 1 1/4 teaspoons dried active yeast
- 1.5 teaspoons sugar
- 2 3/4 cups all-purpose flour
- 1 teaspoon salt
- 3 tablespoons softened butter
Instructions
- In a small bowl, combine the lukewarm water, yeast, and sugar.
- Stir the mixture and let it sit in a draft-free place for 5-10 minutes until it becomes frothy.
- In a large bowl or stand mixer, mix together the flour, salt, and the yeast mixture.
- Knead the dough at low speed for 2-3 minutes, then switch to medium speed for 8-9 minutes until you have a smooth, slightly sticky dough.
- Transfer the dough into a lightly greased bowl. Cover it with a damp kitchen towel and allow it to rise for about 90 minutes or until it has doubled in size.
- Gently take the dough out of the bowl on a work surface and degas it while shaping it into a rough rectangle (around 12″ x 8″).
- Fold the top third of the rectangle over the bottom and then fold the bottom third to create layers.
- Roll out the dough into a larger rectangle, approximately 16″ x 8″.
- Roll the dough tightly and crimp the edges to seal securely.
- Place the shaped dough in a lightly greased 8″ x 4″ loaf pan.
- Cover once more with a damp kitchen towel and let it rise for 35-45 minutes until puffy.
- While the dough rises, preheat your oven to 250°C.
- Bake the risen loaf at 180°C for 30-35 minutes, until the top turns golden brown and sounds hollow when tapped.
- Allow the bread to cool for 2-3 hours before slicing.
Notes
For best results, let the bread cool completely before slicing to maintain its structure.
