
📑 Table of Contents ▶
- Understanding Easy Small Batch Ciabatta Rolls
- Fundamentals
- Preparation/setup
- Directions
- Elevating Easy Small Batch Ciabatta Rolls
- Technique
- Tips/tricks
- Perfecting Your Easy Small Batch Ciabatta Rolls
- Perfecting results
- Troubleshooting/variations
- Serving Your Easy Small Batch Ciabatta Rolls
- Serving/presentation
- Pairings/storage
Easy Small Batch Ciabatta Rolls
Freshly baked bread fills the kitchen with an irresistible aroma that instantly evokes warmth and comfort. Growing up, I cherished sniffing the air as a batch of ciabatta rolls transformed flour and water into magic. Now, making these Easy Small Batch Ciabatta Rolls brings back those cherished memories and adds a touch of rustic charm to any meal.
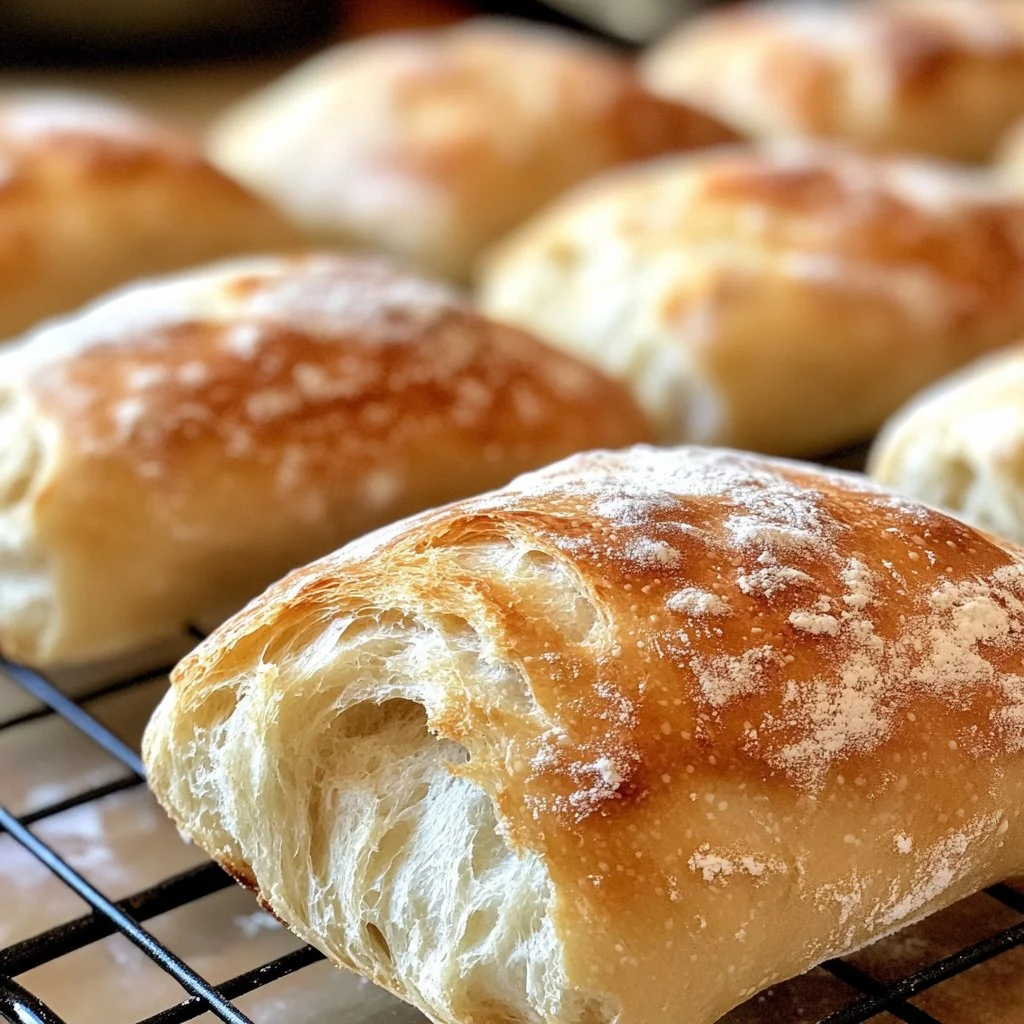
This recipe requires only a few basic ingredients: all-purpose flour, instant yeast, salt, and warm water. The simplicity allows for an enjoyable baking experience without overwhelming you. Picture this: you’re rolling fluffy dough between your fingers, preparing to shape them into perfect little rounds that will soon emerge from the oven with a golden crust. The satisfaction grows with each step, leading to an unforgettable culinary reward.
Baking these ciabatta rolls doesn’t just make a delightful addition to your dining table; they also provide a source of joy and connection. Serve them warm, and you might just create new memories around the dinner table with your loved ones.
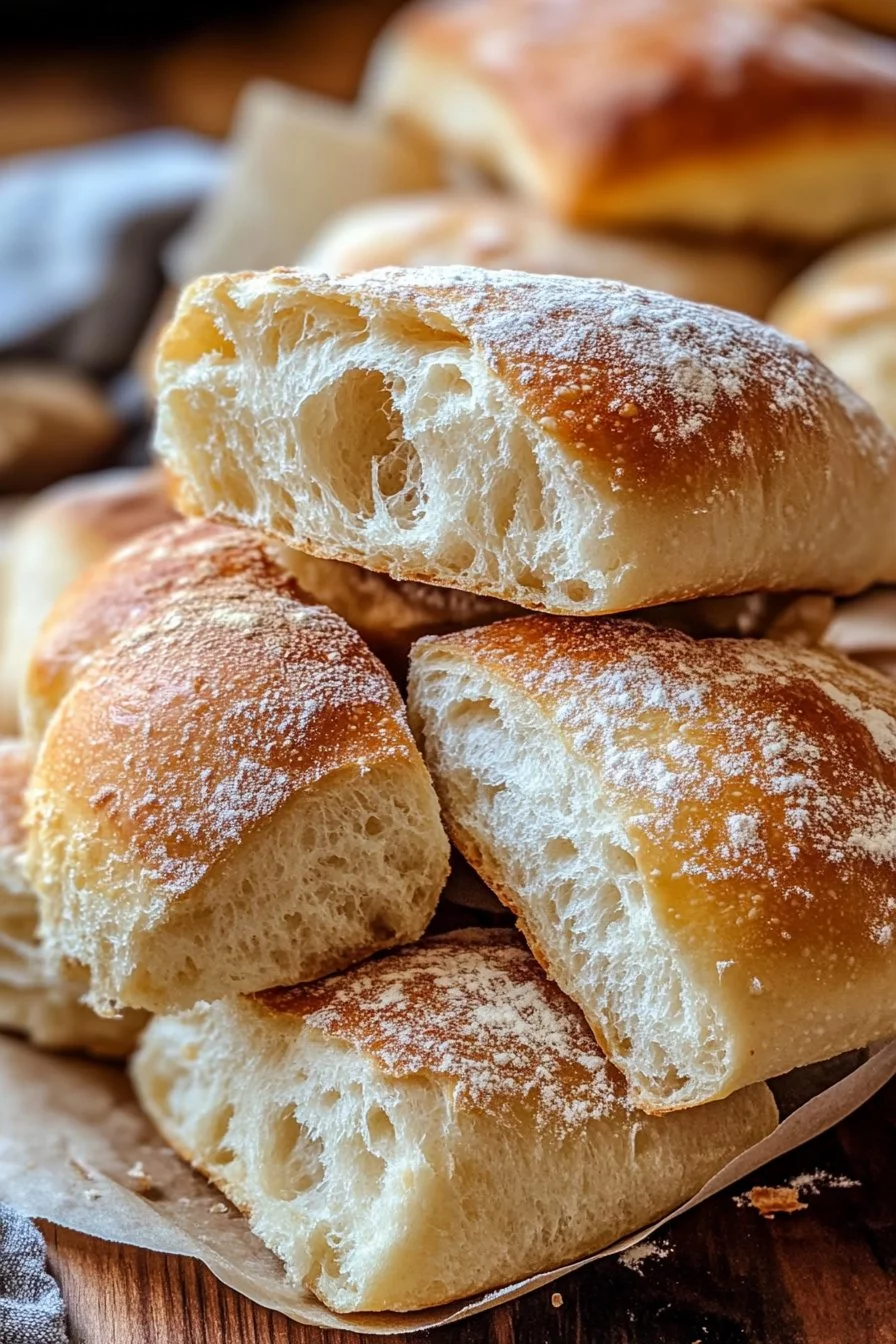
The magic of ciabatta rolls lies in their hard, crunchy exterior and soft, airy interior, perfectly complementing soups or salads. As an everyday side, they elevate the simplest meals into something special. Embrace this Easy Small Batch Ciabatta Rolls recipe and let it take you back to those comforting moments, weaving deliciousness into your everyday life.
Understanding Easy Small Batch Ciabatta Rolls
Fundamentals
Ciabatta, meaning "slipper" in Italian, is popular for its rustic look and texture. The essence of ciabatta lies in its unique dough preparation. This recipe requires minimal equipment: just a large mixing bowl and a floured surface. By focusing on the fundamentals of ciabatta dough, you create a delightful base for the rolls.
Using simple ingredients transforms a few staples into something extraordinary. Combining all-purpose flour, instant yeast, and salt creates a foundation for this beloved Italian bread. The warm water activates the yeast, allowing it to ferment and develop flavor during the resting period.
Preparation/setup
Preparation involves a few straightforward steps. Start by measuring out the key ingredients precisely. Freshness is crucial for the yeast; using instant yeast ensures a quick rise. If you haven’t used it before, the consistency will feel different from active dry yeast, making it easier to incorporate into the flour mix.
In a large mixing bowl, combine the flour, instant yeast, and salt. This process incorporates the dry ingredients seamlessly, offering an essential foundation for your dough.
Ingredients
- 2 cups all-purpose flour
- 1 teaspoon instant yeast
- 1 teaspoon salt
- 1 cup warm water
Directions
- In a large mixing bowl, combine the flour, instant yeast, and salt.
- Gradually add warm water and stir until a sticky dough forms.
- Cover the bowl with plastic wrap and let it rest for about 2 hours at room temperature.
- Preheat your oven to 450°F (230°C) and place a baking stone or a baking sheet inside.
- Gently turn the dough onto a floured surface and shape it into rolls.
- Let the rolls rest for 30 minutes while the oven heats.
- Transfer the rolls to the preheated baking surface.
- Bake for 15-20 minutes until golden and crusty.
- Allow to cool on a wire rack before serving.
Elevating Easy Small Batch Ciabatta Rolls
Technique
Mastering the technique of handling ciabatta dough can feel daunting. This dough is wetter than typical bread dough, which is part of what gives it that delightful chewy texture. Expect a sticky sensation when mixing, but don’t worry; that’s a sign of your ciabatta developing character.
To create a perfect ciabatta roll shape, turn the dough onto a lightly floured surface. With floured hands, gently stretch and fold the dough rather than kneading it aggressively. This process preserves the air bubbles, leading to a light and airy interior once baked.
Tips/tricks
A few simple tricks can enhance your ciabatta-making adventure. It helps to ensure your water is warm but not too hot; temperatures between 100°F and 110°F activate the yeast effectively. Consider using a kitchen thermometer to maintain accuracy.
Additionally, avoid using too much flour when shaping the rolls. A light dusting will keep your hands from sticking without compromising your dough’s hydration. If a kitchen scale is available, weigh your ingredients for optimal accuracy. Just remember that baking is as much about feel and instinct as it is about exact measurements.
Perfecting Your Easy Small Batch Ciabatta Rolls
Perfecting results
Timing is essential for developing flavor and texture in ciabatta rolls. Allowing the dough to rest for the suggested two hours helps intensify the flavor through fermentation. The dough might appear barely doubled in size, but that’s what you’d expect.
Consider final baking times carefully! Use visual cues, such as a beautiful golden brown color on the crust, to determine readiness. The rolls should feel light when lifted, indicating a fluffy interior.
Troubleshooting/variations
Common troubleshooting tips will help ensure your ciabatta rolls delight everyone. If the dough seems too wet, refrain from adding excessive flour. Keeping consistent with hydration is key for achieving the desired texture.
Also, variations can make this recipe even more exciting. Consider incorporating herbs like rosemary or thyme to the dough for a fragrant twist. You can create small garlic rolls by adding roasted garlic or even a hint of cheese for an indulgent flavor.
Serving Your Easy Small Batch Ciabatta Rolls
Serving/presentation
Present your homemade ciabatta rolls fresh from the oven for maximum appeal. A wooden bread board or basket lined with a clean kitchen towel makes an inviting display. If they cool slightly, they will retain their crusty exterior.
These rolls can complement your meal beautifully, serving as a perfect vessel for dips, spreads, or soups. Use them to wipe your plate clean or serve alongside a vibrant salad for a complete experience.
Pairings/storage
Ciabatta rolls pair wonderfully with various dishes. Use them as a base for sliders, sandwiches, or enjoy with butter. Slice them in half, toast the insides, and layer them with your favorite spreads.
For storage, keep leftovers in an airtight container for up to three days. If you prefer longer storage, freeze the rolls in a resealable bag. Toast or reheat in the oven before serving.
The beauty of Easy Small Batch Ciabatta Rolls lies in their adaptability and enduring quality. You create not only fantastic bread but also weave memories and connections with each loaf. Explore the world of ciabatta and enjoy baking these delightful rolls!
Print
Easy Small Batch Ciabatta Rolls
- Prep Time: 10 minutes
- Cook Time: 20 minutes
- Total Time: 150 minutes
- Yield: 4 servings
- Category: Bread
- Method: Baking
- Cuisine: Italian
- Diet: Vegetarian
Description
Delicious ciabatta rolls with a crunchy exterior and airy interior, perfect for any meal.
Ingredients
- 2 cups all-purpose flour
- 1 teaspoon instant yeast
- 1 teaspoon salt
- 1 cup warm water
Instructions
- In a large mixing bowl, combine the flour, instant yeast, and salt.
- Gradually add warm water and stir until a sticky dough forms.
- Cover the bowl with plastic wrap and let it rest for about 120 minutes at room temperature.
- Preheat your oven to 450°F (230°C) and place a baking stone or a baking sheet inside.
- Gently turn the dough onto a floured surface and shape it into rolls.
- Let the rolls rest for 30 minutes while the oven heats.
- Transfer the rolls to the preheated baking surface.
- Bake for 15-20 minutes until golden and crusty.
- Allow to cool on a wire rack before serving.
Notes
Ensure your water is warm but not too hot (100°F to 110°F) and avoid using too much flour when shaping.
